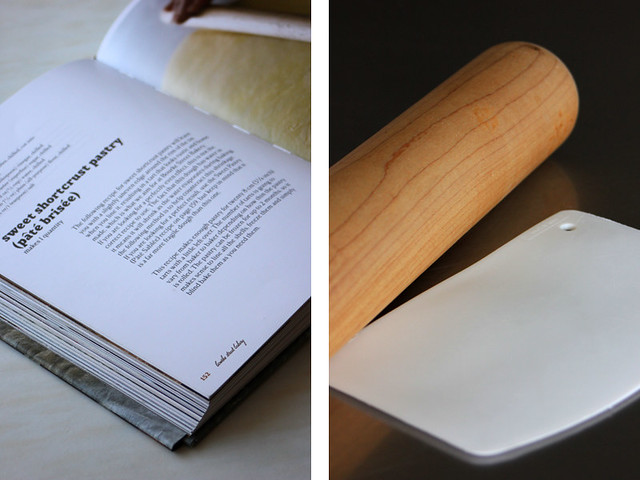
Two years ago Nat purchased Chad Robertson’s Tartine Bread for my birthday and wrote an inscription on the inside cover … ‘To inspire you’ …
When I want to shake things up in my kitchen and try something different this is the book I turn to. I love the restlessness and pursuit of perfection in the stories. For me, this is its inspiration. It is not a manual and it is not a handbook … it’s the story of a journey.
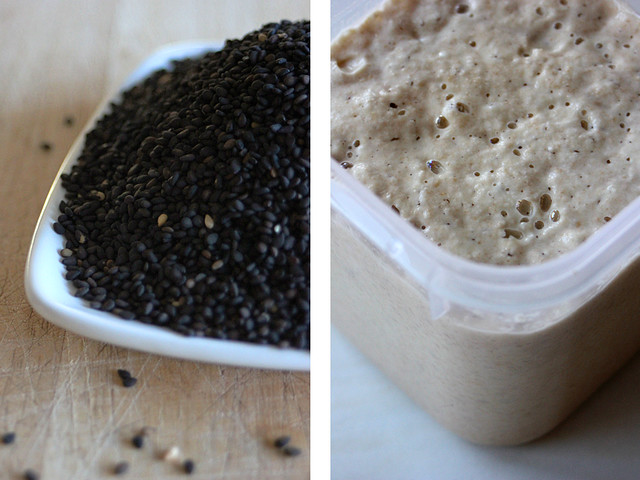
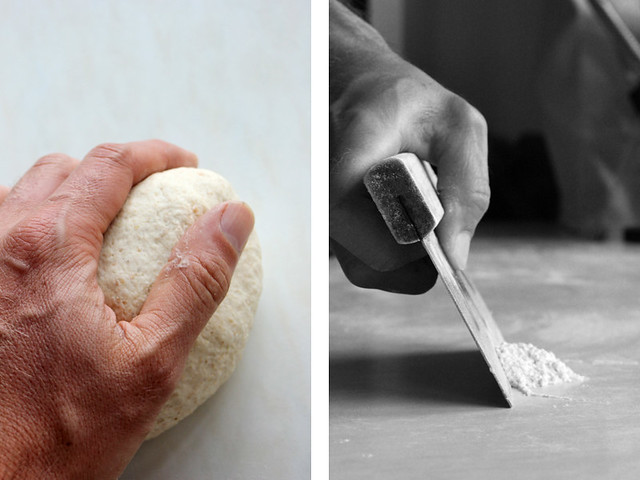
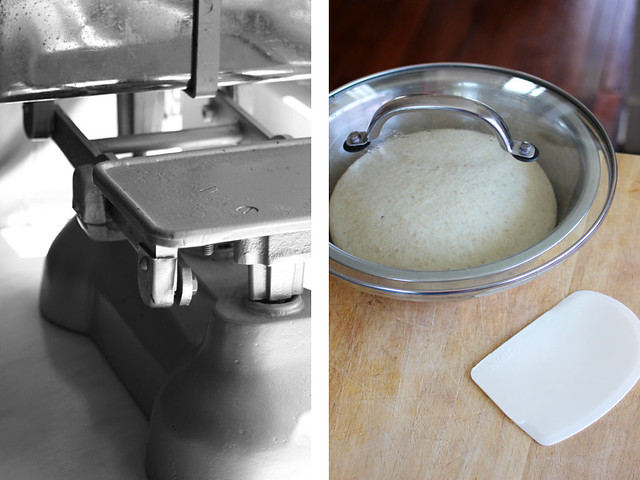
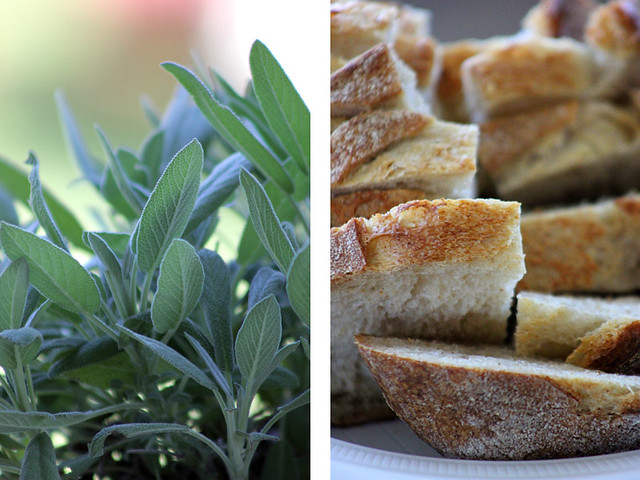
While I have baked many of the formulas in Tartine Bread over the years I have not experimented enough with Chad’s schedule for maintaining a leaven. This was to be part of my inspiration this week so I converted a portion of my firm levain into a 100% hydration starter fed with 50% freshly milled wheat and 50% plain flour.
The trick is, you see, to catch Chad's leaven at the perfect time. I find this is even more critical for me using fresh milled flour and I have on many occasions had to do an intermediate build to save an over-fermented leaven. And the best (and cheapest) tool I have found for judging leaven readiness? … my nose!
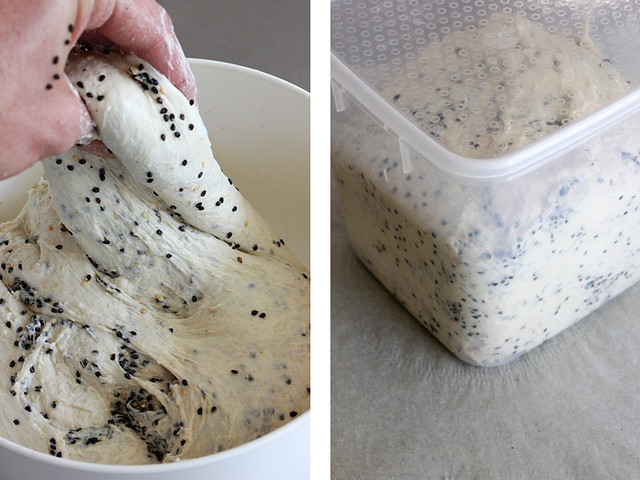
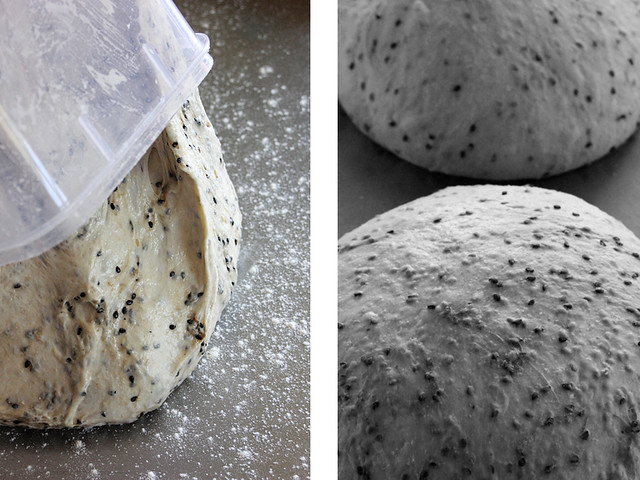
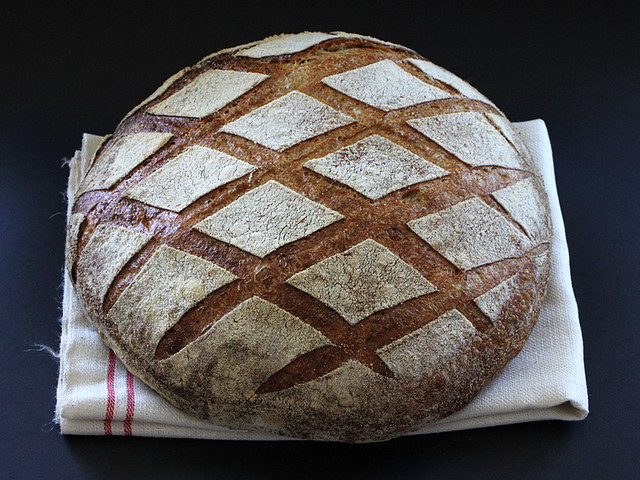
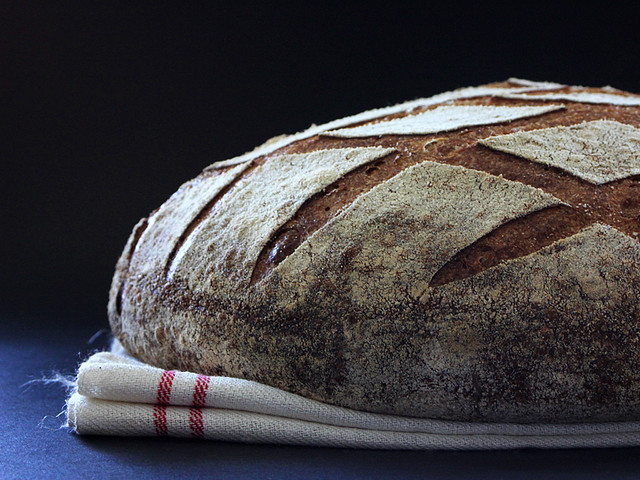
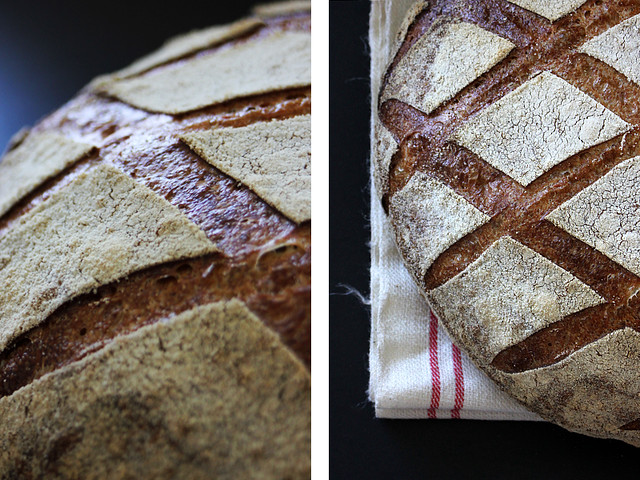
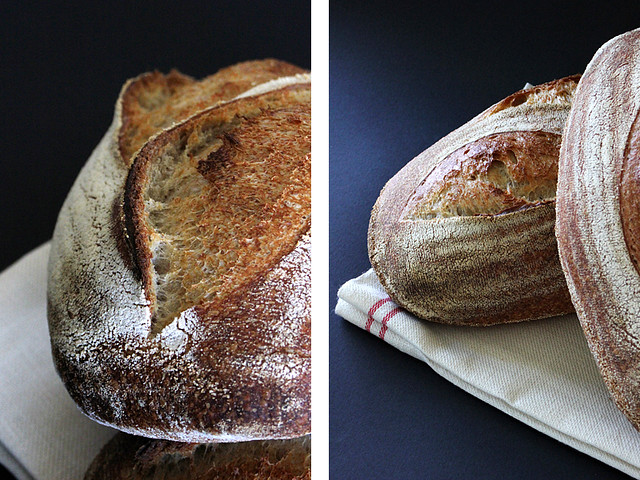
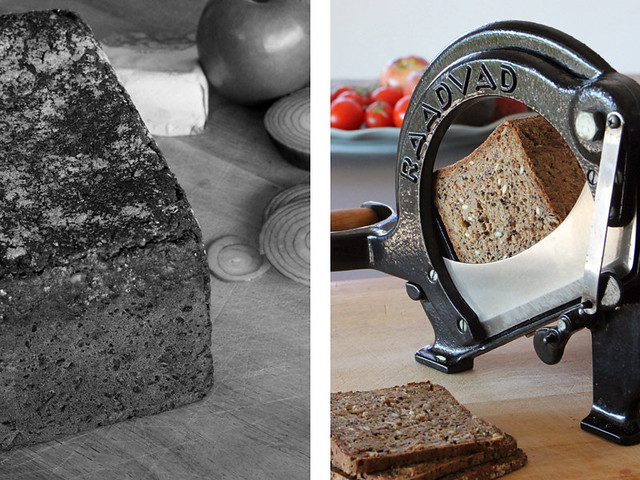
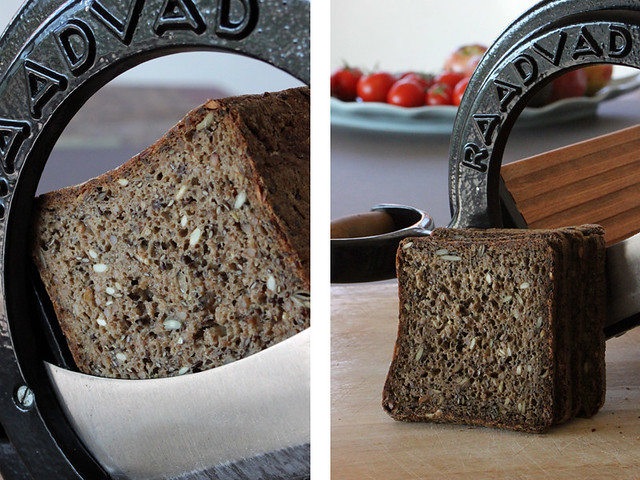
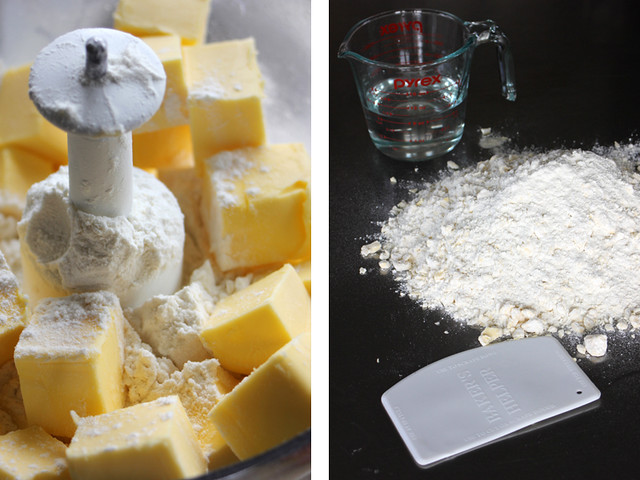
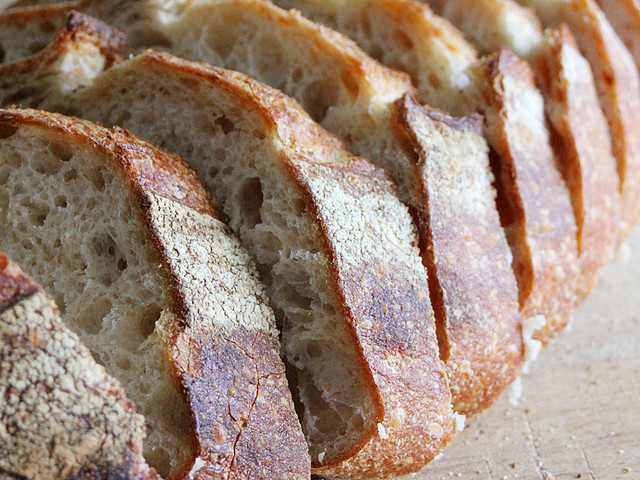
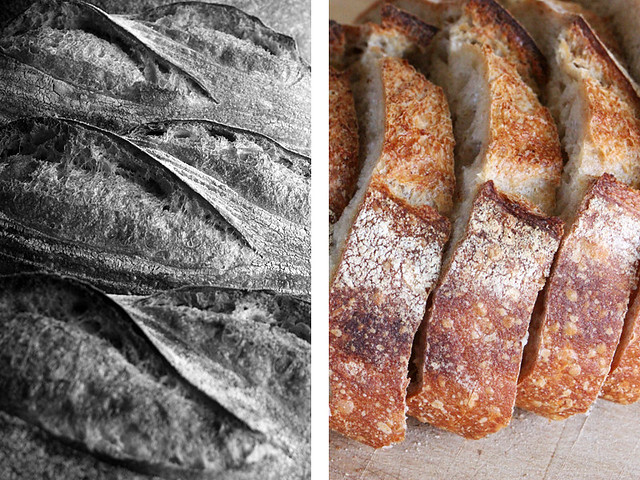
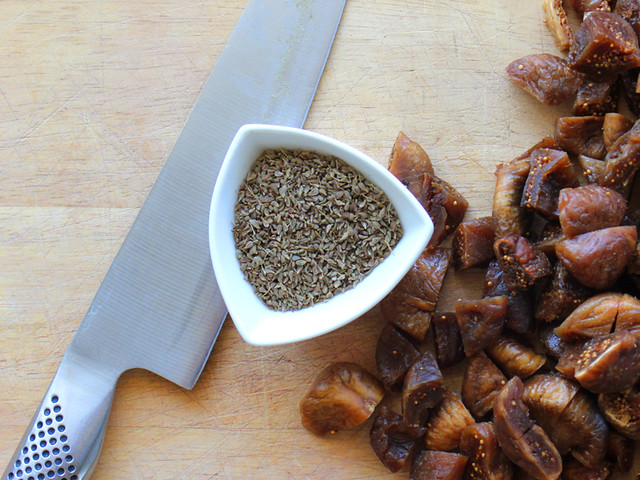
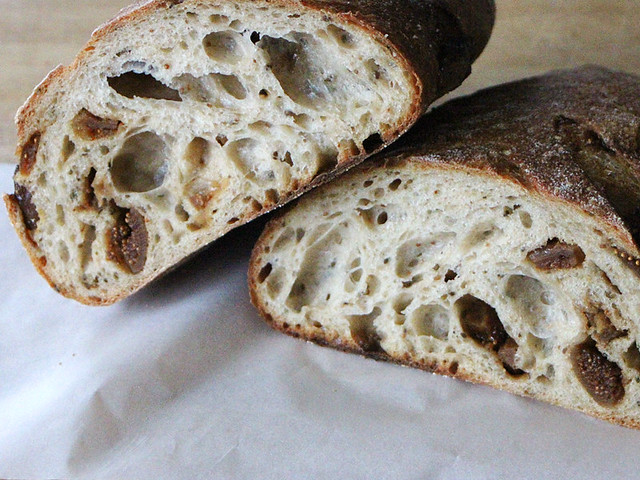
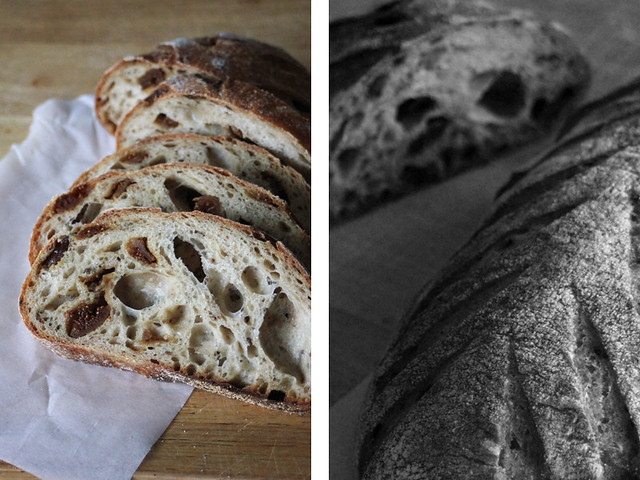
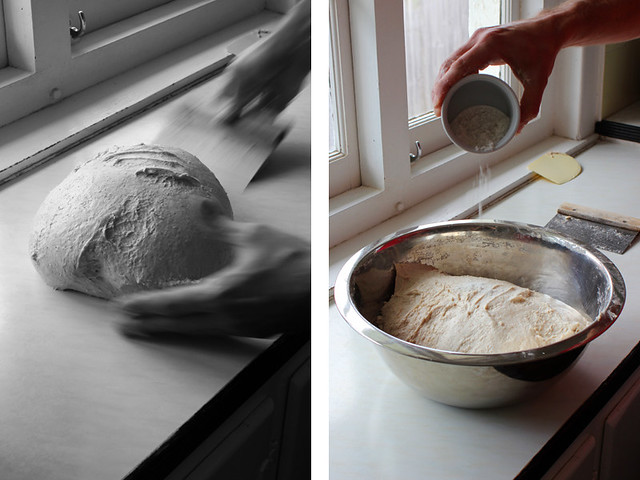
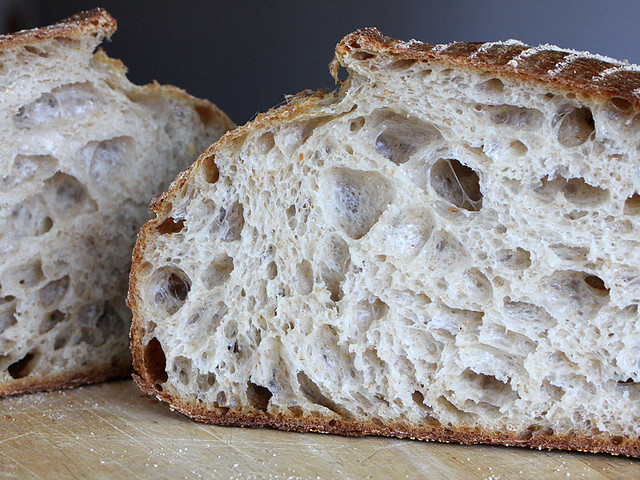
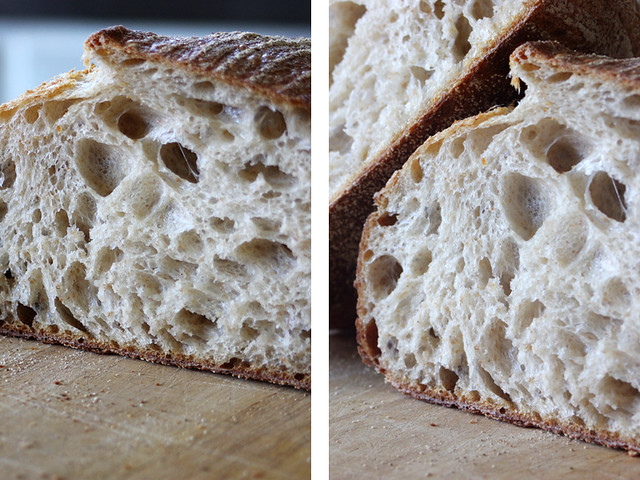
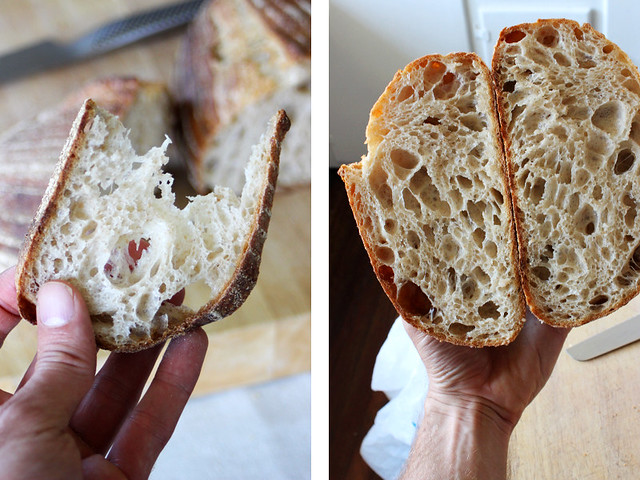
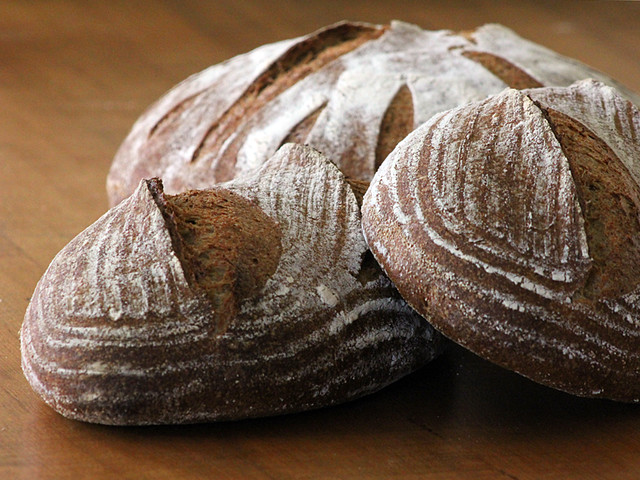
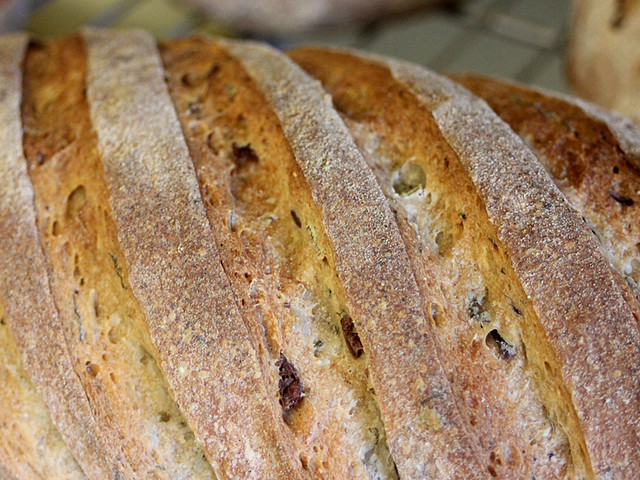
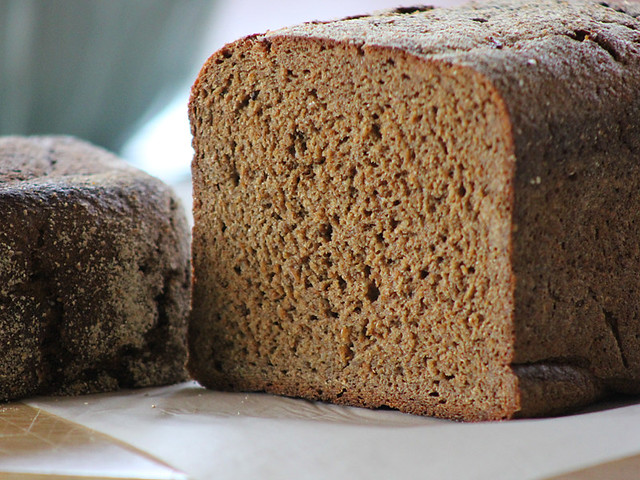
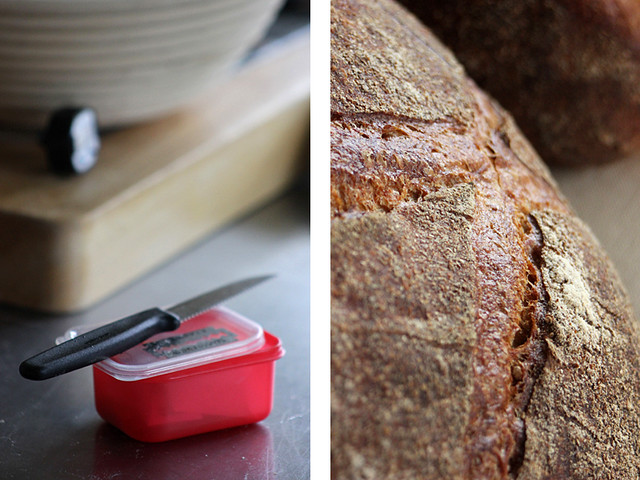
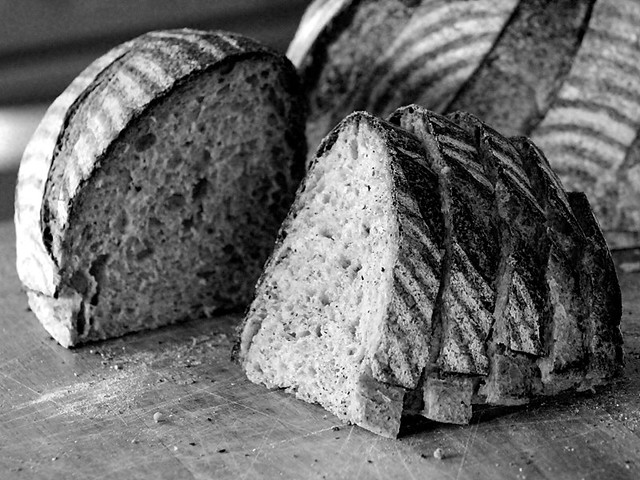
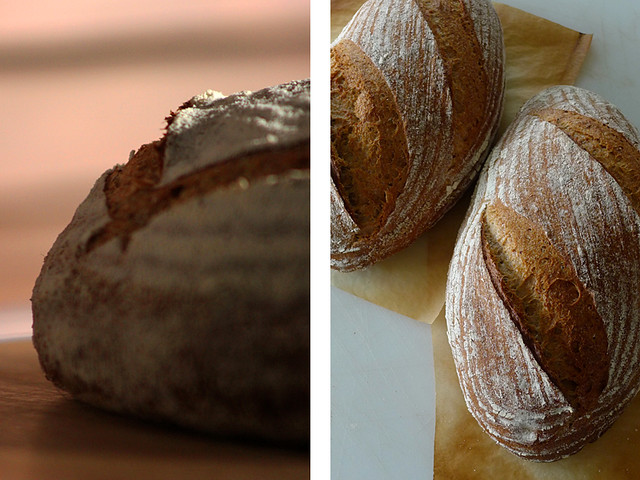
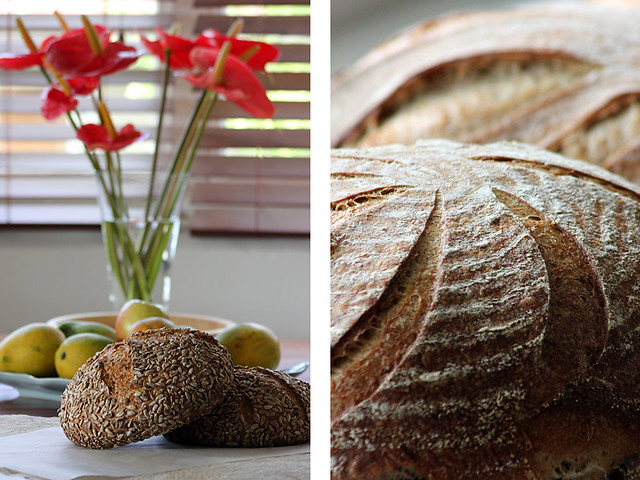
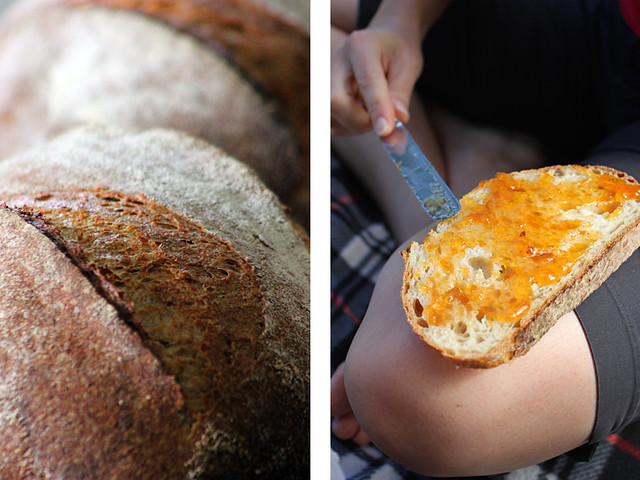
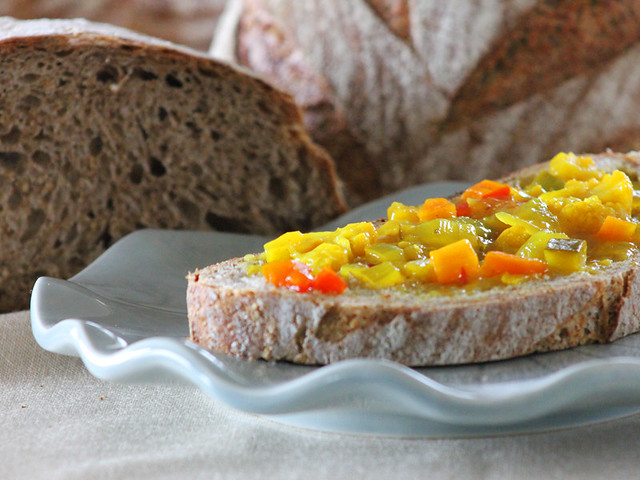
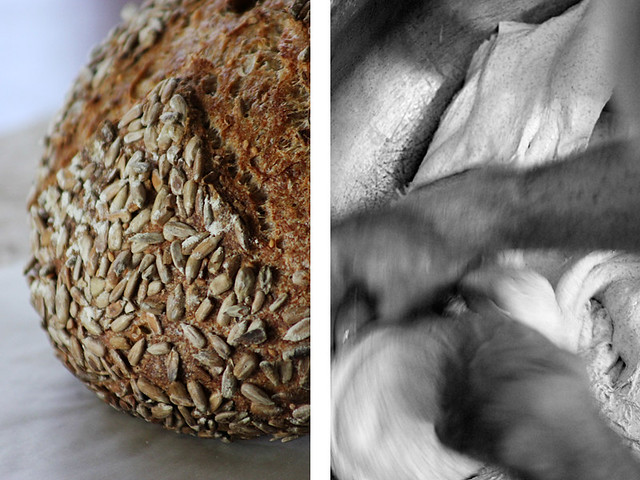
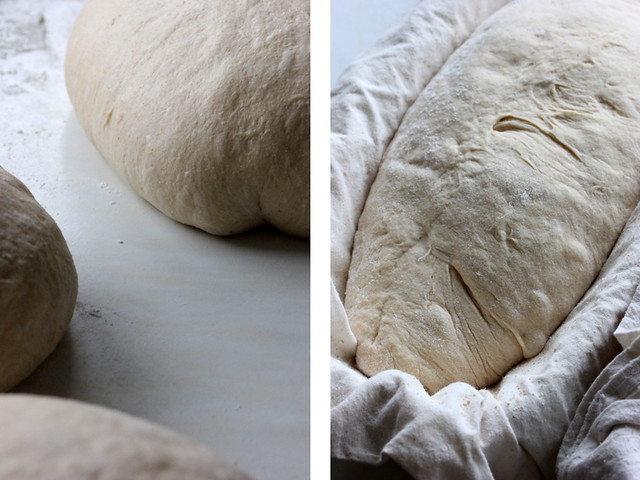
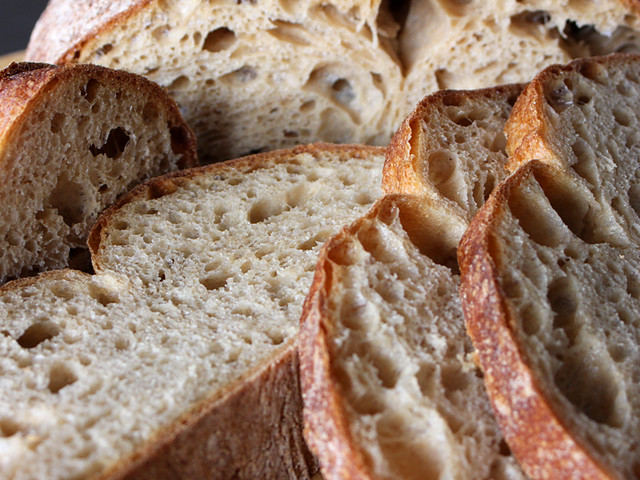
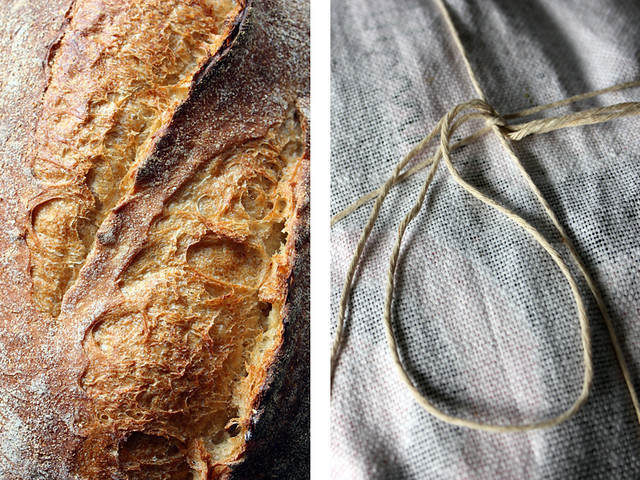
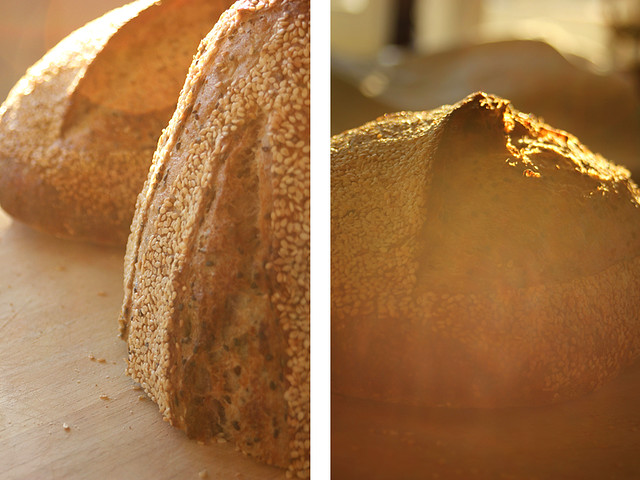
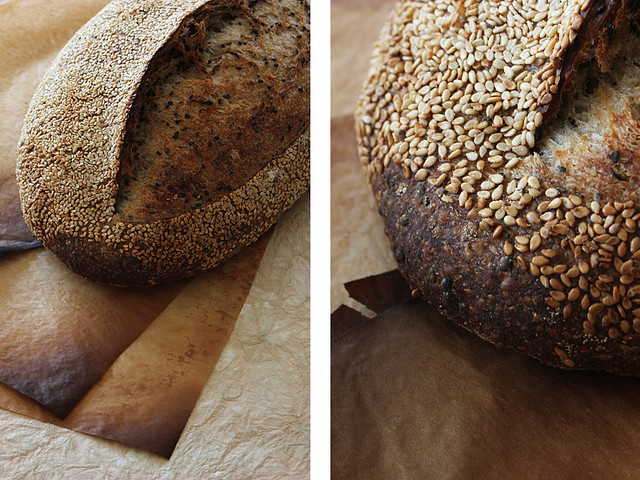
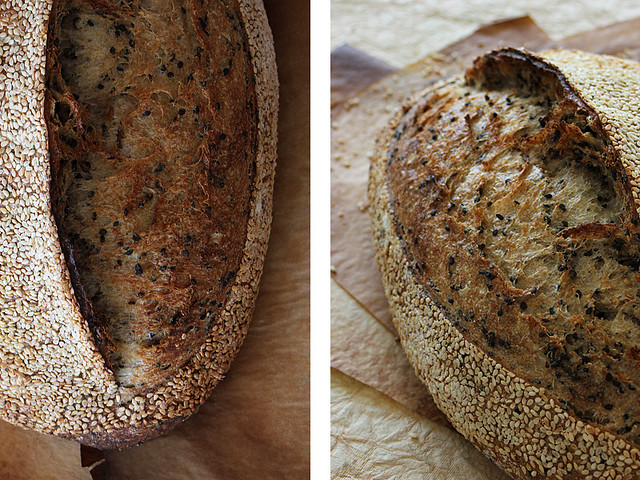
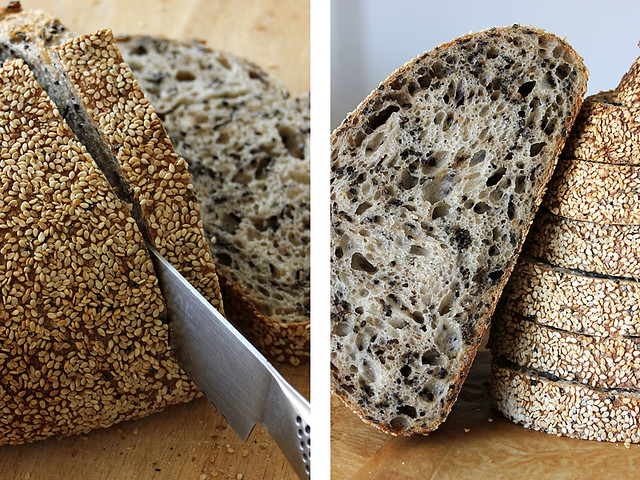
After fermenting in the cool night air the leaven passed both the float and sniff tests (sounds gross) and was then mixed into the dough. Tartine’s sesame loaf uses the basic country bread formula with a cup of toasted unhulled sesame seeds mixed through the dough in the early stages of bulk fermentation.
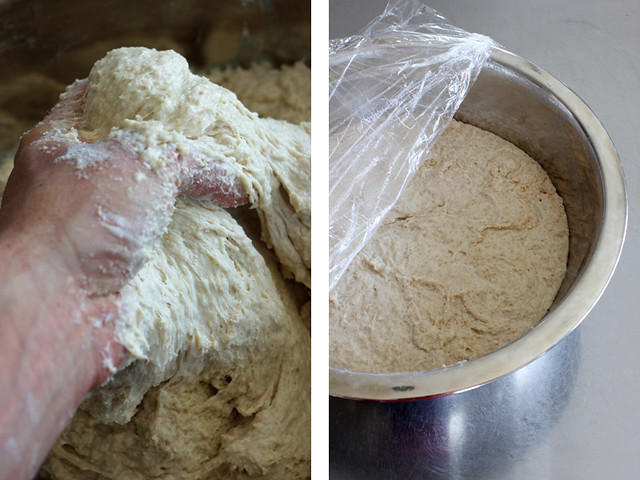
The slow gentle dough manipulation is relaxing, but I still find it a high maintenance bread to prepare. Keeping temperatures maintained with a small amount of dough over a four period can be tricky during the seasons and the constant attention required for turning the dough can be frustrating. In the end however I was rewarded with subtle dough that shaped easily and bloomed beautifully in a hot oven.
The sesame flavours are subtle. I think Nat was expecting stronger flavours from this bread and was surprised by its sleepy nature. A tablespoon of sesame oil in the dough could be a nice addition without overpowering any of the future flavours that would be stacked on a slice or two.
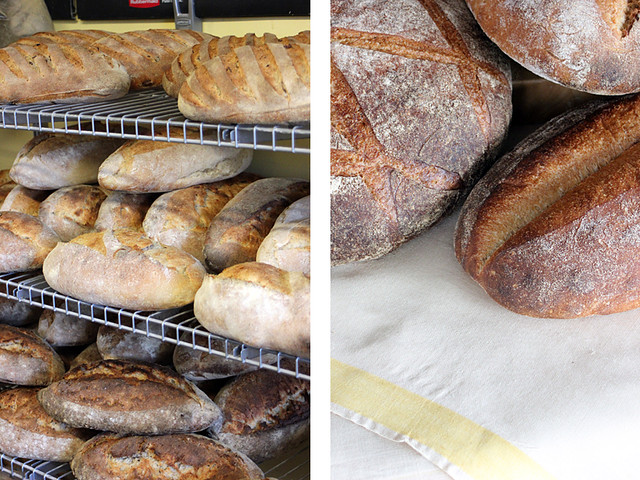
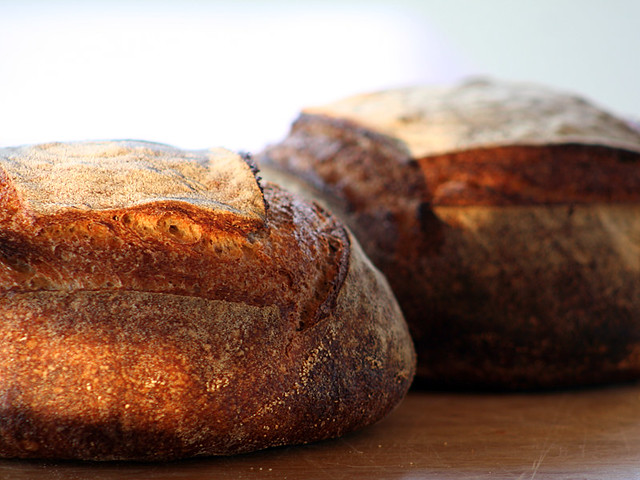
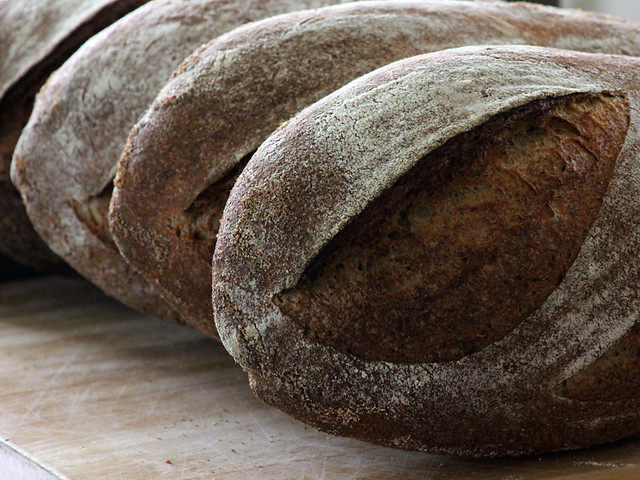
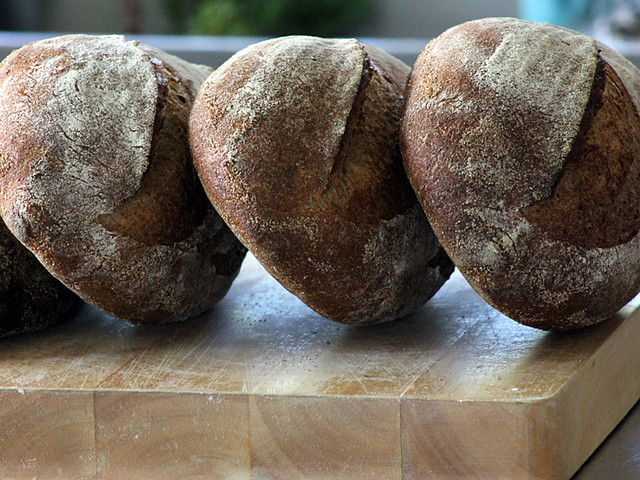
My miche adventures continue …
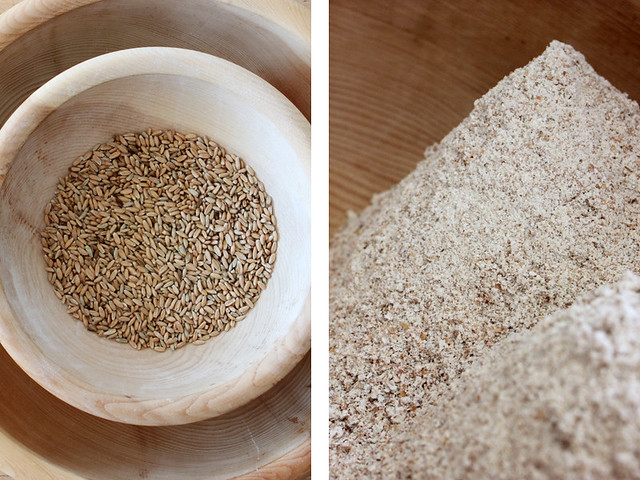
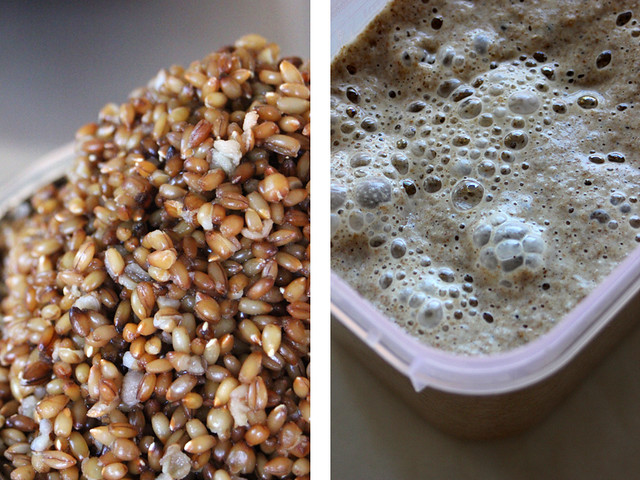
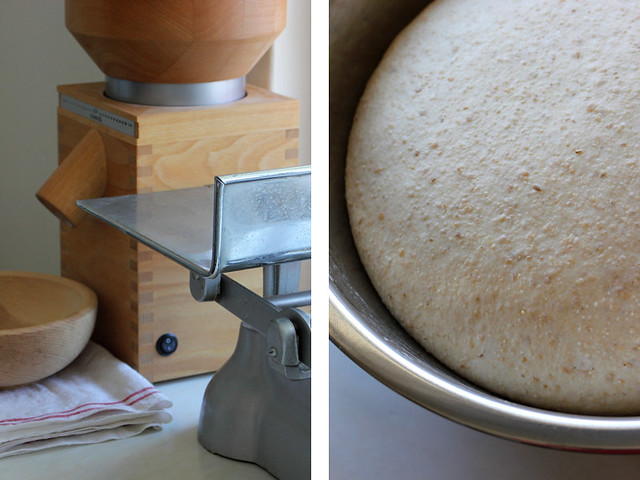
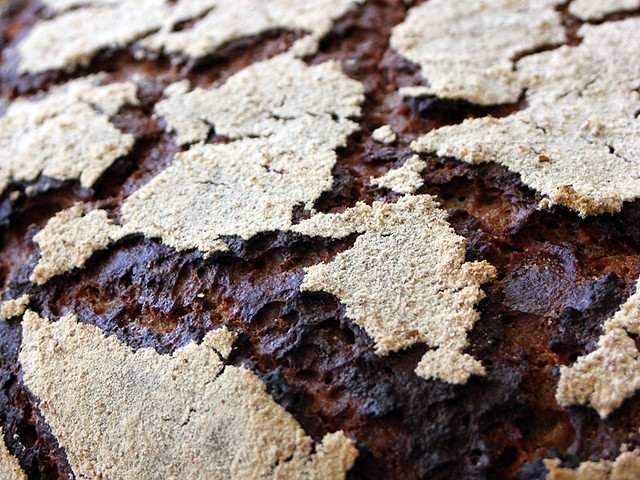
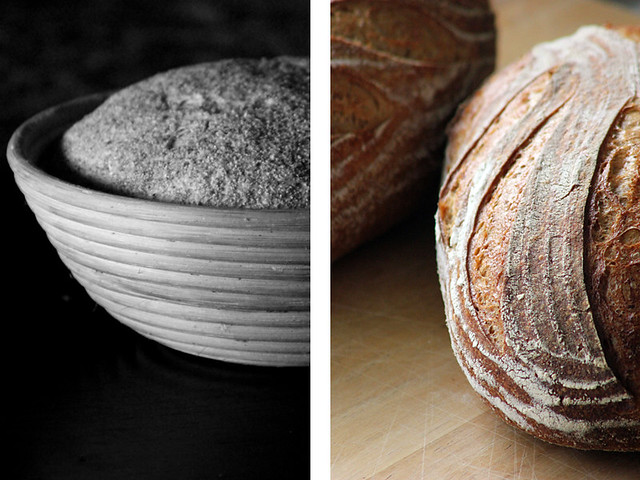
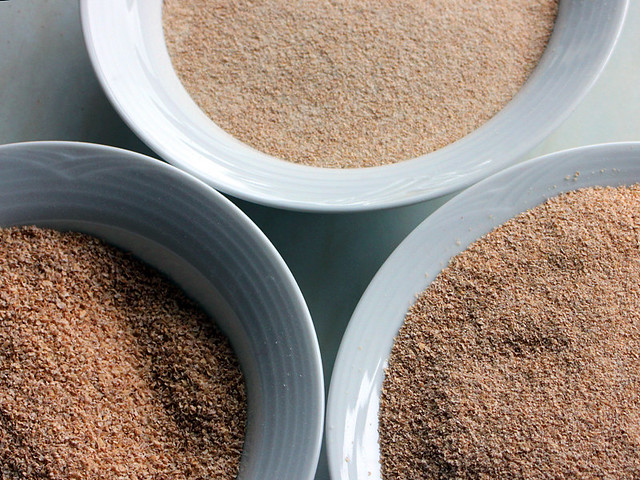
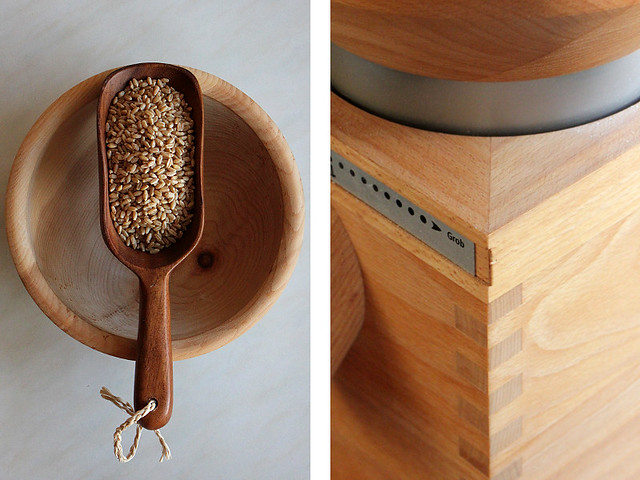
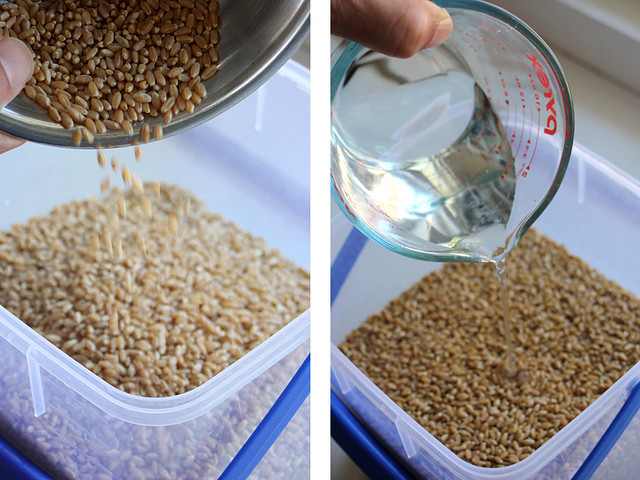
My experimentation with creating high extraction flour has moved on to the process of tempering. By slowly adding a controlled amount of moisture to grain over a period of time, the bran will toughen allowing easier (and larger) separation when milling. My process of tempering is high-touch. I don’t own a grain moisture meter so I was extremely careful that the grain was dry to touch before milling.
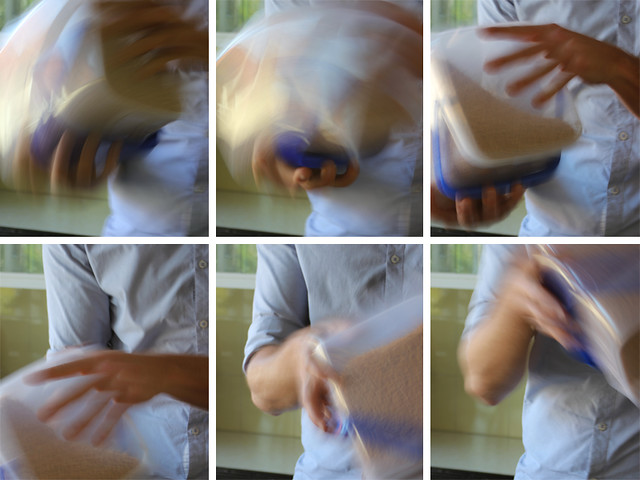
One percent of water a day was added to the grain over a four day period followed by a final 24 hours rest before milling. Normally I mill cold grains from the fridge but have heard that this can lead to the bran shattering into smaller pieces so I instead milled room temperature grains. I feel like I am a bit stuck with this. The small stones on my mill have a tendency to heat up the flour quite substantially but I do end up with larger pieces of bran and softer flour using this process. Hmmm …
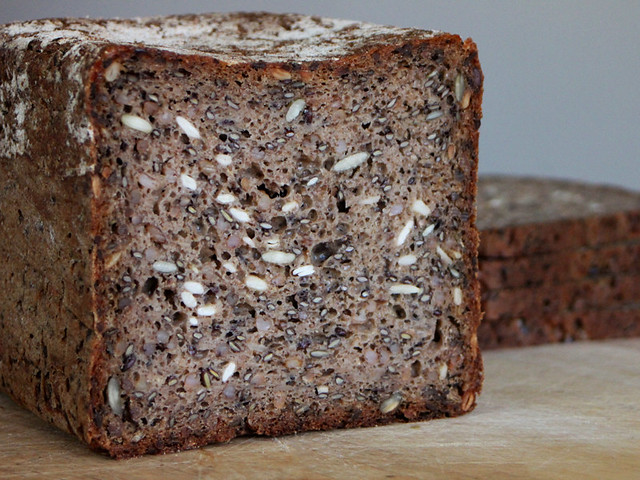
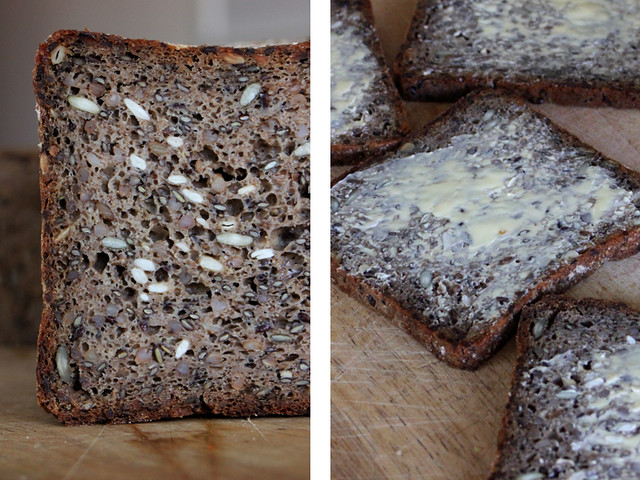
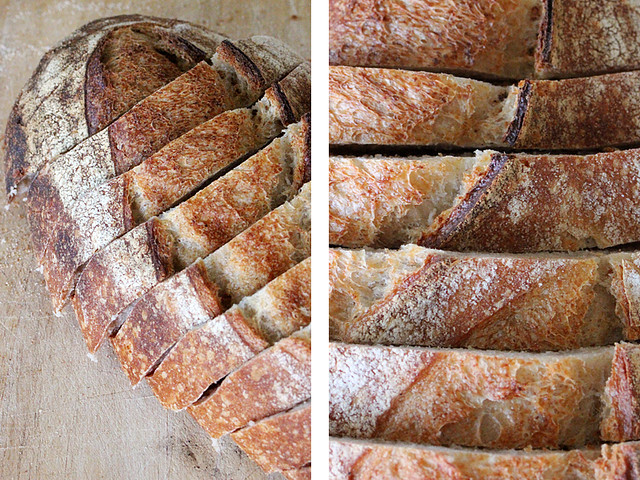
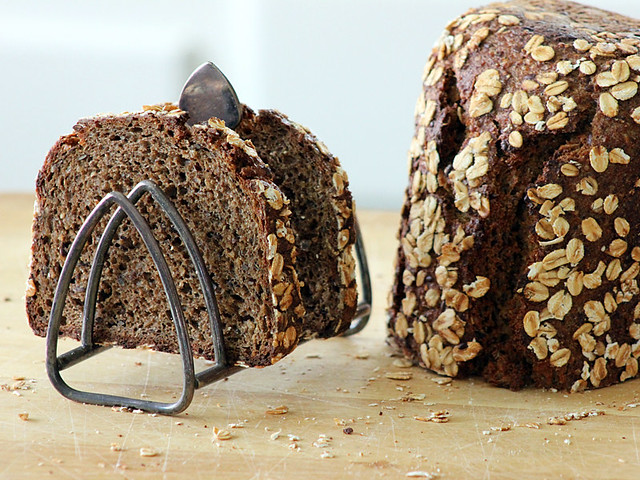
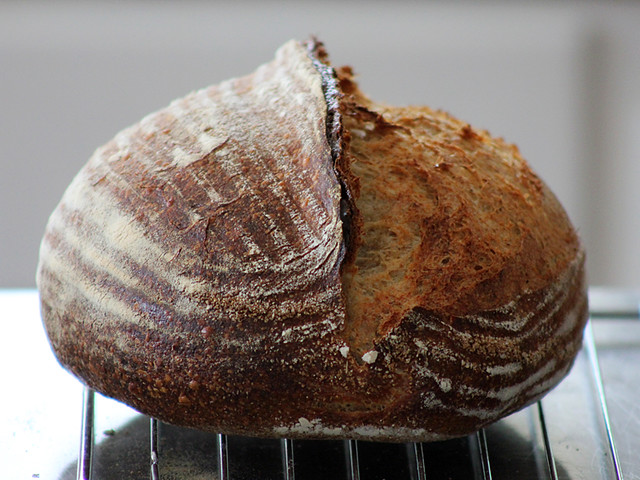
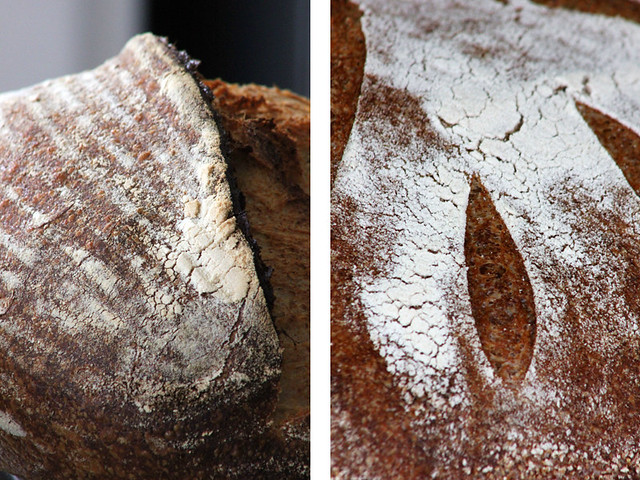
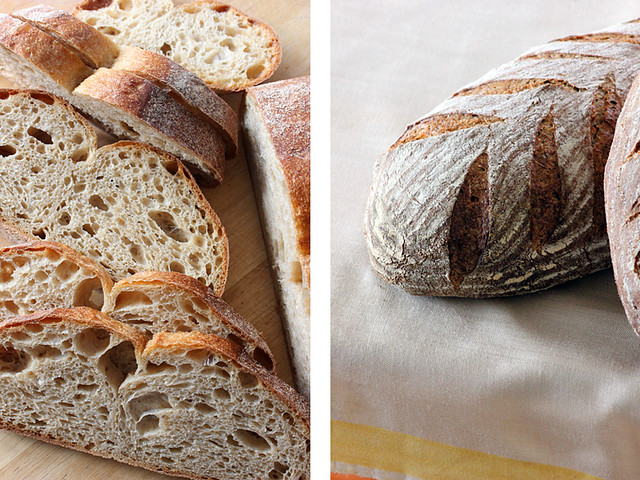
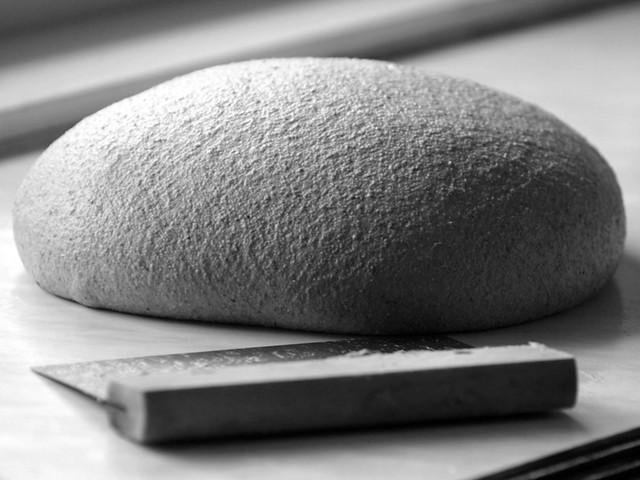
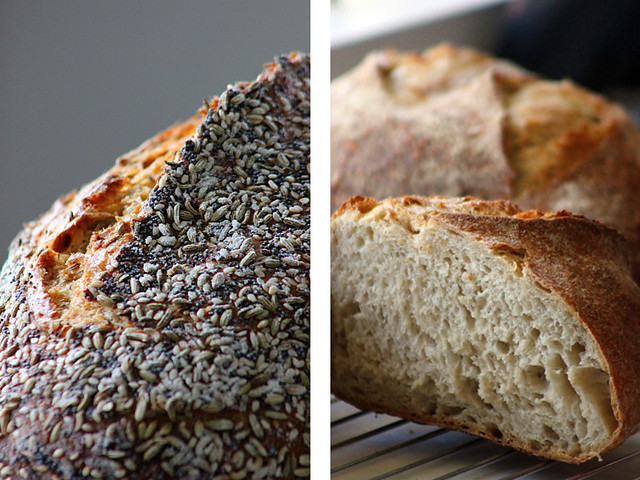
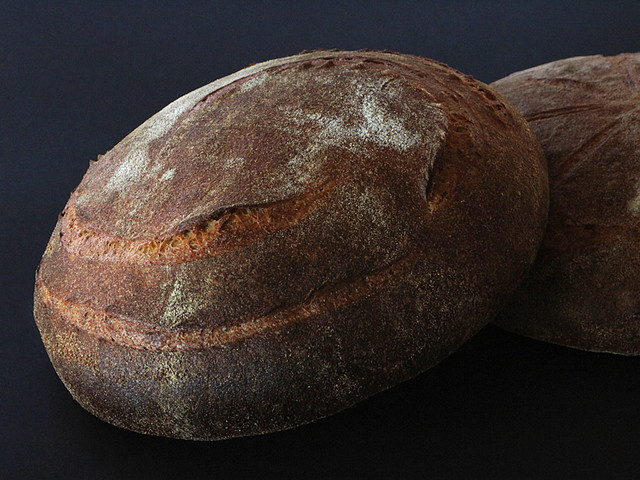
The resulting flour was sifted to 80% extraction in one pass and was not re-milled or re-sifted. A more complicated miche was planned for this bake. I would use a rye starter in addition to my standard levain, plus include a small amount of barley malt extract for flavour and colouring only.

Tempered High Extraction Miche (2 x 2kg miche)
Formula
Overview | Weight | % |
Total dough weight | 4000g | |
Total flour | 2286g | 100% |
Total water | 1714g | 75% |
Total salt | 43g | 1.8% |
Pre-fermented flour | 571g | 25% |
| | |
1. Rye sour – 12 hrs 25°C | | |
Starter (Not used in final dough) | 10g | 10% |
Freshly milled coarse rye flour | 55g | 50% |
T130 rye flour | 55g | 50% |
Water | 186g | 160% |
Total | 296g | |
| | |
2. Levain – 5-6hrs 25°C | | |
Previous levain build | 174g | 50% |
Flour (I use a flour mix of 70% Organic plain flour, 18% fresh milled sifted wheat, 9% fresh milled sifted spelt and 3% fresh milled sifted rye) | 348g | 100% |
Water | 201g | 58% |
Salt | 3g | 1% |
| | |
Final dough. DDT=25°C | | |
Rye sour (1.) | 270g | 15% |
Levain (2.) | 722g | 42% |
Sifted fresh milled wheat (80% extraction) | 1715g | 100% |
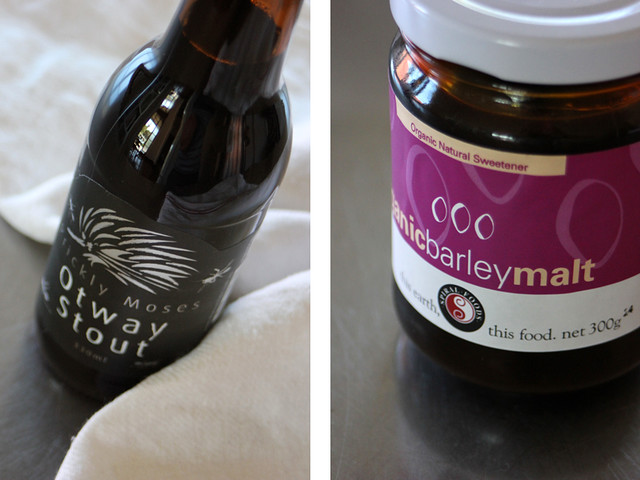
Barley malt extract | 50g | 3% |
Water | 1267g | 74% |
Salt | 40g | 2% |
Method
- Mix rye sour and leave to ferment for 12 hours at 25°C
- Mix levain and leave to ferment for 5-6 hours at 25°C
- Combine flour and water then mix to shaggy consistency - hold back 100 grams of water.
- Autolyse for one hour.
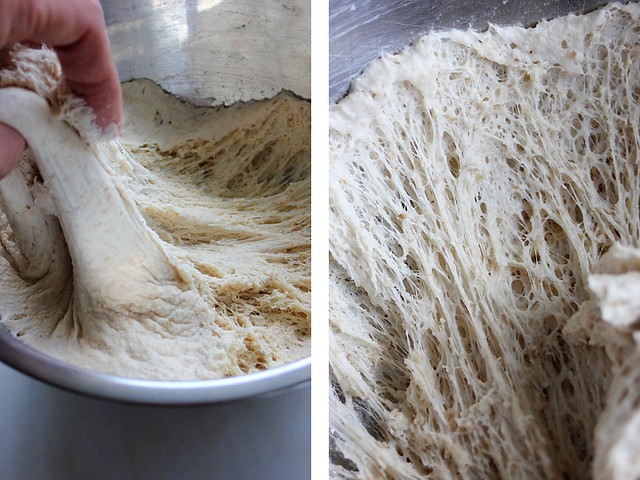
- Add levain and rye sour to autolyse then knead (french fold) for five mins. Return the dough to a bowl and add salt and remaining 100 grams of water. Squeeze the salt and water through the dough to incorporate (the dough will separate then come back together smoothly). Remove from the bowl and knead a further 10 mins.
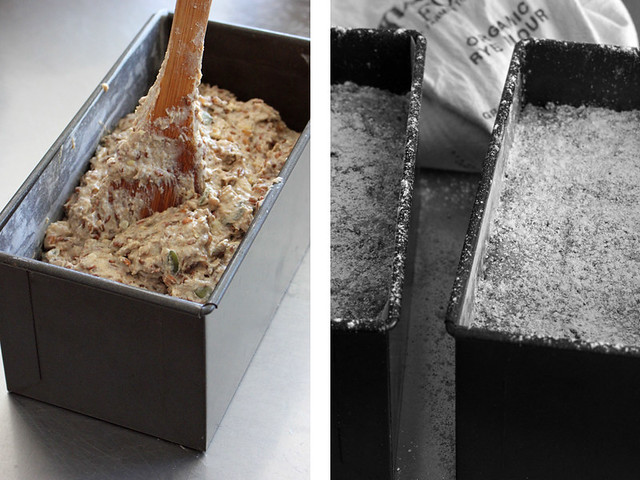
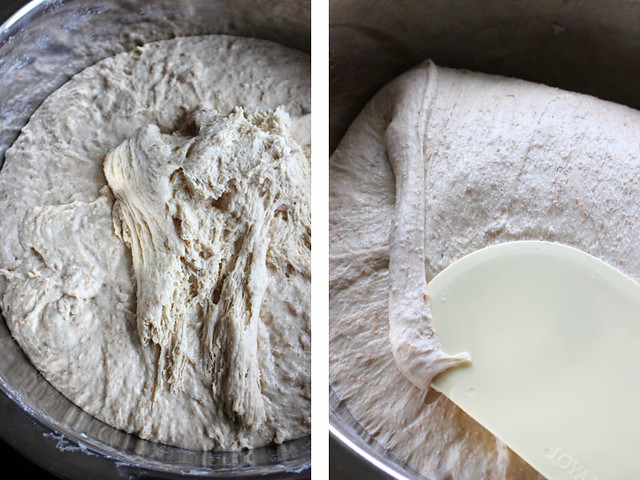
- Bulk ferment for two hours with a stretch-and-fold half way through. Mine was ready after 1.5 hours … watch the dough!
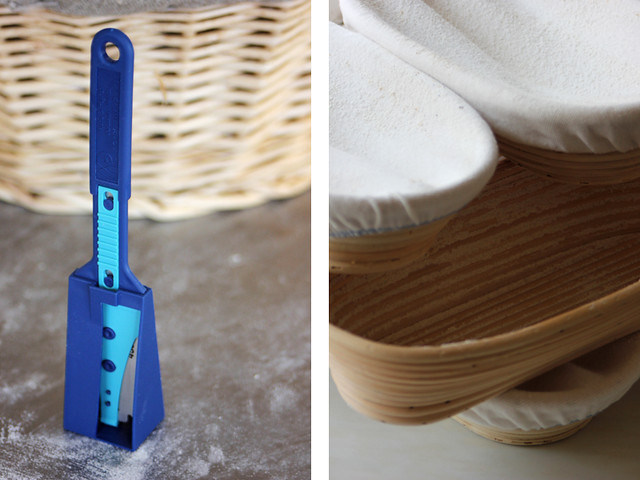
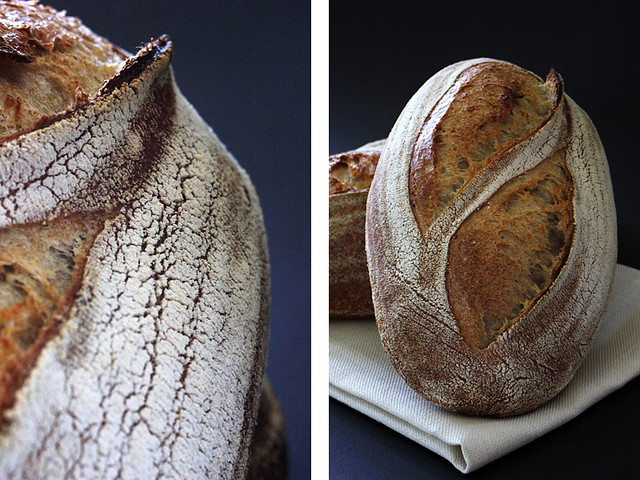
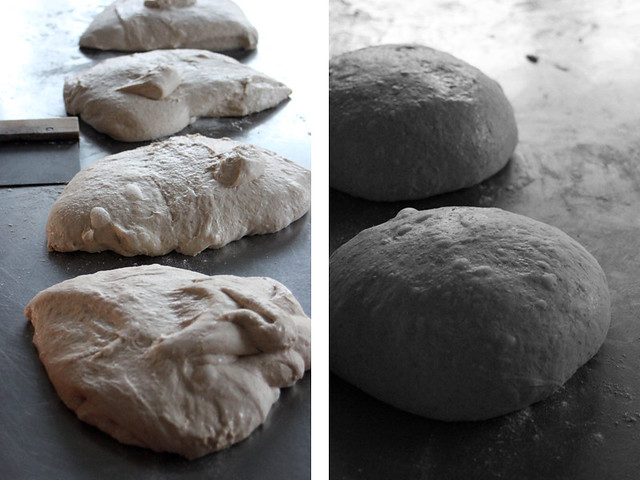
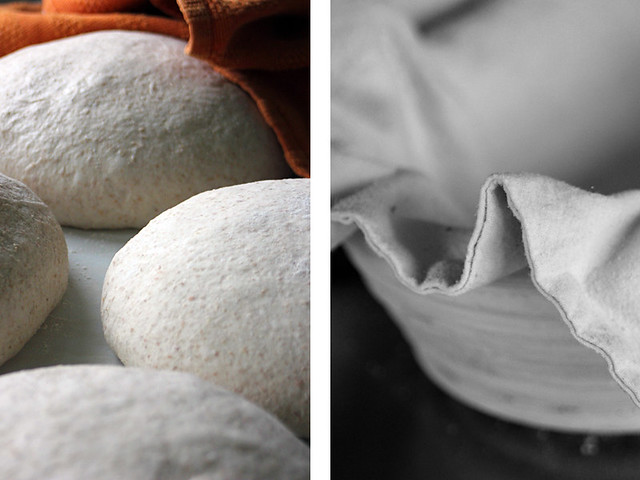
- Divide. Preshape. Bench rest 30 mins. Shape into large boules and proof in floured baskets seam side up.
- Final proof was 1-1.5 hours at 25°C
- Bake in a preheated oven at 250°C for 10 mins with steam then reduce temperature to 200°C and bake for a further 40 mins.
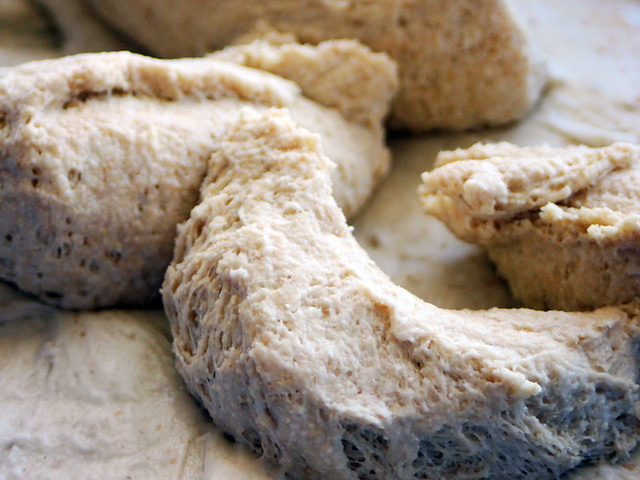
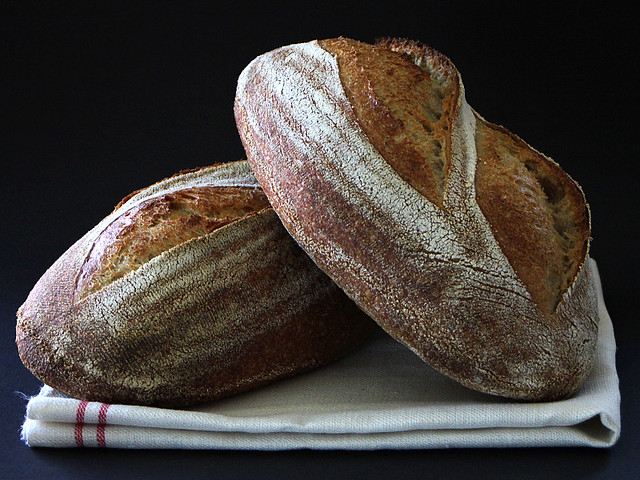
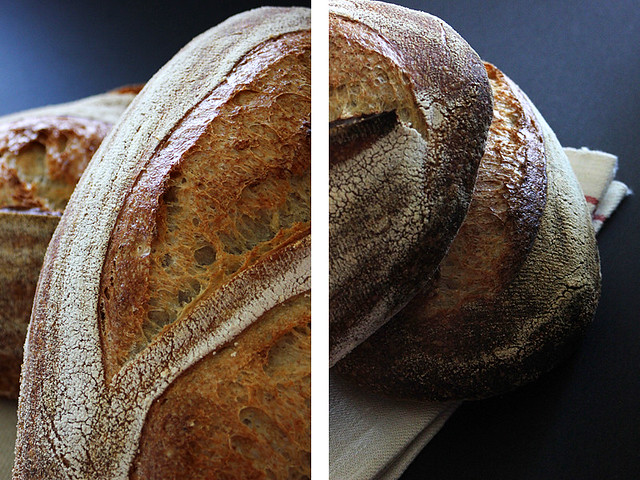
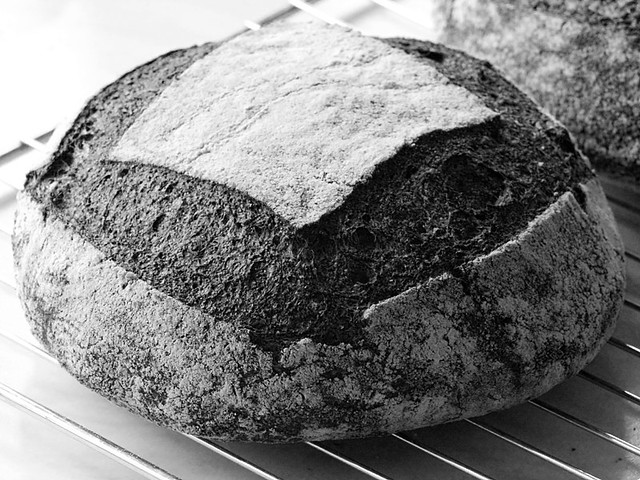
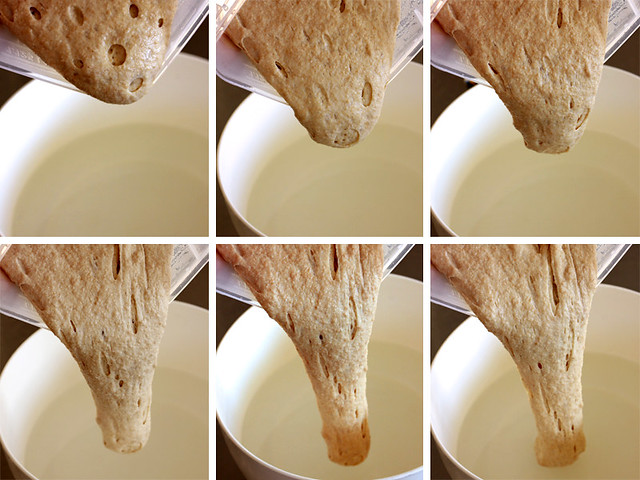
One and half hours into a planned bulk ferment of two hours I could tell the dough was ready for division and shaping. Perhaps it was the inclusion of the rye starter, perhaps the malt or perhaps both … either way, the dough was moving fast.
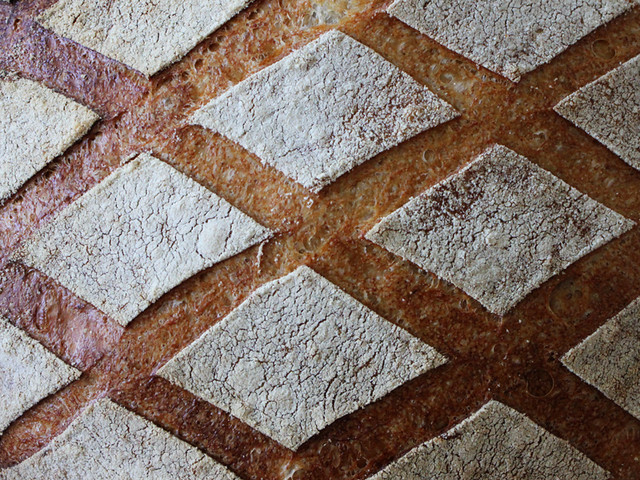
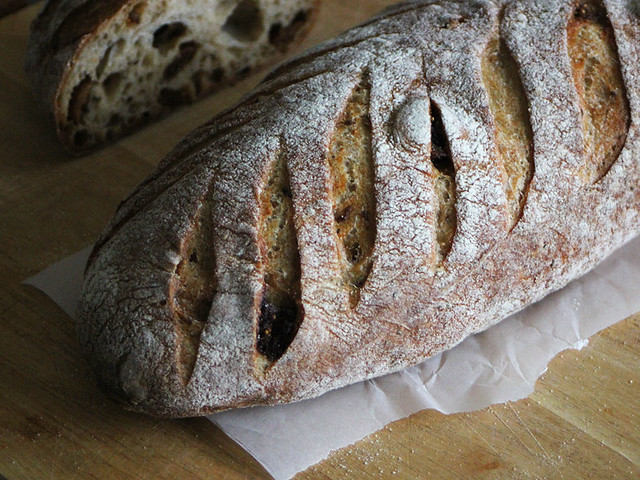
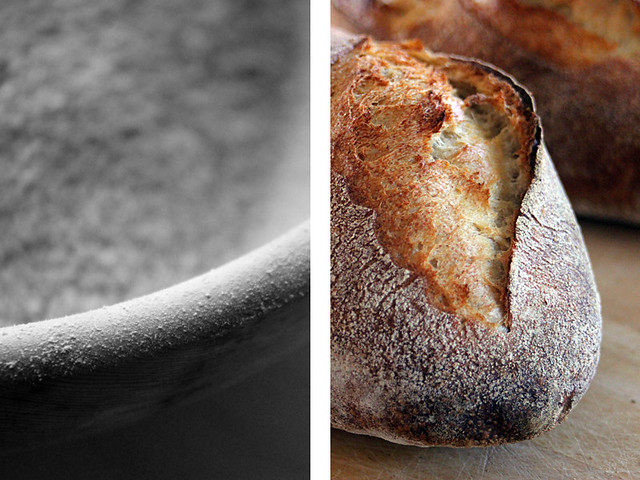
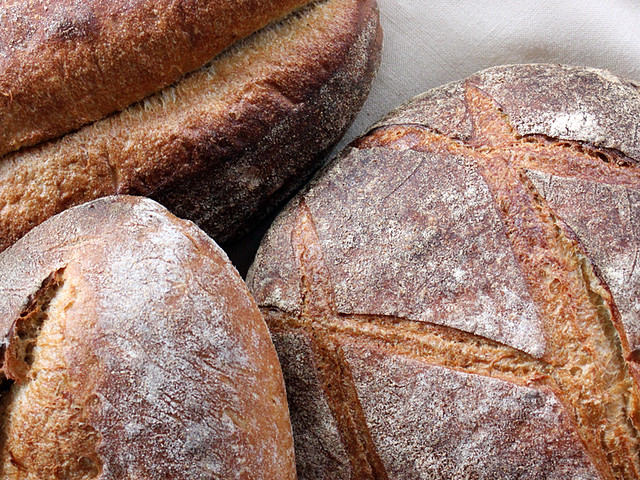
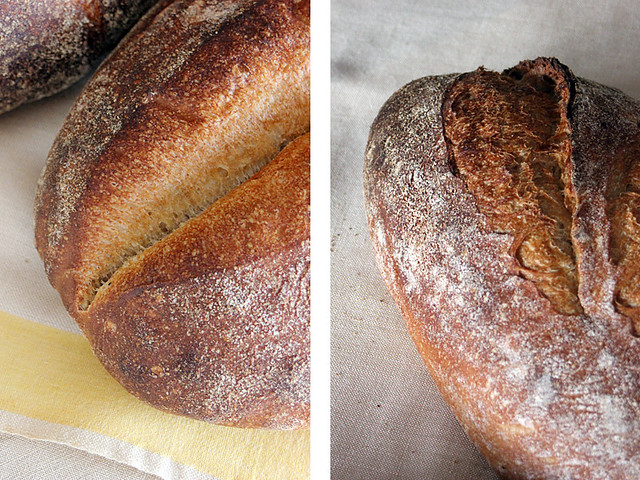
I am becoming braver with both my proofing and handling of these large breads but peeling one into my home oven is still a stressful moment. Our poor little oven does its best to punch it up while I sit and dream of a masonry oven or stone floor deck oven and the results I could achieve.
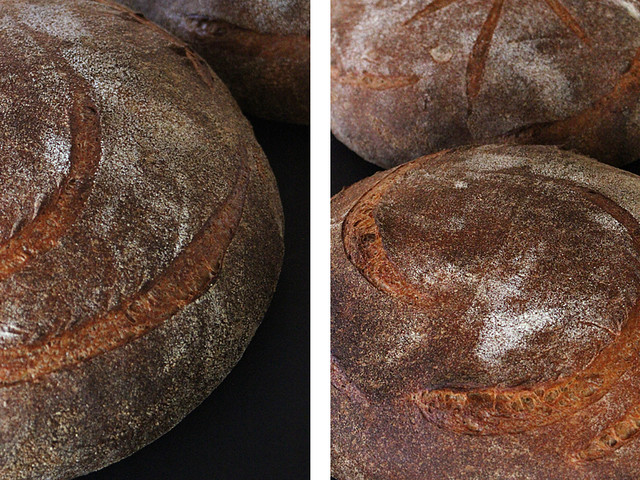
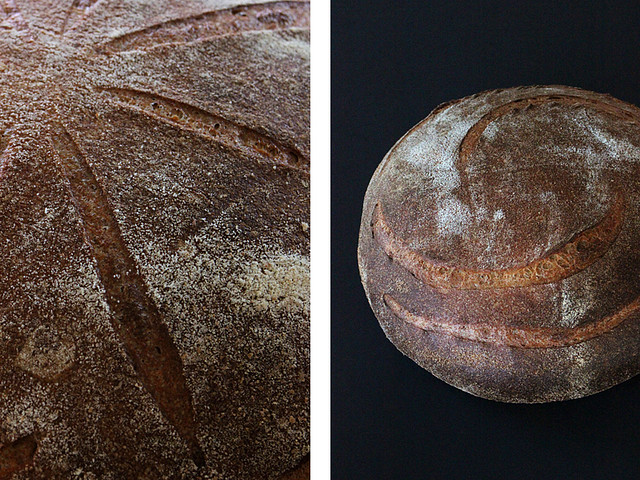

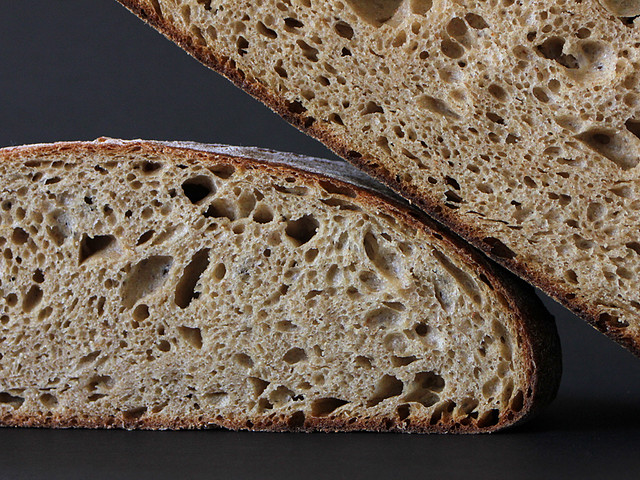

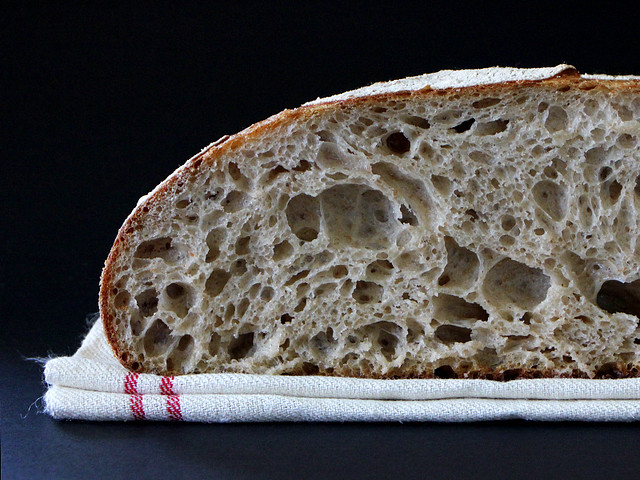
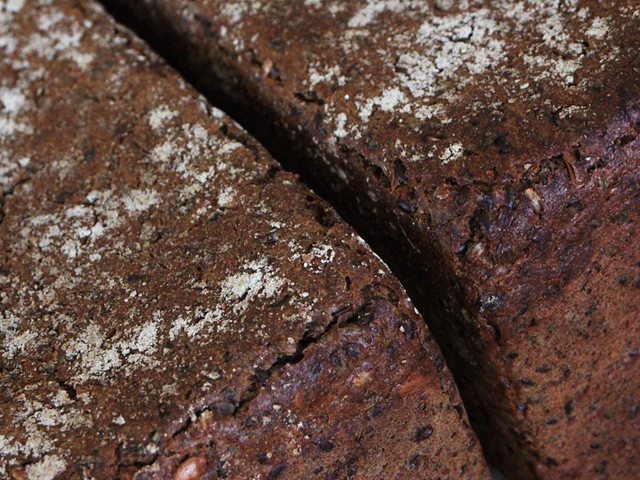
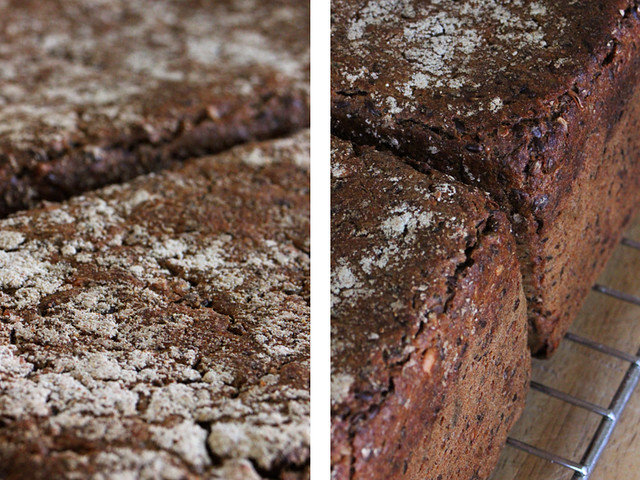
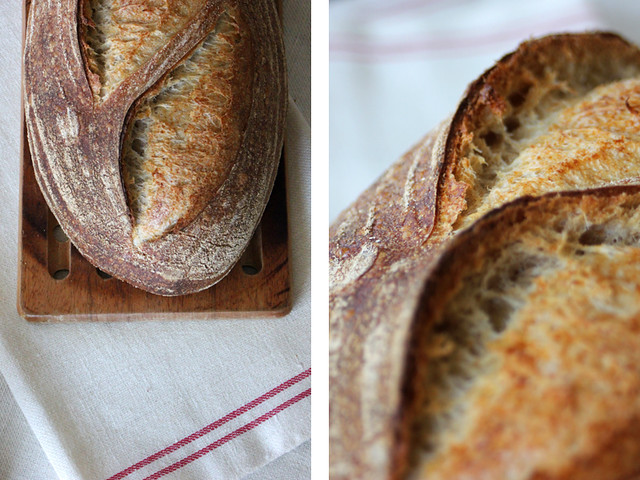
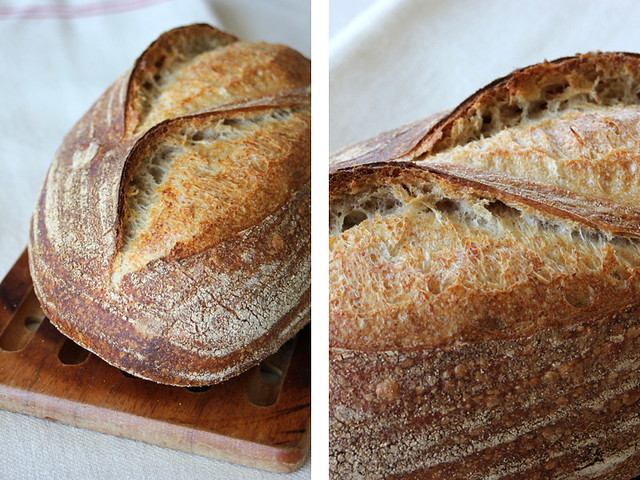
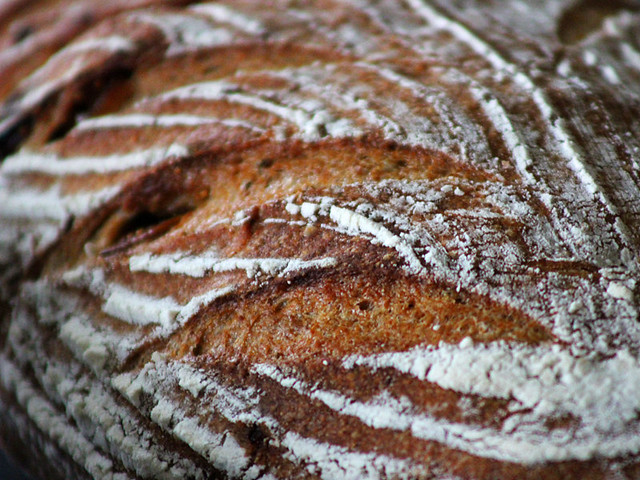
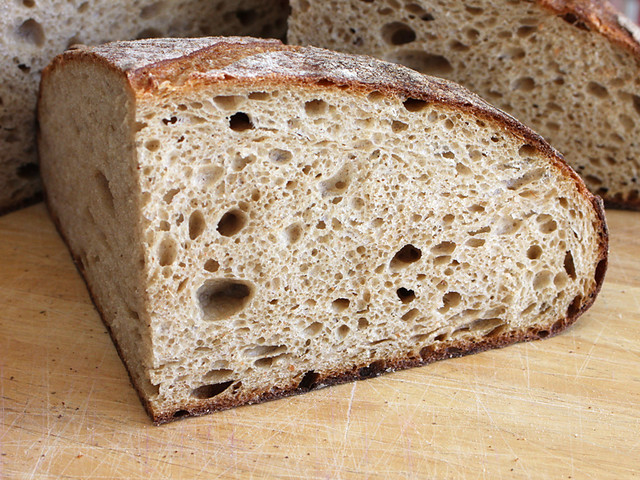
The sifting method, malt and rye starter created a darker crumb than previous miche but gave the bread a deep flavour that was nicely balanced. I had suspected the rye starter would have a large impact on the flavour but this was not the case at all.
So will I continue to temper grains before milling? I am really not sure. It creates more planning and logistics before a bake. I do end up with softer flour, but the heat generated by the mill really bothers me. I think some experimenting with tempering and using the fridge to cool the grains before milling may be in order.
Cheers,
Phil
p.s. Happy World Bread Day everyone!