For Thanksgiving we were visiting my wife's family in North Carolina as we always do and as usual we brought have our kitchen with us so we could bake for the main feast.
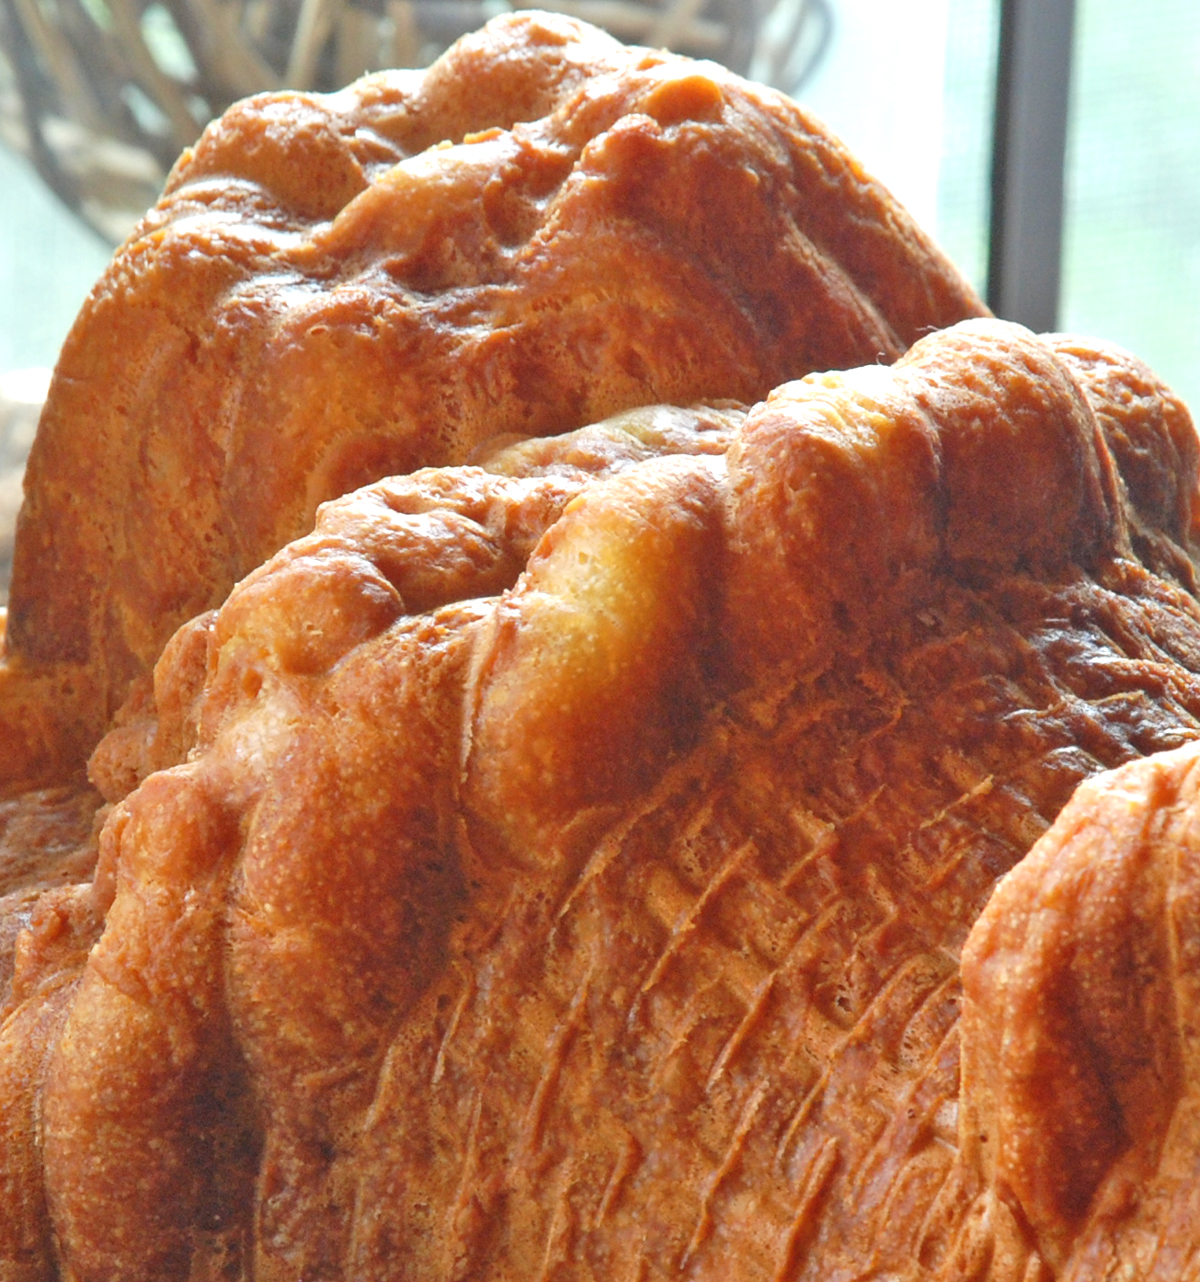
This year I made a double batch of my German Sourdough Pumpernickel Pretzel Rolls and another version of my Tangzhong Onion rolls. I changed up some of the flour and also added some shredded cheese in the mix for added flavor.
Tangzhong is the technique of heating a portion of the flour and liquid in your recipe to approximately 65C to make a paste (roux). At this temperature the flour undergoes a change and gelatinizes. By adding this roux to your final dough it will help create a soft, fluffy, moist open crumb. It is also supposed to help prevent the bread from going stale.
It is not very difficult to do a Tangzhong. Use a 5 to 1 liquid to solid ratio (so 250g liquid to 50g flour) and mix it together in a pan. Heat the pan while stirring constantly. Initially it will remain a liquid, but as you approach 65C it will undergo a change and thicken to an almost pudding like consistency. Take it off the heat and let it cool before using it in your recipe. Some people will refrigerate it for a while but you can use it right away as soon as it cools.
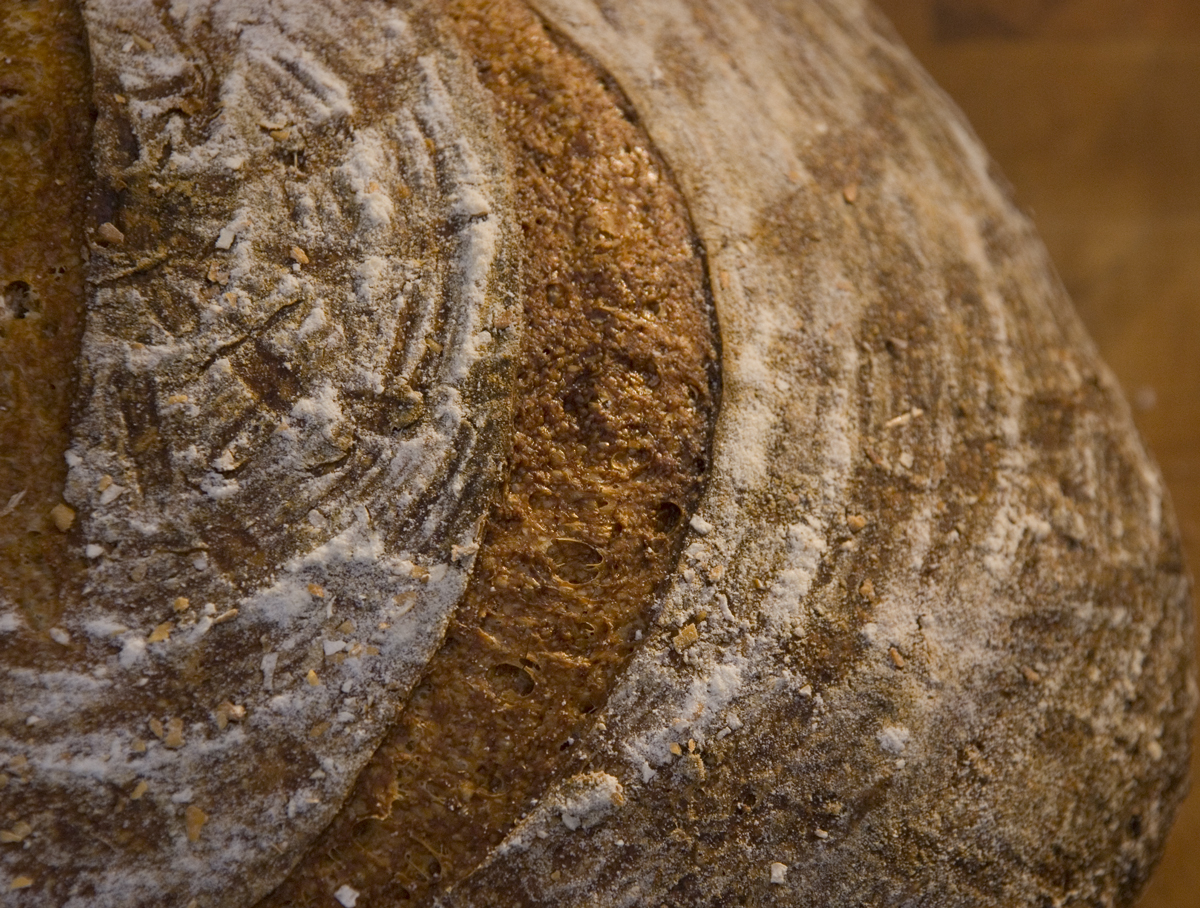
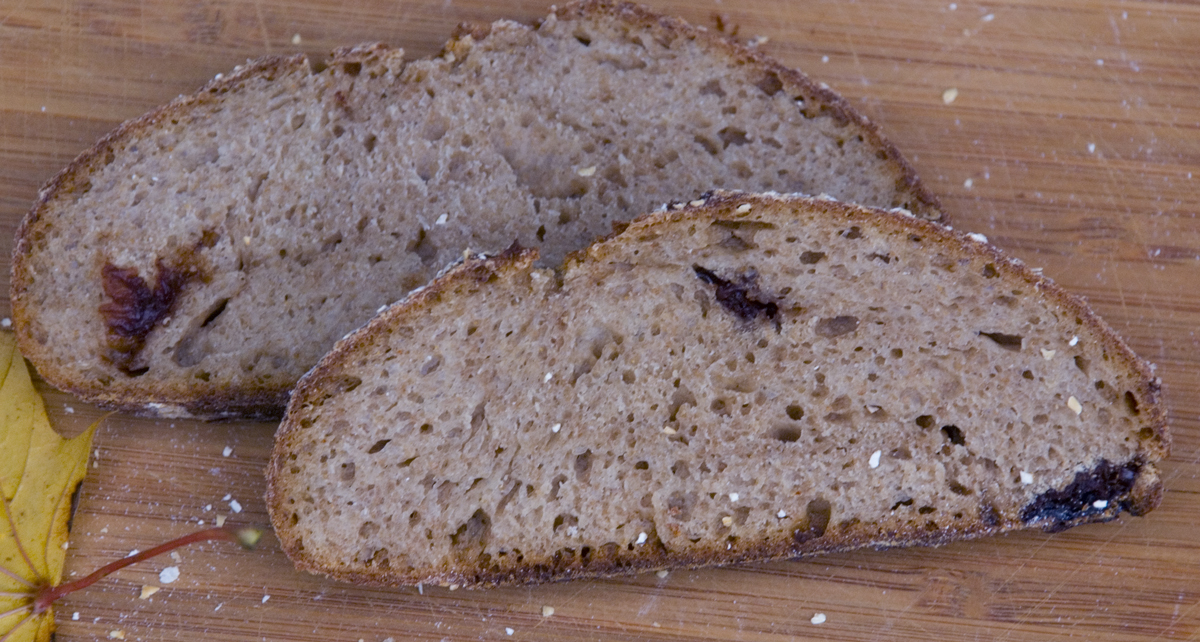
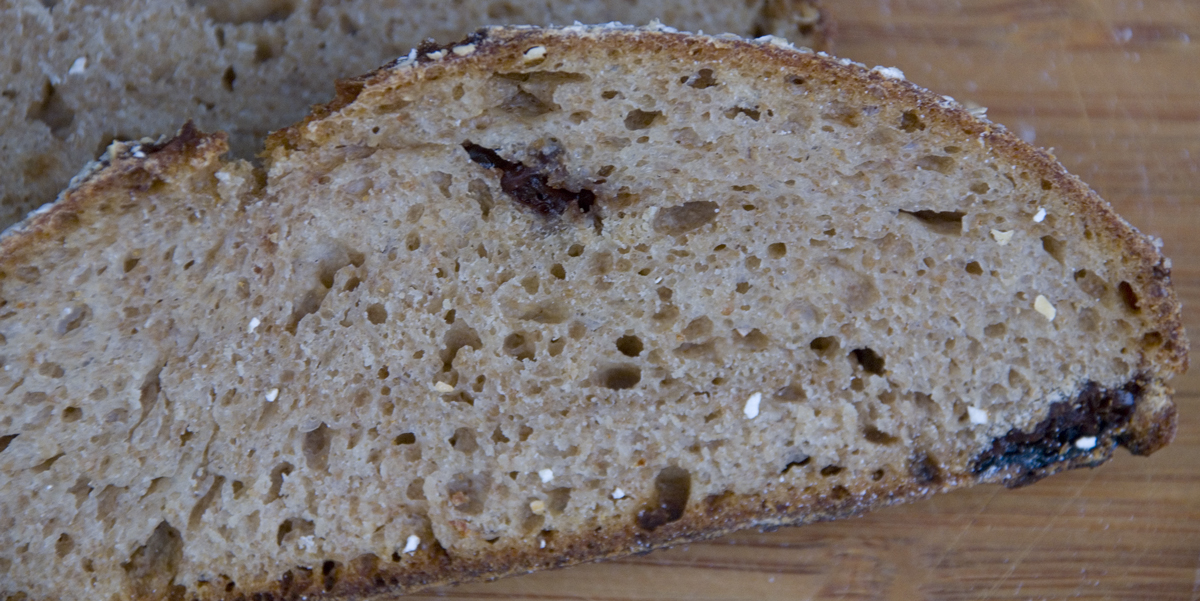
The rolls were a big hit along with the pretzel rolls. If you try these you won't be disappointed.
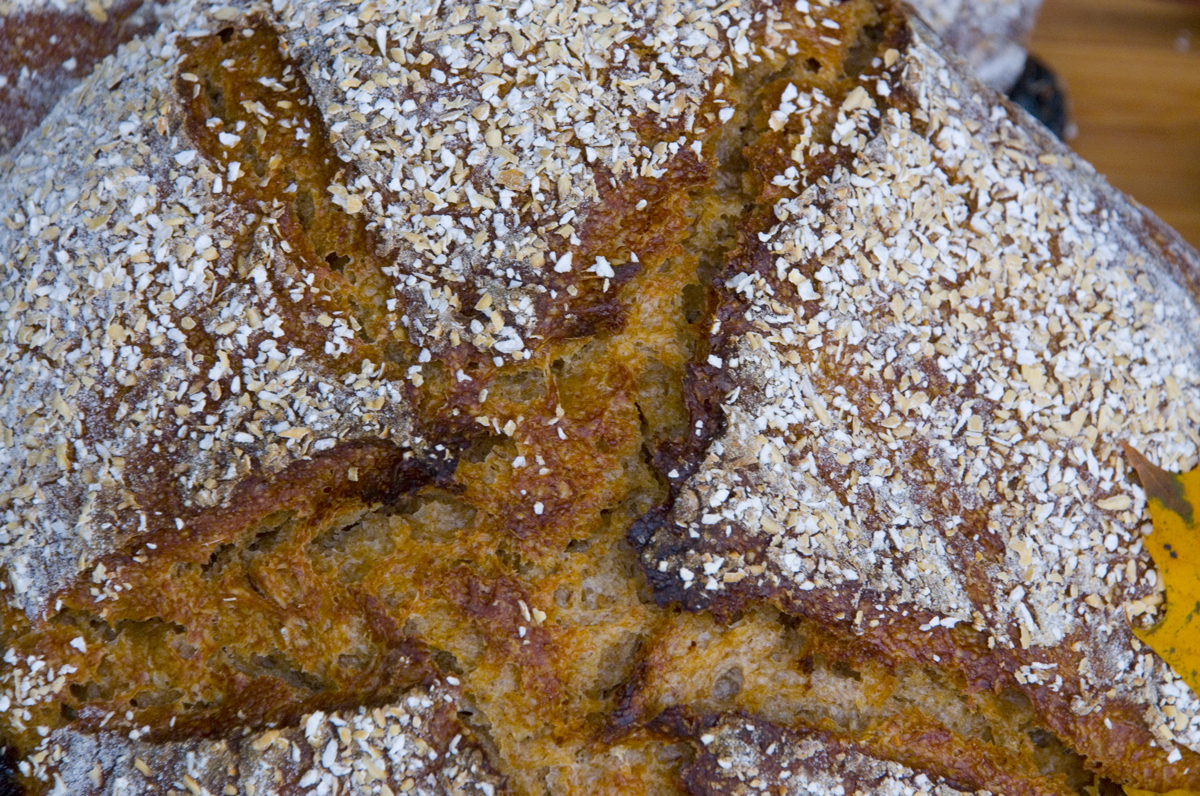
Please note I had to use my I-Phone to take the photos so they are not exactly up to my usual standards but hopefully you can stand to look at them :).
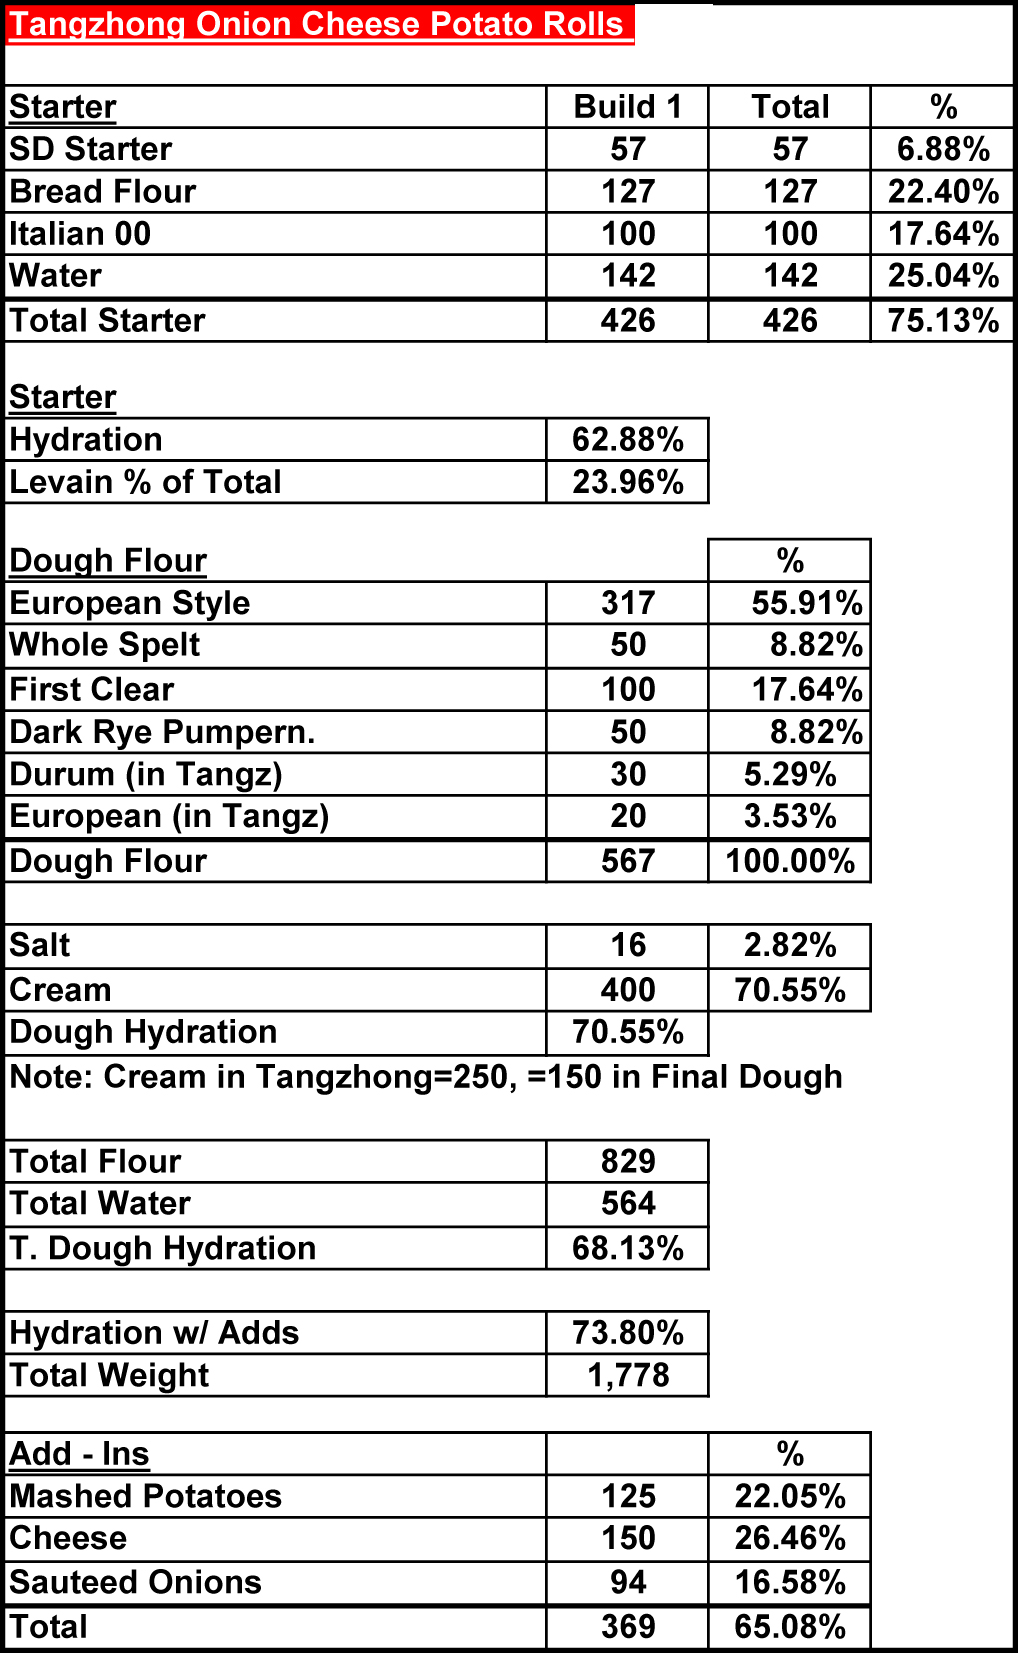
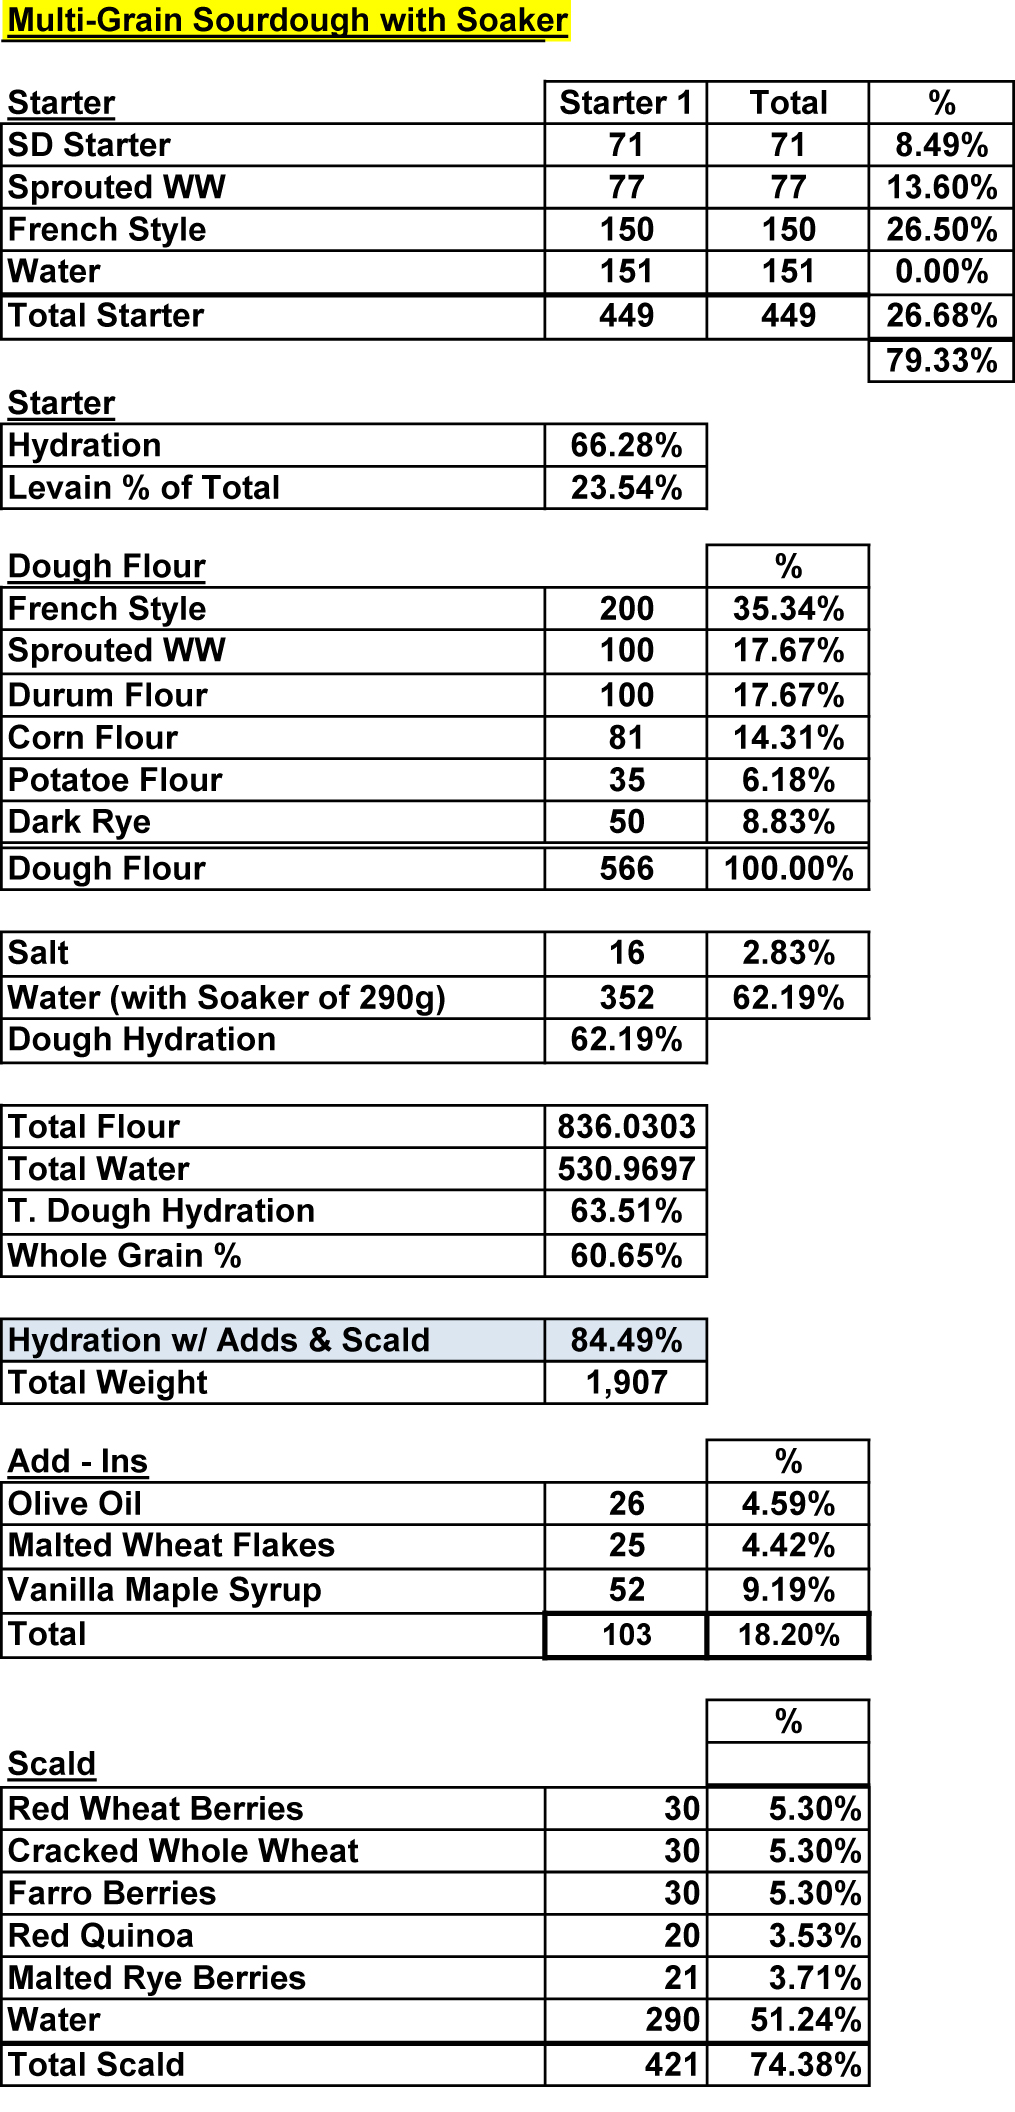
Formula
Note: Tangzhong consisted of 30 grams European Style Flour, 20 grams Durum Flour and 250 grams Cream. I included this in the overall formula below.
Levain Directions
Mix all the levain ingredients together for about 1 minute and cover with plastic wrap. Let it sit at room temperature for around 7-8 hours or until the starter has doubled. I usually do this the night before.
Either use in the main dough immediately or refrigerate for up to 1 day before using.
Main Dough Procedure
Cut up the onion into rings and sauté on low heat until nice and canalized using some olive oil or butter in your pan. Let the onions cool completely and chop into smaller pieces before using in the dough.
Prepare the Tangzhong per directions above and allow to cool to room temperature.
Mix the flours, Tangzhong and cream together in your mixer or by hand until it just starts to come together, maybe about 1 minute. Let it rest in your work bowl covered for 20-30 minutes. Next add the salt, potatoes and starter (cut into about 7-8 pieces), and mix on low for a minute. Mix for a total of 13 minutes in your mixer starting on low-speed and working your way up to speed #3 for the last 5 minutes. When you have about one minute left to mix add the cheese to get it evenly incorporated. I used a mixed cheese blend that was shredded. (Note: I didn't follow my own directions and only mixed for about 6 minutes on speed #1. If you want the rolls to be lighter it is better to mix for the total amount of time as originally indicated). Remove the dough from your bowl and place it in a lightly oiled bowl or work surface and do several stretch and folds. Let it rest covered for 10-15 minutes and then do another stretch and fold. Let it rest another 10-15 minutes and do one additional stretch and fold. After a total of 2 hours place your covered bowl in the refrigerator and let it rest for 12 to 24 hours.
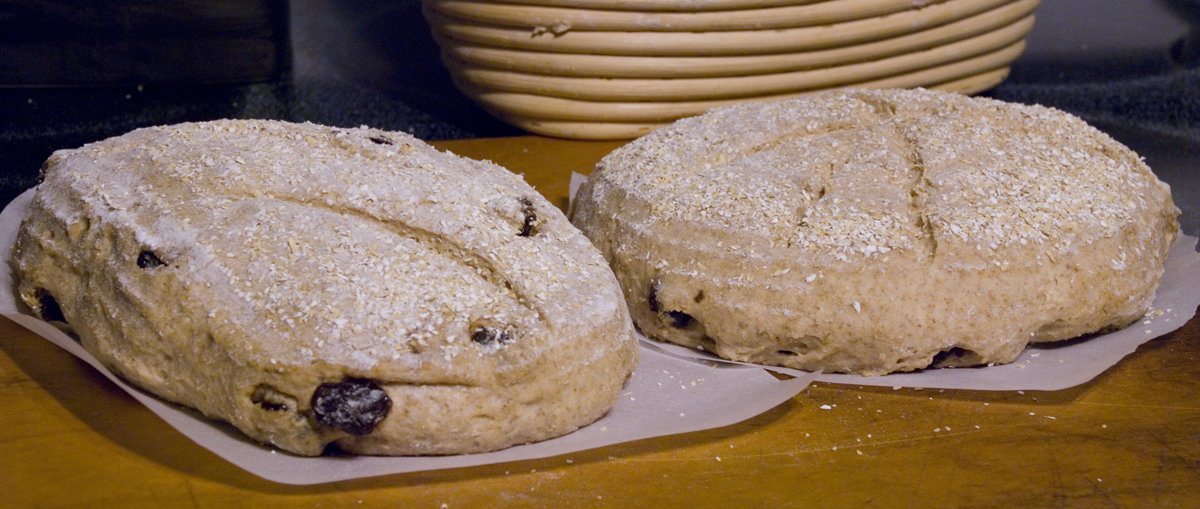
When you are ready to bake remove the bowl from the refrigerator and let it set out at room temperature still covered for 1.5 to 2 hours. Remove the dough and cut into equal size pieces and shape into rolls. Place on a baking sheet lined with parchment paper and cover with moist tea towels or plastic wrap sprayed with cooking spray.
The dough will take 1.5 to 2 hours depending on your room temperature. Let the dough dictate when it is read to bake not the clock.
Around 45 minutes before ready to bake, pre-heat your oven to 500 degrees F. and prepare it for steam. I have a heavy-duty baking pan on the bottom rack of my oven with 1 baking stone on above the pan and one on the top shelf. I pour 1 cup of boiling water in the pan right after I place the dough in the oven.
Right before you are ready to put them in the oven, using a simple egg wash brush each roll and sprinkle on your topping of choice. Next add 1 cup of boiling water to your steam pan or follow your own steam procedure.
After 1 minute lower the temperature to 425 degrees. Bake for 35 minutes until the crust is nice and brown.
Take the rolls out of the oven when done and let them cool on a bakers rack before for at least 2 hours before eating.


