Retaurants have house wines - the reasonably decent go-to when you can't make up your mind - so why can't I have a "house bread" as a fall-back standard when I can't figure out what else to make?
I'm trying (so far unsuccessfully) to get onto the sourdough/levain train, but my strength so far seems to be straight dough formulas. Nonetheless, I wanted a bit of pre-ferment action, so I've adopted a dual-use strategy with one of my previous fads.
I love the "Artisan Bread in Five Minutes" concept, and I've baked some very decent (for the technique) bread from it. I've outgrown the concept (even though I heartily endorse it for people who are afraid to bake their own bread because it seems so finicky), I got into the habit of keeping a batch in the fridge. Well, since it's a 70% hydration dough, with salt, proofed and gluten developed, I now use it as a pâte fermentée (PF) pre-ferment to help boost the flavour of other loaves I do.
I have a range of flours around the house, so I thought I'd throw together some of what I like together: 1/2 all purpose (I use Robin Hood unbleached, but better flour=better results), 1/4 locally grown and stone ground whole wheat, and 1/4 locally grown/stoneground dark rye.
I mixed some seed and other crunchies (flax, sunflower, millet, cracked rye and cracked wheat) to give the bread a bit of character. LESSON LEARNED: I throw them dry into the mix because when I tried soaking the seeds (cold water, overnight in fridge), it made the dough WAY wetter than I was happy with.
My straight doughs tend to be around 70% hydration. Because the pre-ferment is a 70% PF, I thought I'd keep the math dead simple with my straight doughs, so that's what I settled for.
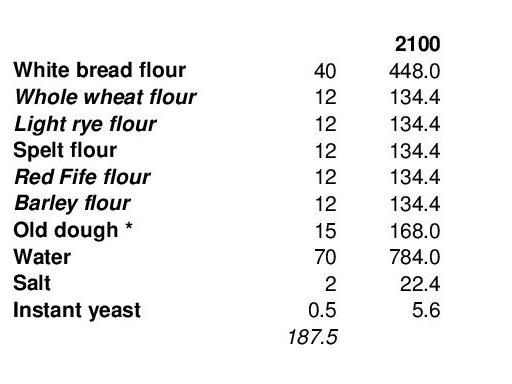
The resulting formula for 2 x 750g/24oz loaves is here (PDF). I "melt" the pâte fermentée in the water and use a kitchen stick blender to blend it even more before adding it to the dry ingredients to make it an easier, more uniform mix. Autolyse for about 10 minutes, knead until smooth, and ferment for about 60 minutes at room temperature (sometimes, when I ferment it overnight in the fridge, I cut the instant yeast by 1/2). Next, shape and bench proof for another 60 minutes. After the slash, into a 500F oven (sprayed with the ketchup bottle full of water for steam) for 5 minutes, followed by 40 minutes at 400F. The loaves should be around 200F internal temperature when done.
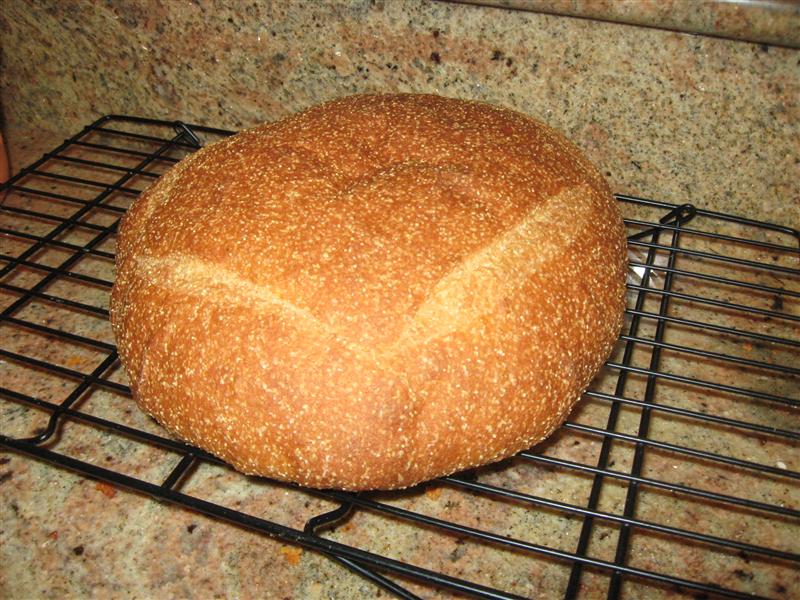
The results:


I like the crumb, and it's a nice, wheaty taste. I may fine tune it a bit, but I love this as an easy-to-do everyday bread.


 * - 70% hydration pâte fermentée w/1% instant yeast & 2% salt Mix the dough, autolyse for ~30 minutes, knead until smooth, and set to ferment until doubled (~1.5 hours at ~22 C/72 F). Divide & rest the dough before shaping, slash, and load into pre-heated 510 F/265 C oven. I spray some water from a plastic ketchup bottle on one of the walls as I load up to create a bit of steam. After 10 minutes, I drop the oven to 350 F/175 C convect for 25-30 minutes (until the crust is to your liking, and internal temperature is at least 200 F/93 C). The results?
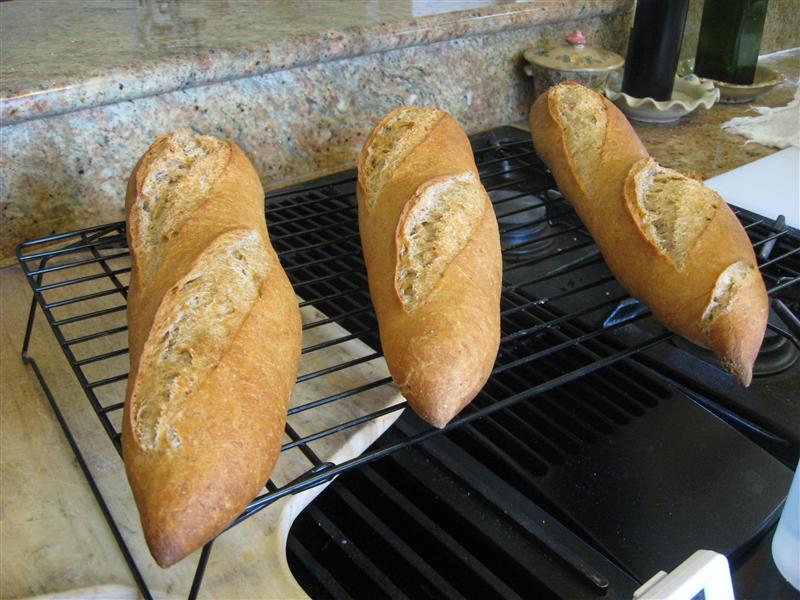
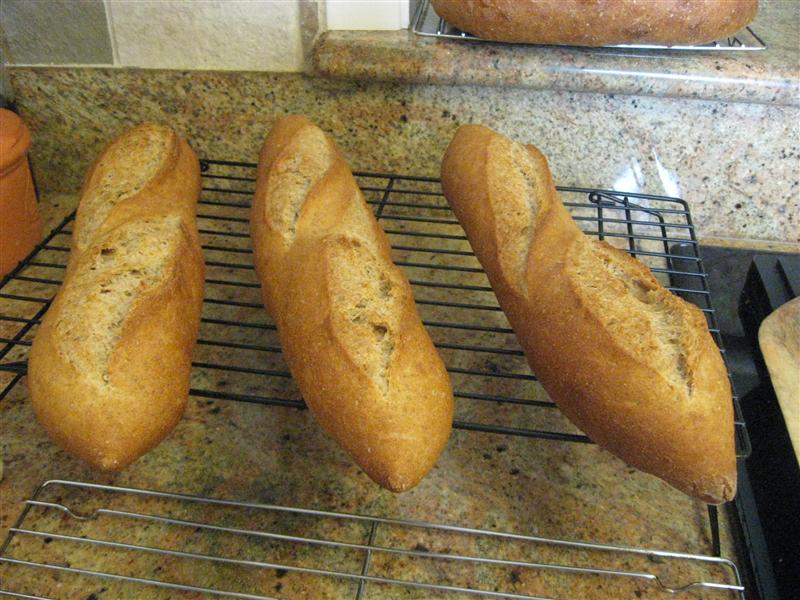
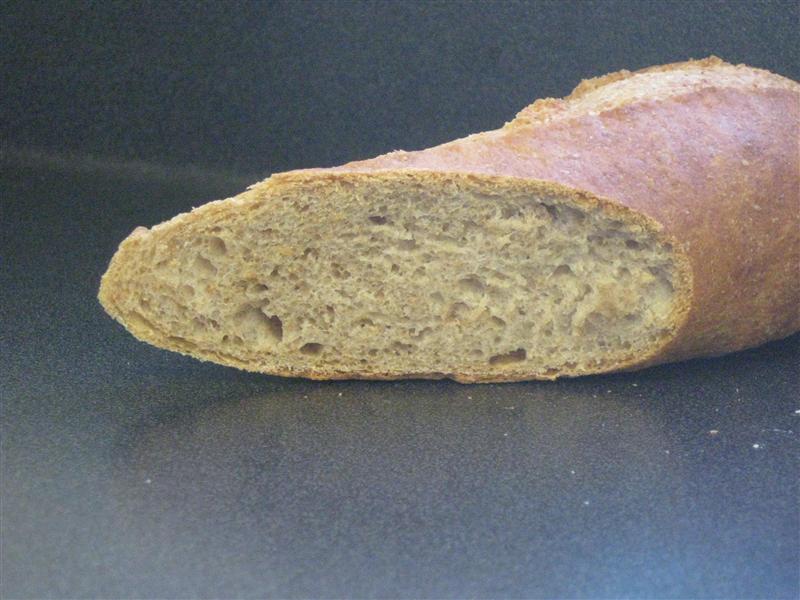 Not as open a crumb as some prefer in a baguette, but I can live with it given how much denser, relatively un-gluten-y flour is included. Nice nutty taste from all the different flours, and I have a LOT fewer 1/3-full bags of odds and ends flour left in my storage area. Feedback, good, bad or ugly, welcome as always.


