Secrets to successful Clay Oven Usage
I'm still relatively new to this, but I haven't seen the information below in other places. I welcome your comments and suggestions from your experiences as well. They will benefit the whole community!
First, go ahead and buy the book by Kiko Denzer "Build your own earth ovens" (amazon.com $15)
Insulated Hearth Subfloor:
In Kiko's book, he recommends using plain sand as a subfloor for the hearth. That is the cheapest way to do it, but for $50 more, you can have an insulated subfloor that will hold heat much better than sand. Build a form the size of the top of you base at least 2" thick. Buy a bag of Portland cement and 2 big bags of vermiculite from a plant nursery. Mix the two at a 5:1 ratio (vermiculite:Portland) dry. Then add water and mix until you get an oatmeal consistency. Pour into the form. Smooth out the top. Make sure it's level! Let dry for at least a week. Then you will set your fire brick directly on top without mortar. The clay walls will hold it in. Ideally, you would have 4-5" thick subfloor. I found that I loose heat out the floor faster than the walls with 2" thick subfloor.
Oven Dome:
Kiko, in one of his blogs, actually says the ideal height of the dome, no matter the size of the floor, is 16". He plans to add it to the next edition of his book. In the present edition, he gives a percentage formula.
Firing the oven:
After a couple miserable failures, and combing the web for advice, I finally figured out how to successfully fire a clay oven. Here's what I learned.
You really need good seasoned oak to make it get hot enough.
Buy an Infra-red thermometer (amazon.com $80). It is worth it. You'll need to chart out the heating behavior of your oven at least one time. Then you can use it to give you a frame of reference during a heating.
And, plan to spend at least 3 -5 hrs heating it up, depending on the size of your oven. My oven floor is 28" wide by 31" deep, and 20" high ceiling inside. It is a relatively large oven. I found that I have to fire the oven for 4+ hrs to get the temp high enough.
Think in terms of heat saturation of the clay walls and floor. Noah Elbers at Orchard Hill Breadworks (orchardhillbreadworks.com) says he fired his clay oven 6 hrs before he attained proper heat saturation.
The outside walls are a good guide as to heat saturation. In my oven, I need the outside walls to gain 100 degrees in temp before I am near having proper saturation; even more if I want to bake a larger quantity. (This is where an IR thermometer comes in handy!)
I think firing time depends on how much you are baking too. If you are only doing a couple pizzas and no breads, then you don't need as much heating time. But if you're going to maximize your baking potential, you'll want a long hot heating.
I took hundreds of data points of my oven during a firing, and I put my findings into a graph.

(The upper lines are inside temps. The lower lines are outside temps.)
Couple observations from the graph:
- You see a big jump in internal temp at 75 minutes when I put in a few pieces of nice seasoned oak. After which time, the internal temp continues to grow.
- Inside temp reached 1000+ degrees F at its peak.
- The rate of heating of the outside increased after the good oak was added and steadily gained in temp until the fire went down to coals. (I rake the coals across the floor and let sit for 30 min to heat the floor uniformly.)
- After that time, the outside temp remained relatively constant.
- You can see clearly how after the fire is taken down to coal at 255 minutes (or 4:15 into firing), we immediately start losing inside temp at a steep rate. Coals stayed down for 30 minutes and then raked out.
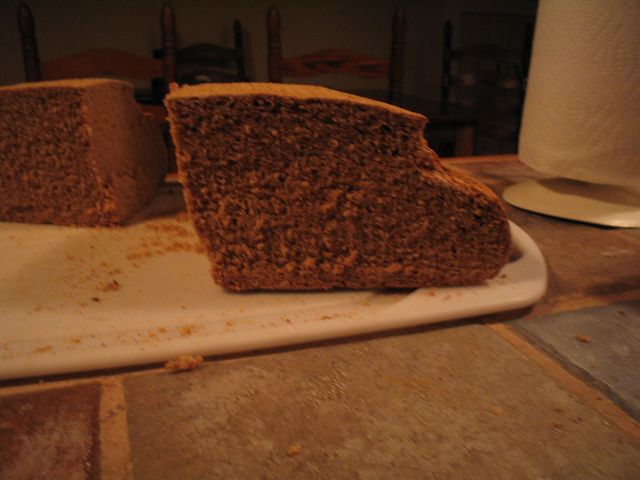
- Once the oven inside temp reaches around 450, we see a leveling off of the rate of cooling. I think that if I had fired the oven another hour, the inside temp would have leveled off at a higher temperature. That would have given me addition time in the pizza and bread baking range. As it was, I got about 90 minutes worth of baking time on that firing. My max capacity in that firing was: 14 pizzas, seven 30" baguettes, and 6 whole grain loaves.
I hope this is helpful.
Let's hear some of your secrets!
David