Decided to do another easy sourdough post - did one a while back on my own site, but after some discussion here where I posted a recipe which the person who started that thread had a bit of a disaster with, decided to give it a go with photos as I went.
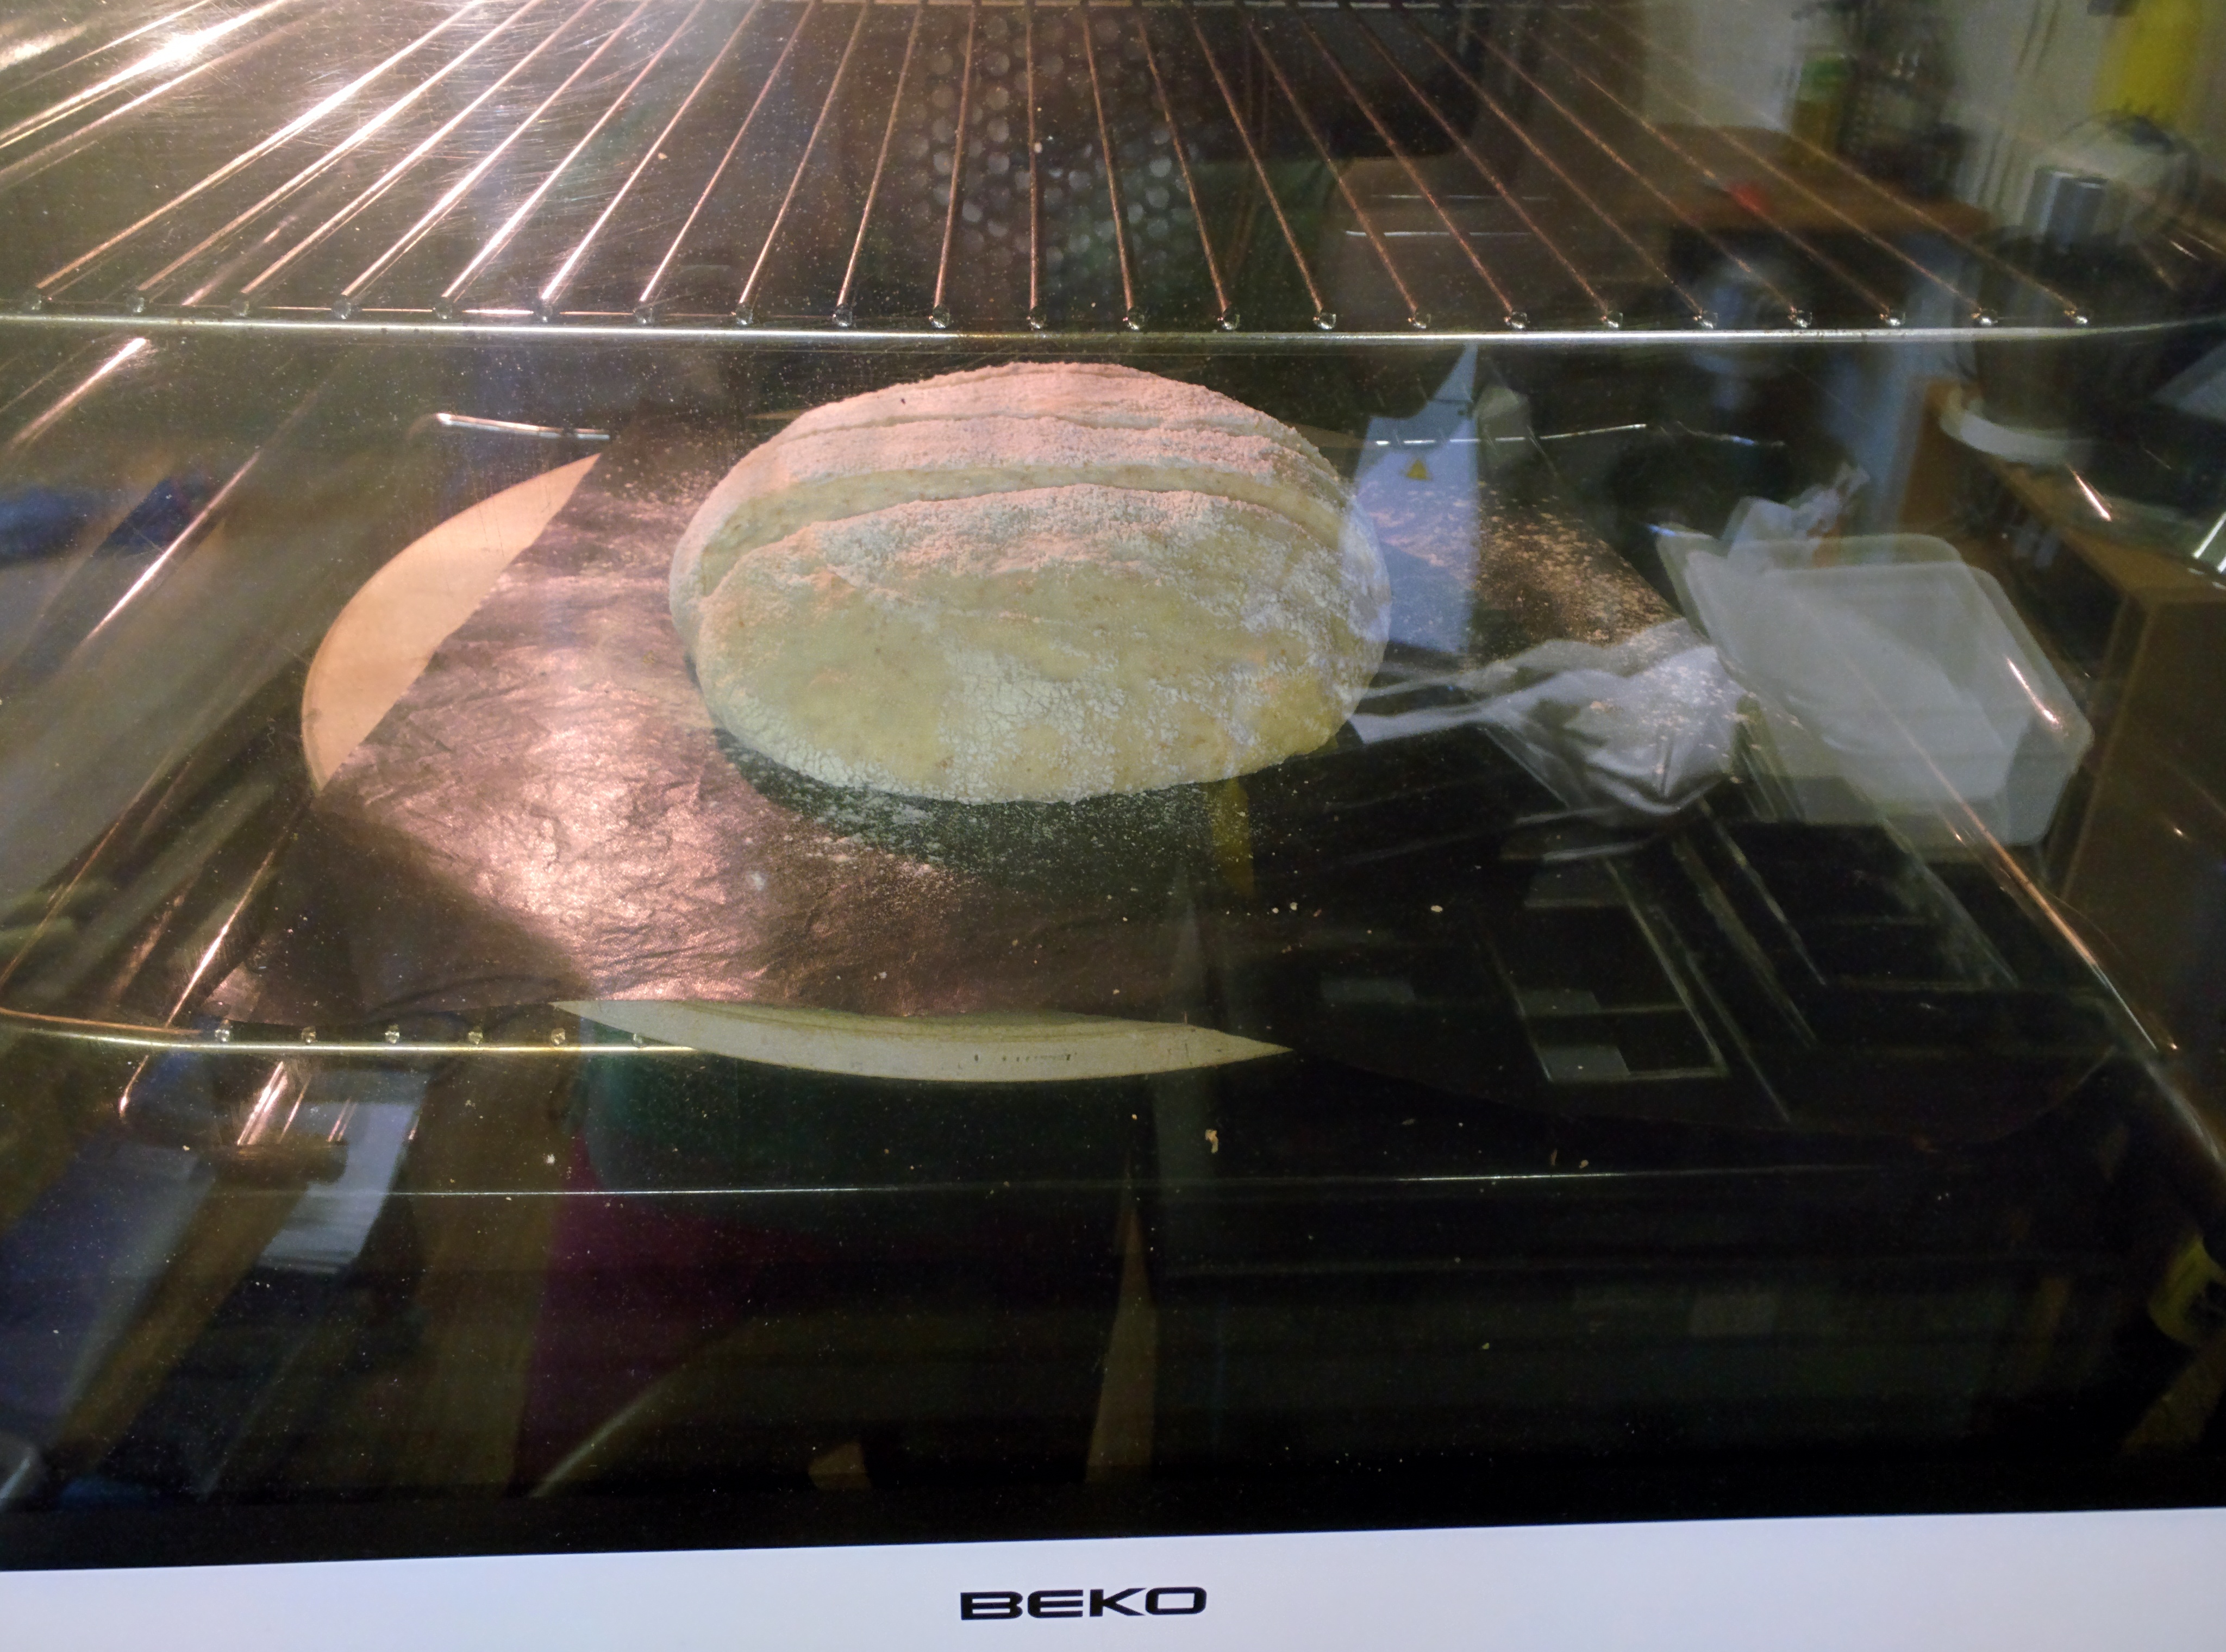
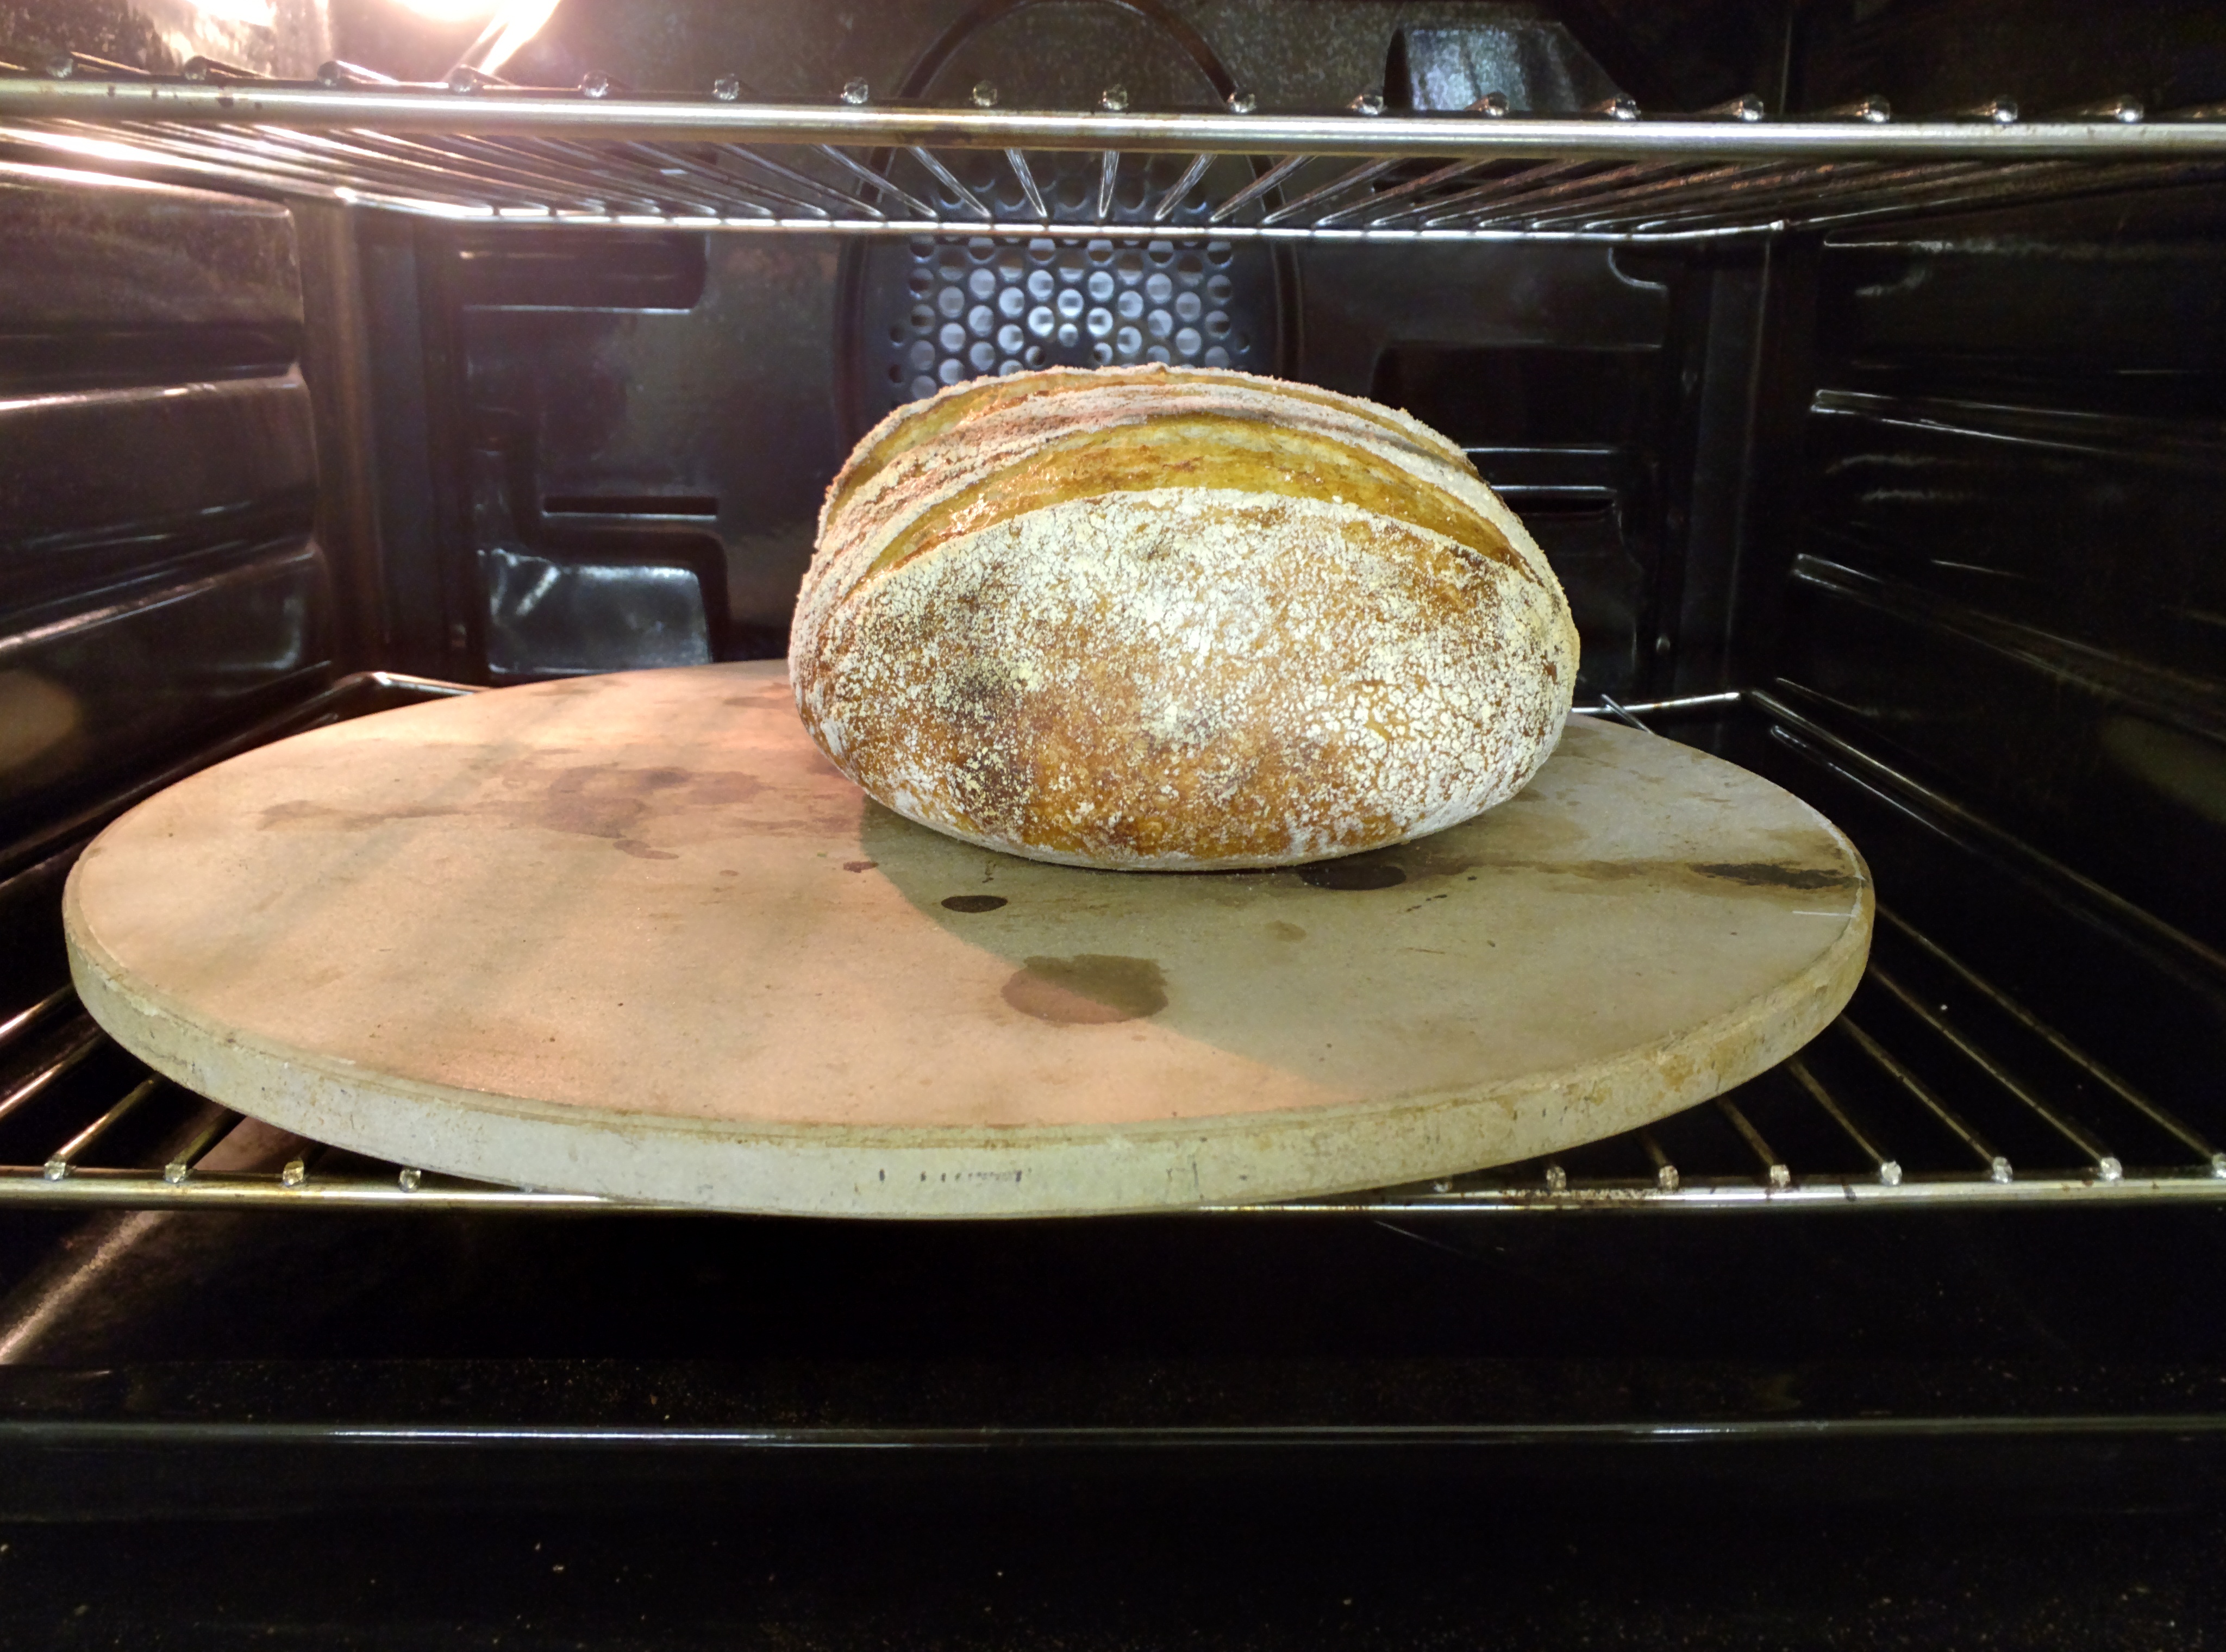
So... Sourdough - I do not think there is any magic to it. I see and read many articles on how you need to look after the starter, nurture it like a child or pet, feed it, and so on. Continuing on, I see techniques for "building the starter" - extra feeds and discards at fixed time and temperature intervals, then continuing on, kneading, wetting, stretching, folding with again, more regimented intervals before shaping, proofing, scoring to a set of rules and baking it using a dutch oven, cloche, baking stone, etc. before leaving it 6 hours to cool and fully set before daring to take a knife to your item of beauty that you've sweated blood and tears over...
Here's my take; It's just bread. Get over it and just do it.
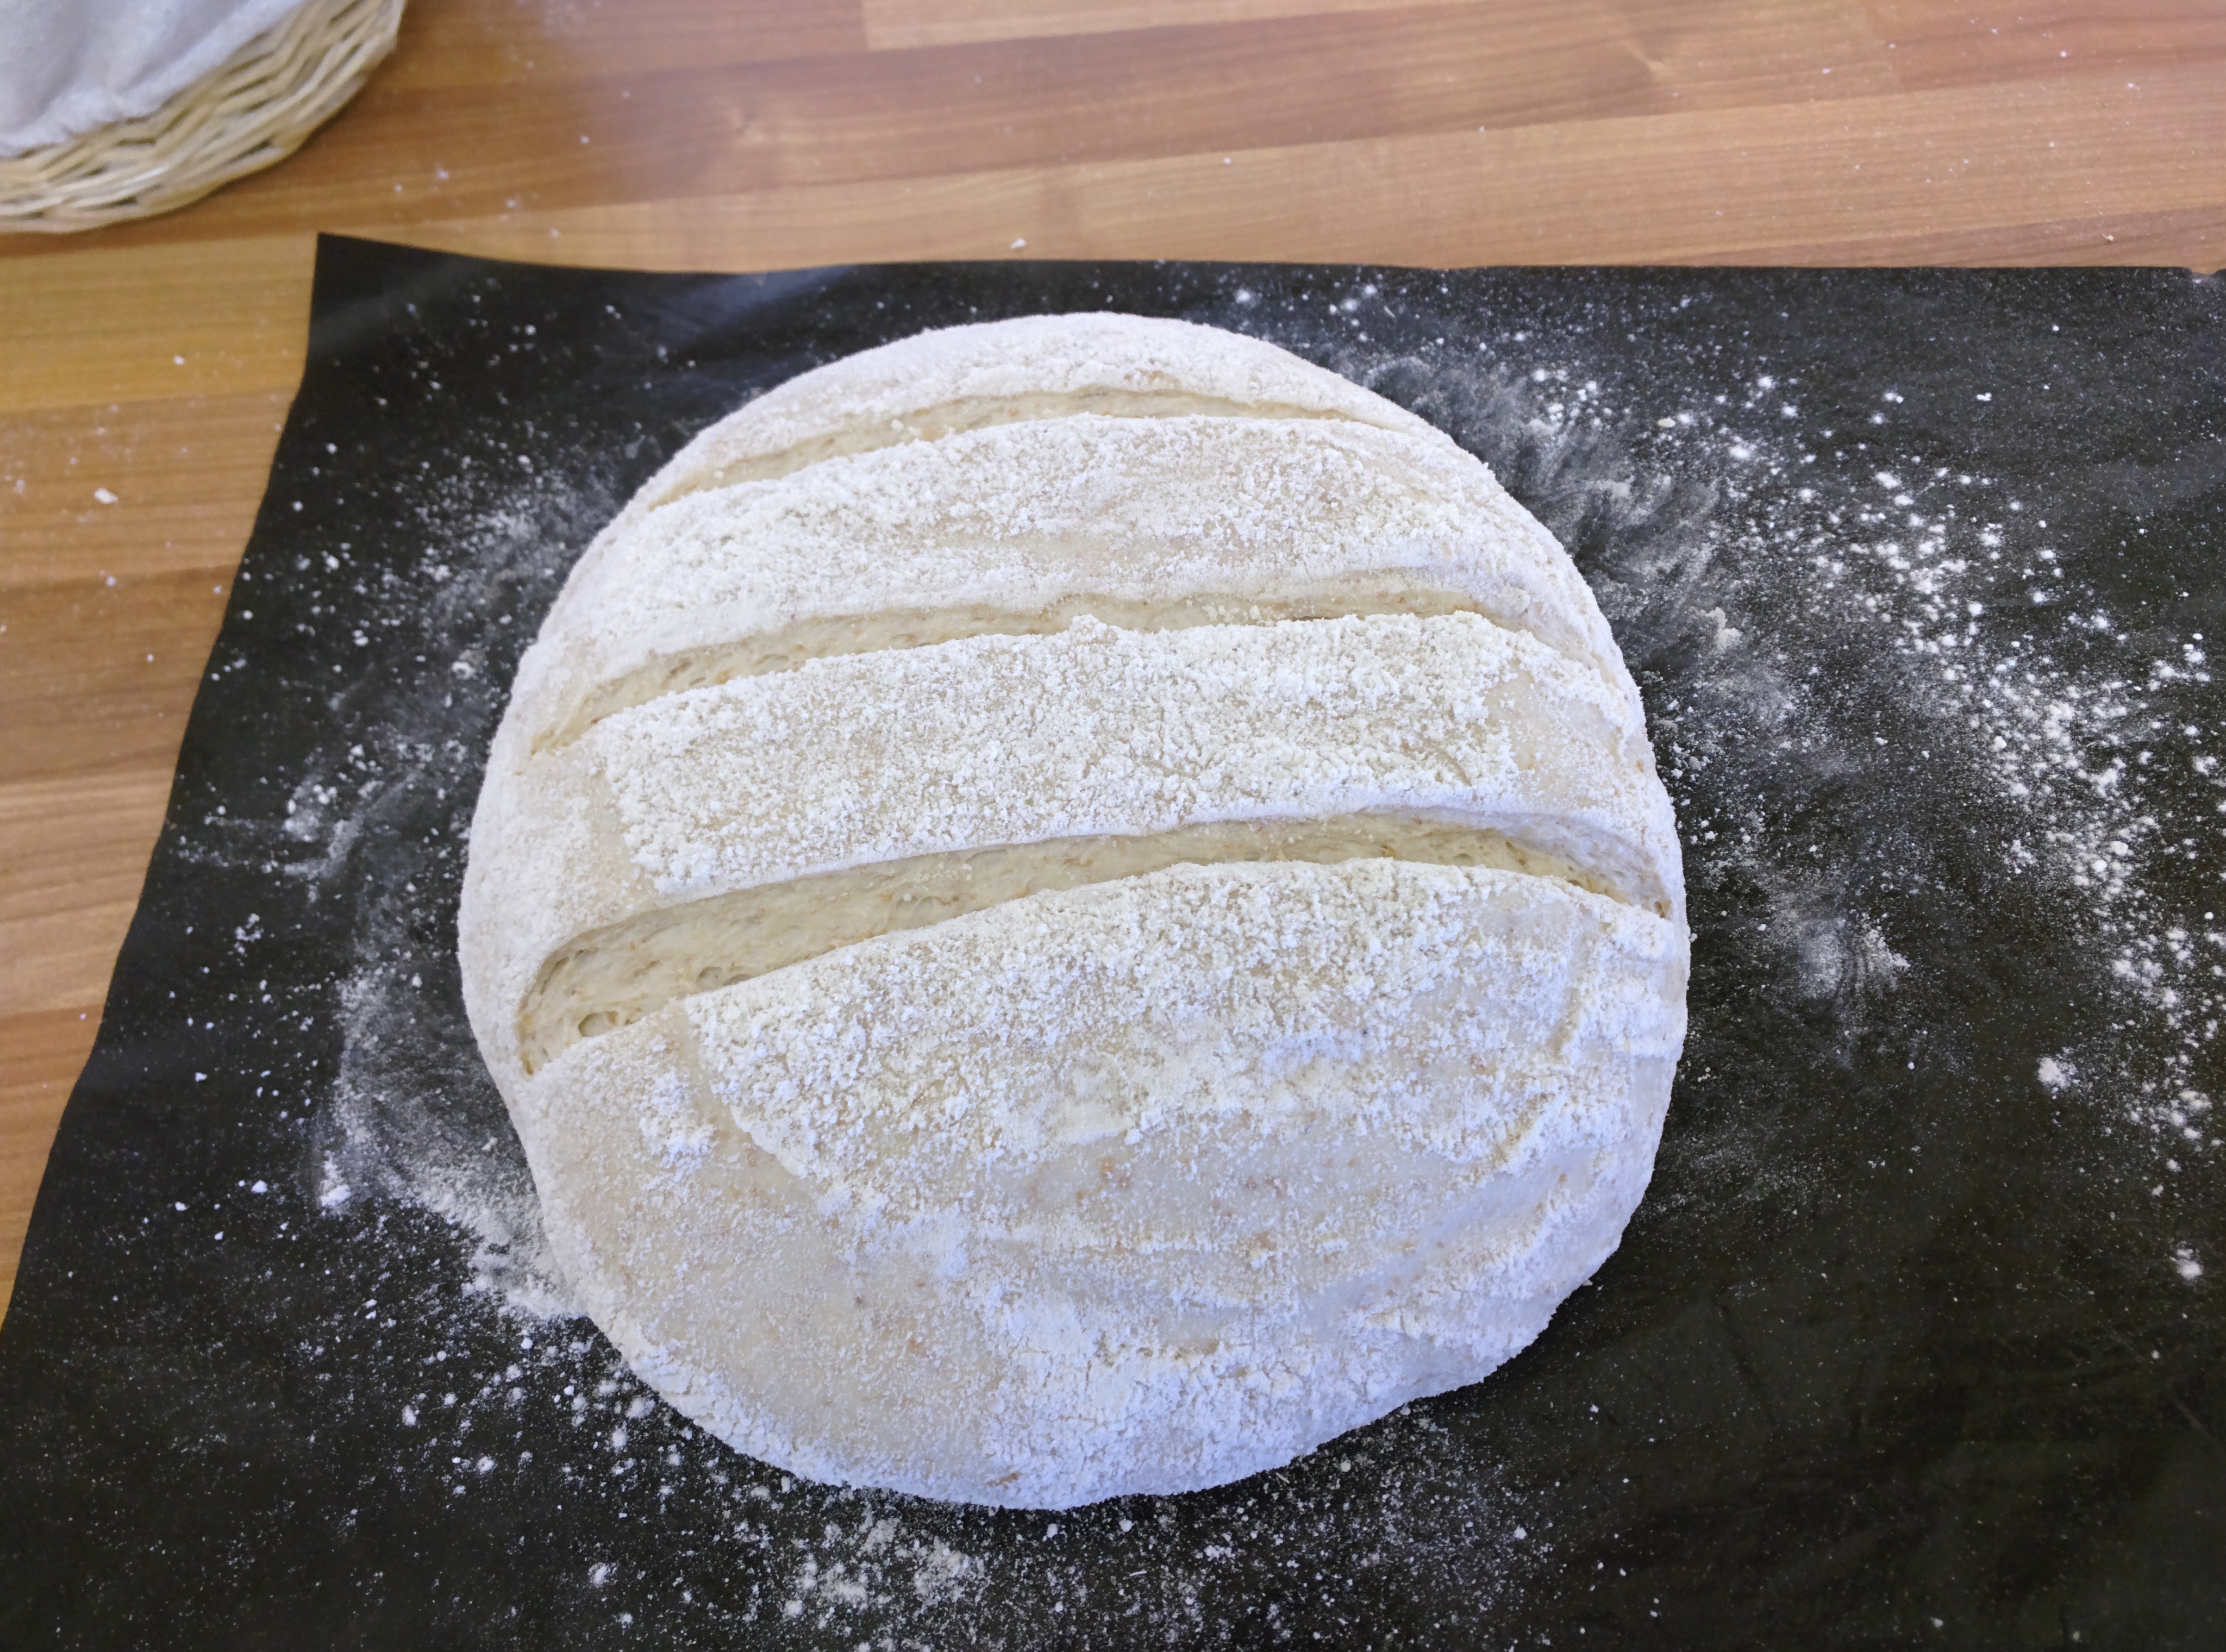
Sure - you can apply rules, you can take far more care with it that I appear to do, you can regiment the process and create rules - if what you're after is something extra special. The one loaf a week you make and you want to take pride in it and make sure its the best there is. And that's fine. I'm making basic daily sourdough bread here and for that, there is nothing special. No tricky processes, no strict timings or (within reason) temperatures.
OK - The starter. This will take you a week or so to get going from scratch and make sure it's working for you. My starters are well established and they live in the fridge. I have separate wheat and spelt (made with white flour, kept at 100% hydration) and rye (made with whatever rye I have to hand and kept at 150% hydration). I take them out of the fridge, use some directly from the jar, or use some from the jar into a bowl when I add more flour & water to make a "production" starter. Some days I need 3Kg of starter, so I have no choice...
Last night I needed 150g, so I used some directly from the jar. The jar was then topped up (75g flour, 75g water) and left in the bakehouse while I prepared the dough then put in the fridge.
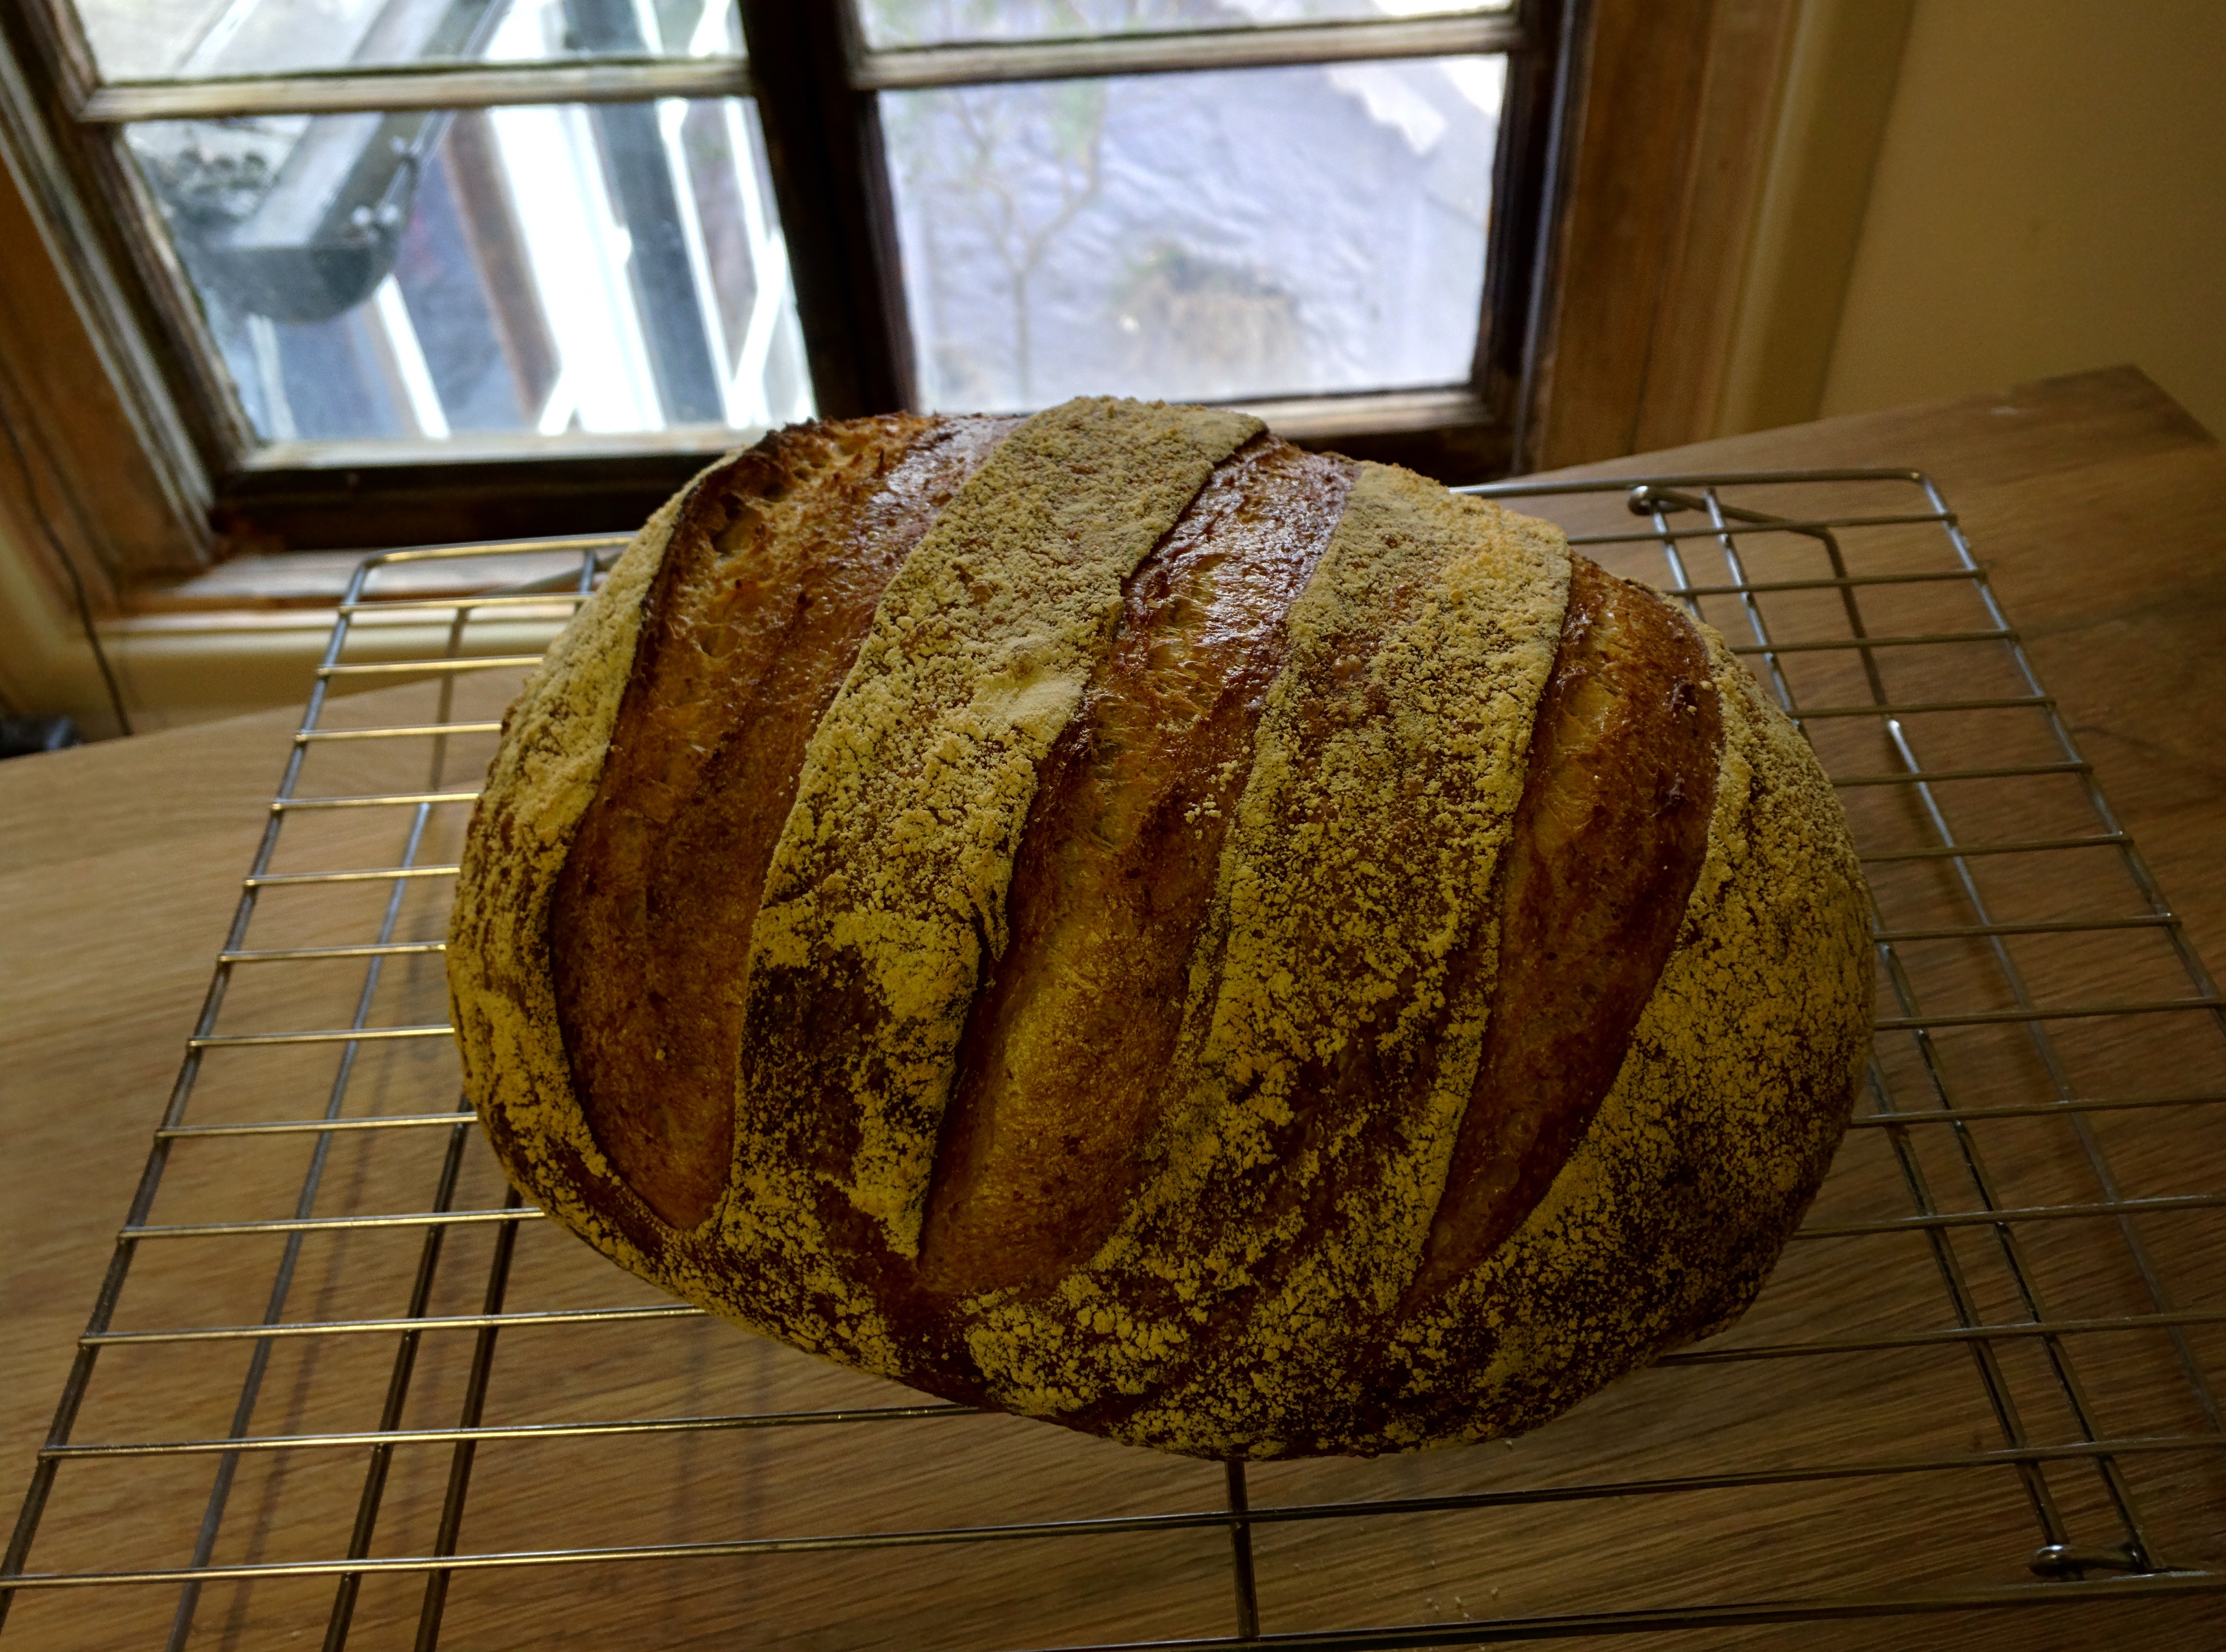
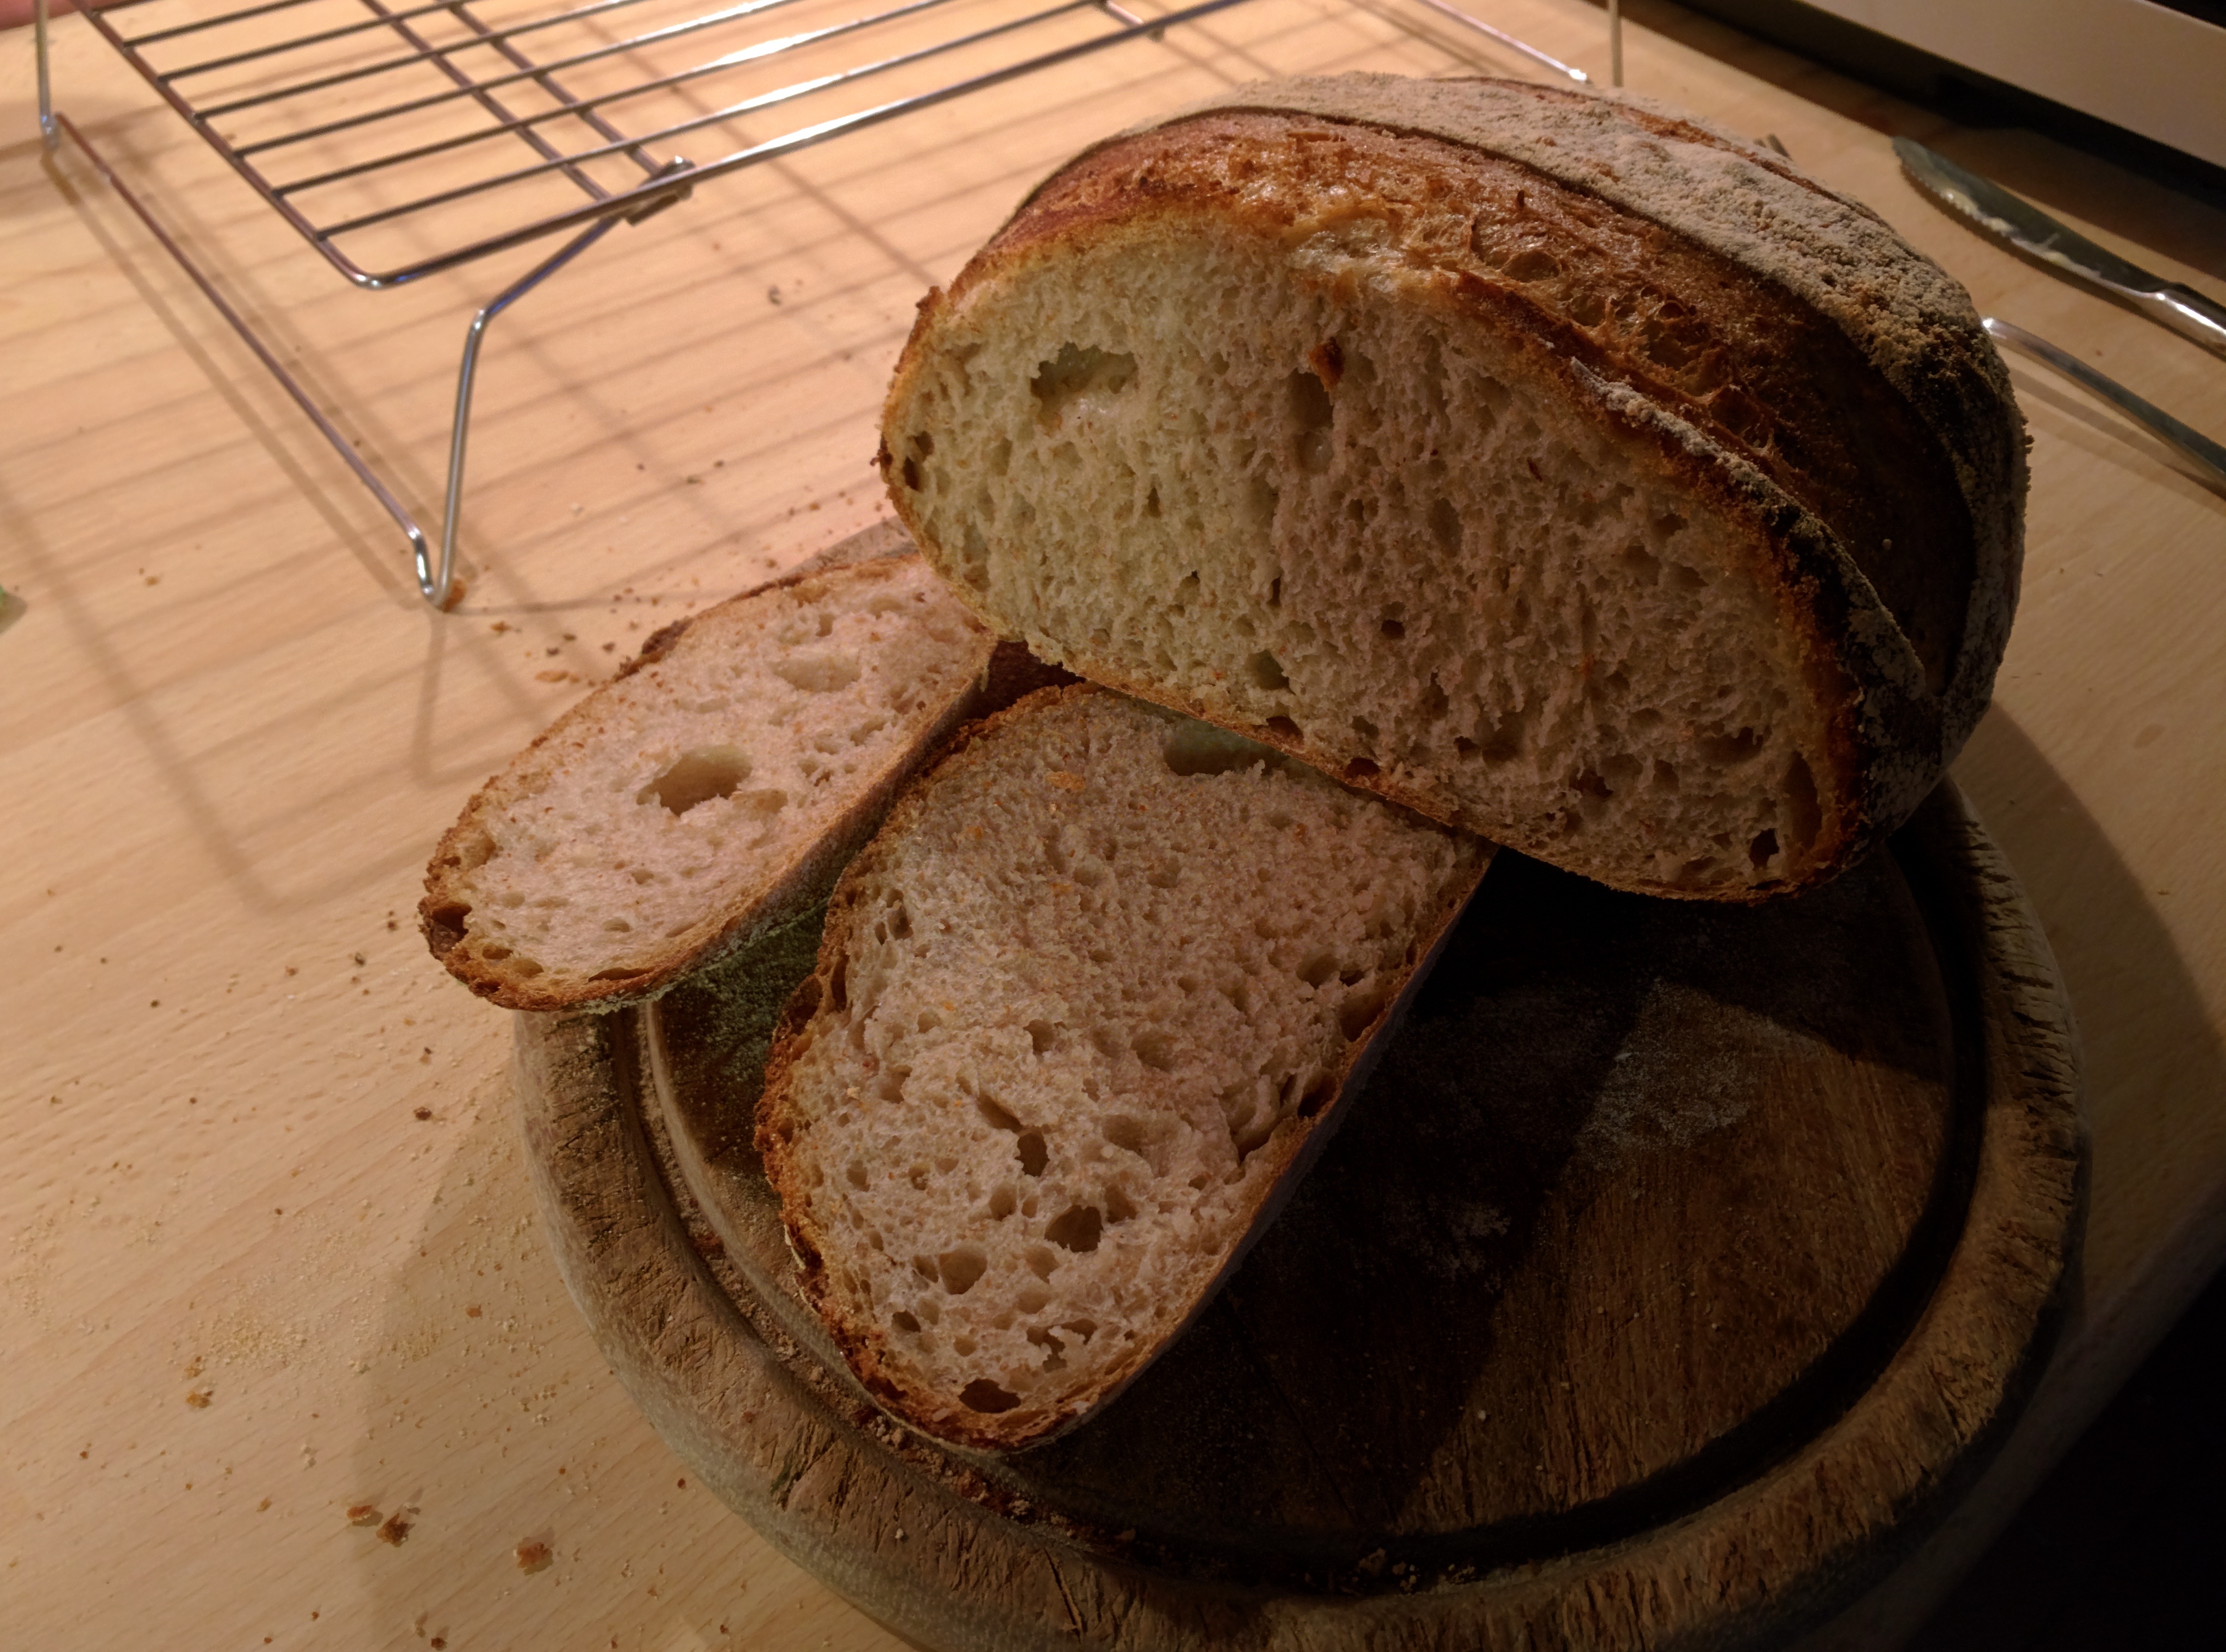
This is the recipe for my Buckfastleigh Sourdough. It's a daily bread which I bake five days a week and make and sell about 25 of them a week in local shops.
- 100g stoneground wholemeal flour (organic; Marriages)
- 400g strong white flour (organic; Shipton Mill No. 4)
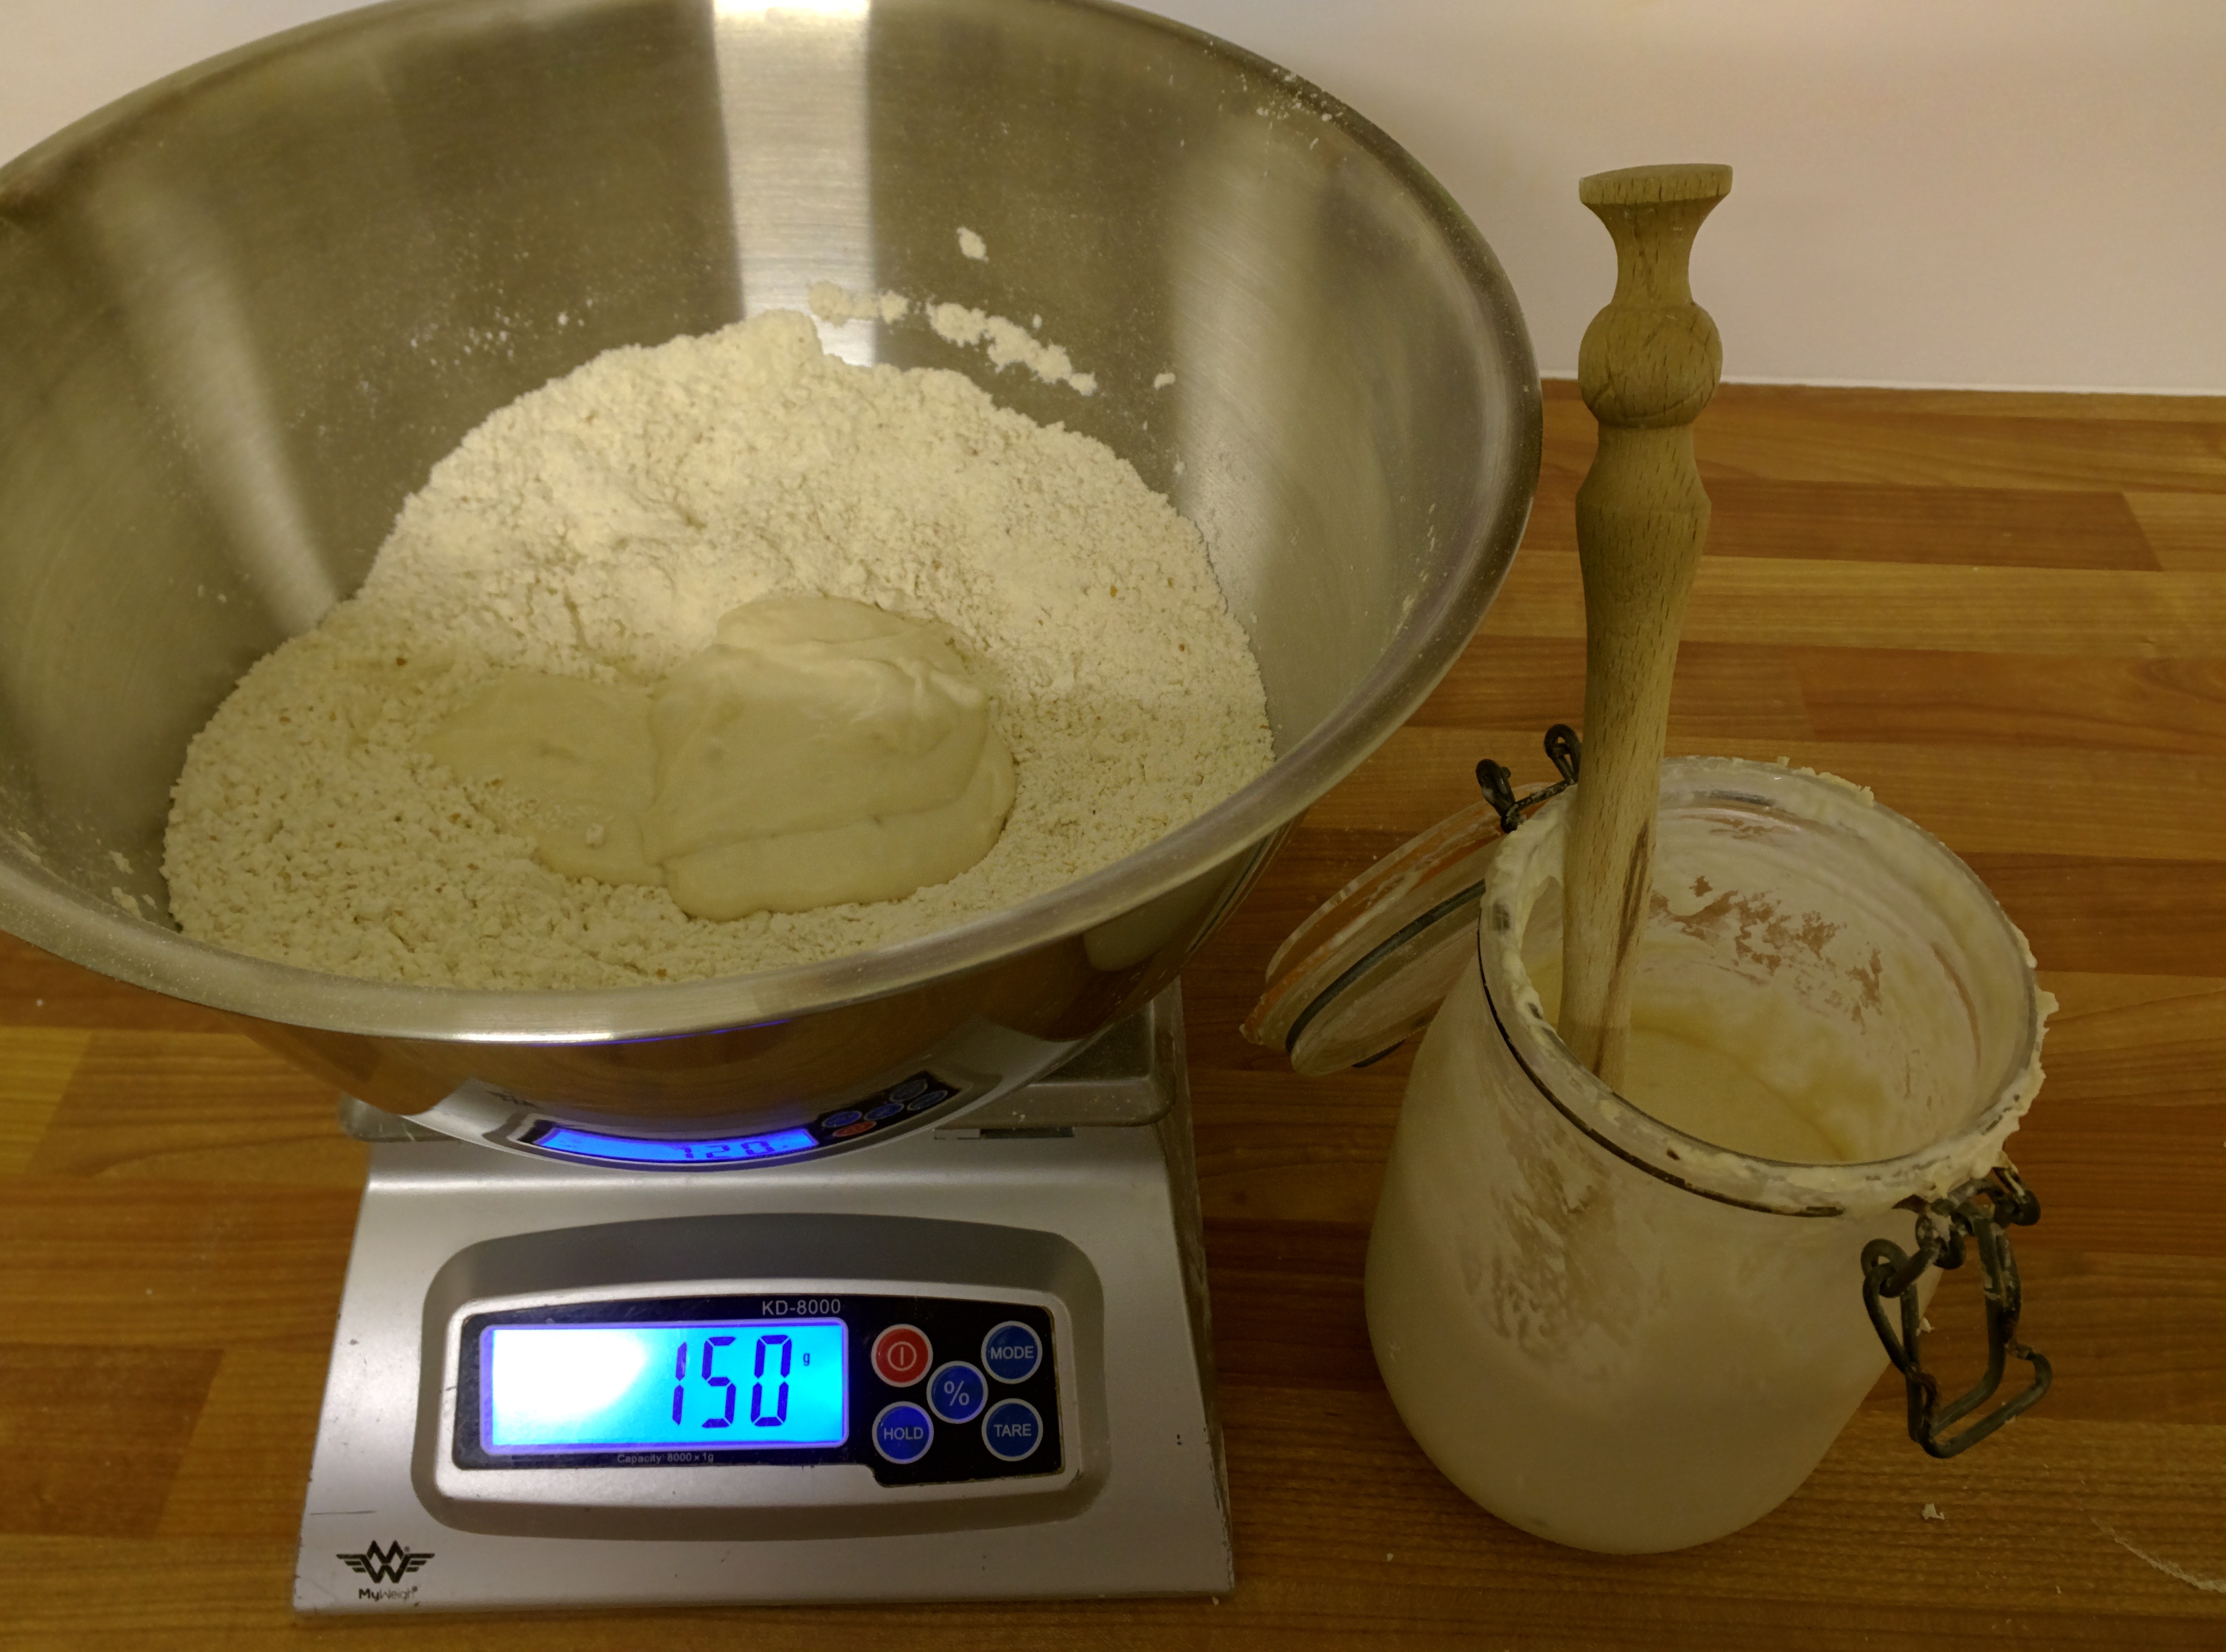
- 150g starter at 100% hydration
- 285g water
- 8g salt
It's Sunday evening about 9pm.
I used the starter from the jar out of the fridge. If I didn't have enough, then I'd have started with 30g starter from the fridge, added 60g flour and 60g water and left it for a few hours.
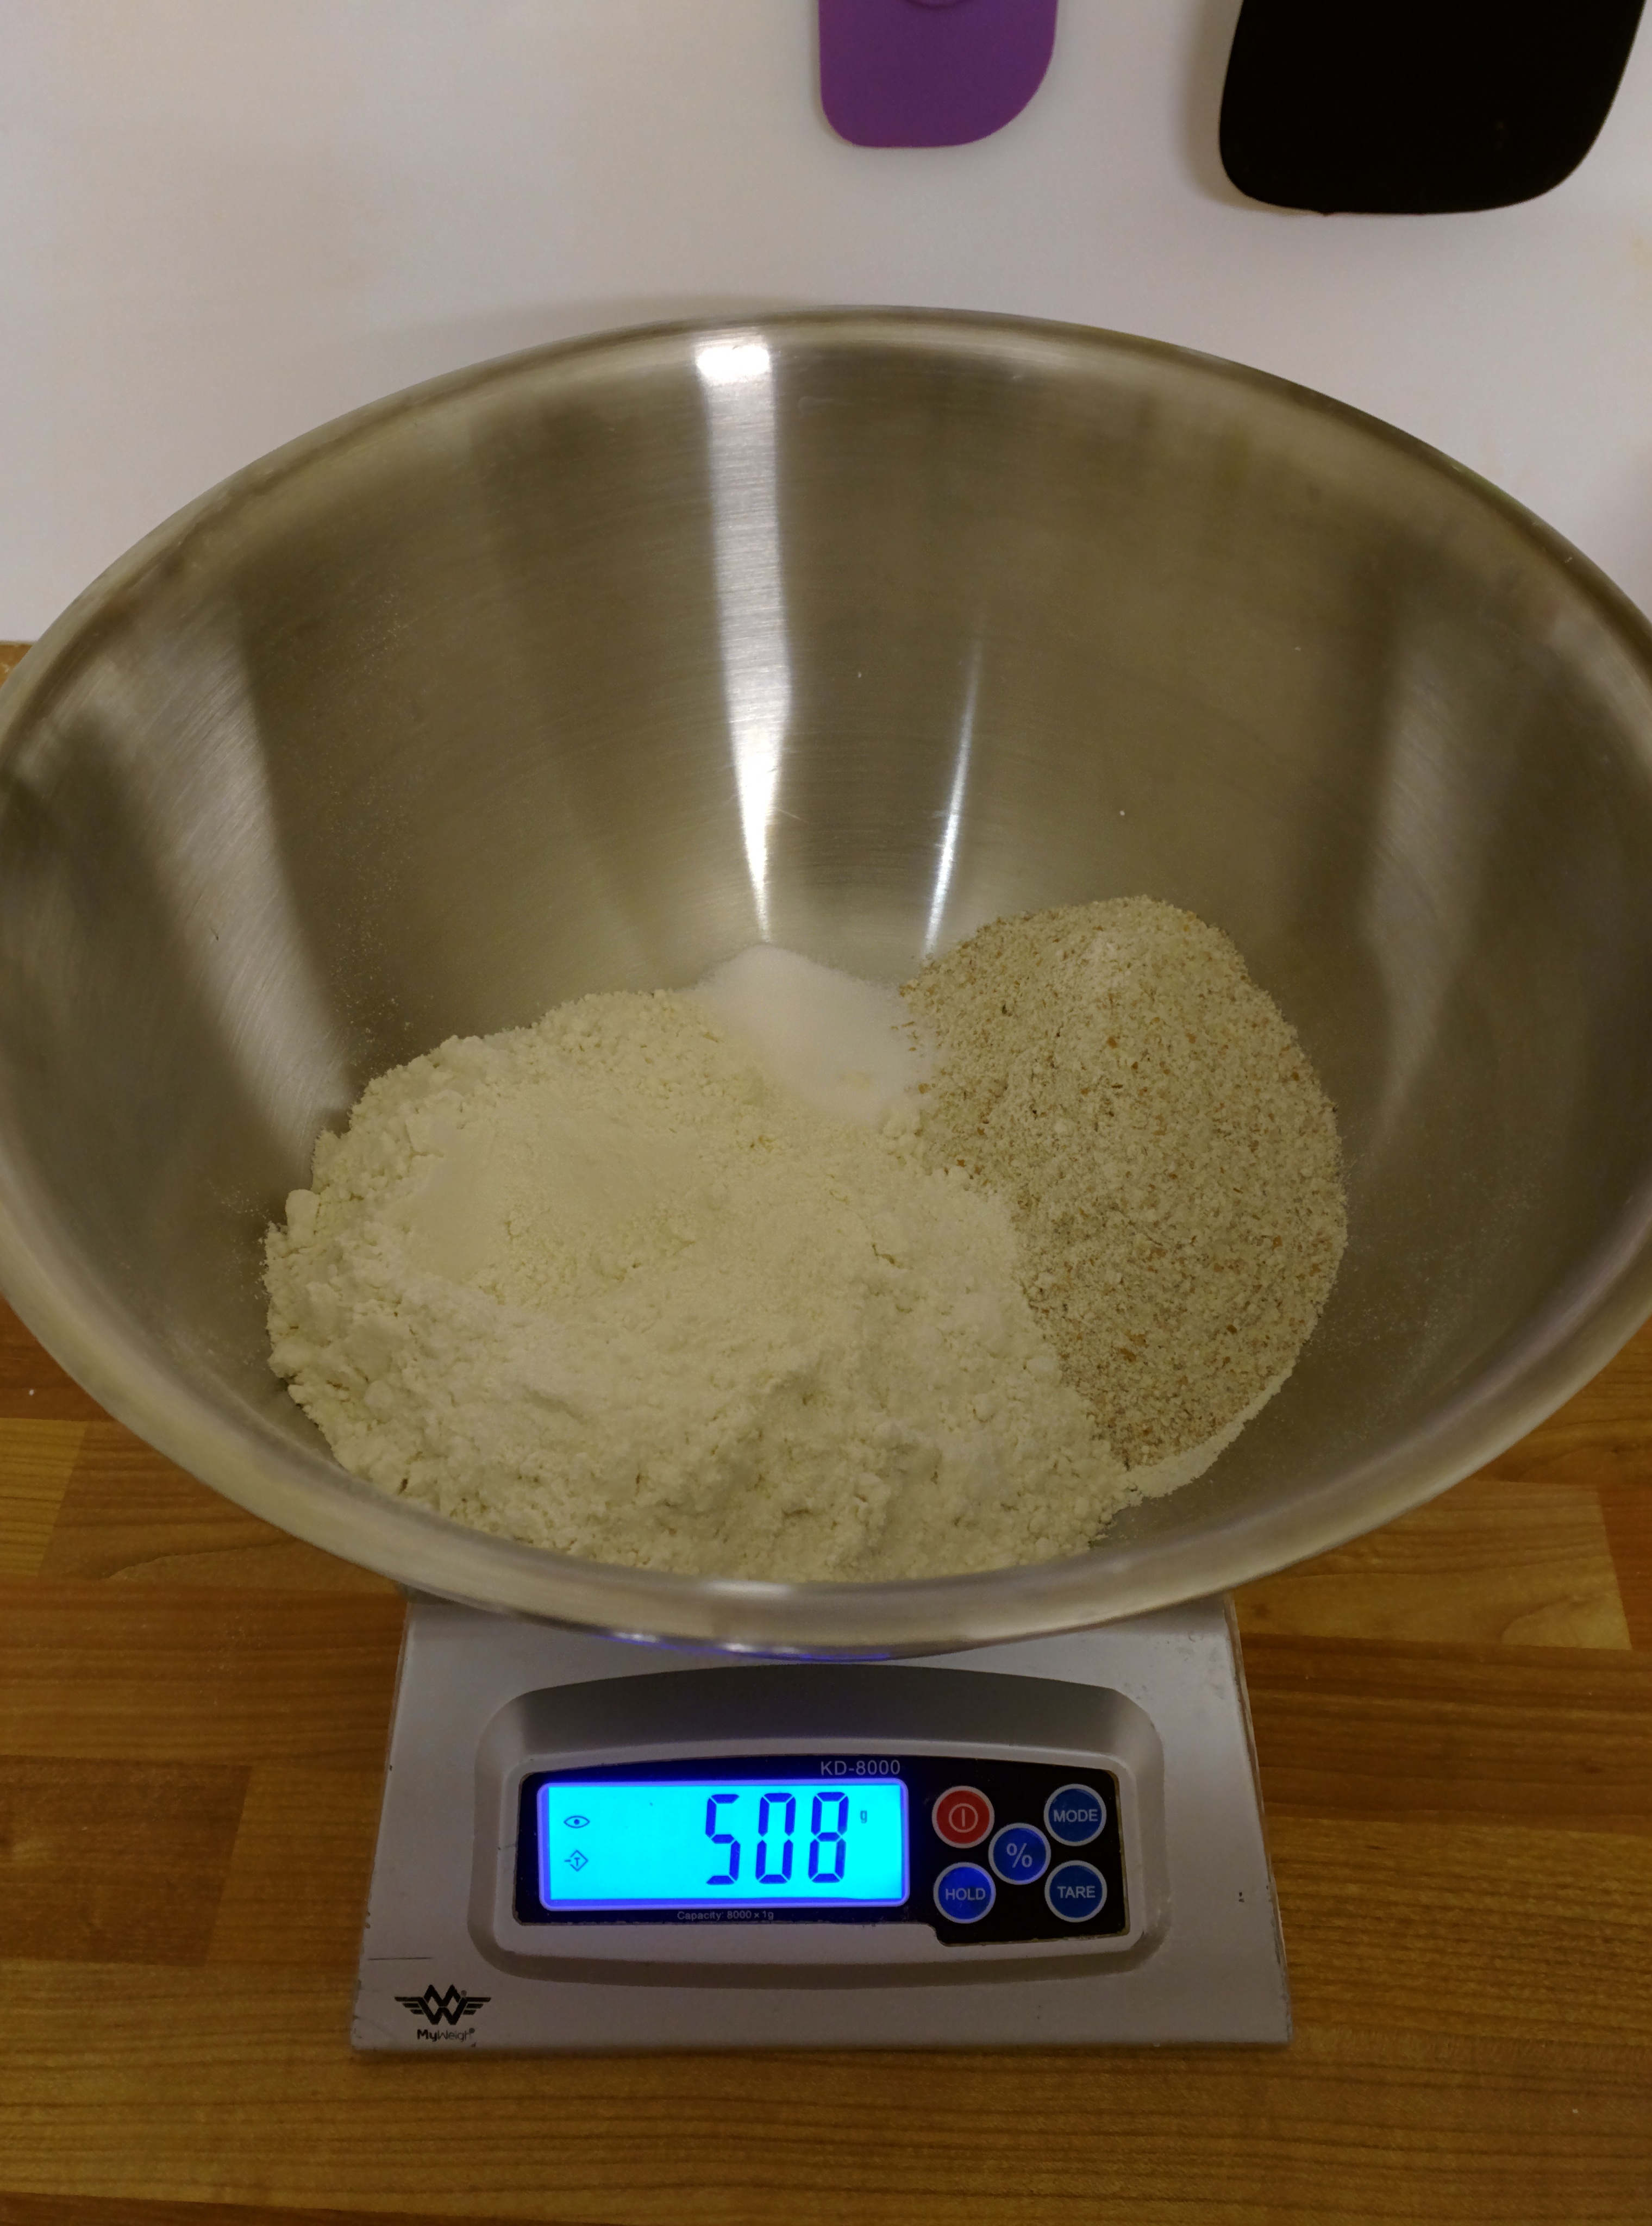
This is the dry stuff in the mixing bowl. I just separated them so you could see - wholemeal on the right, white on the left and salt in the middle. (500g flour + 8g salt) Mix these up and measure out the starter:
Add the water: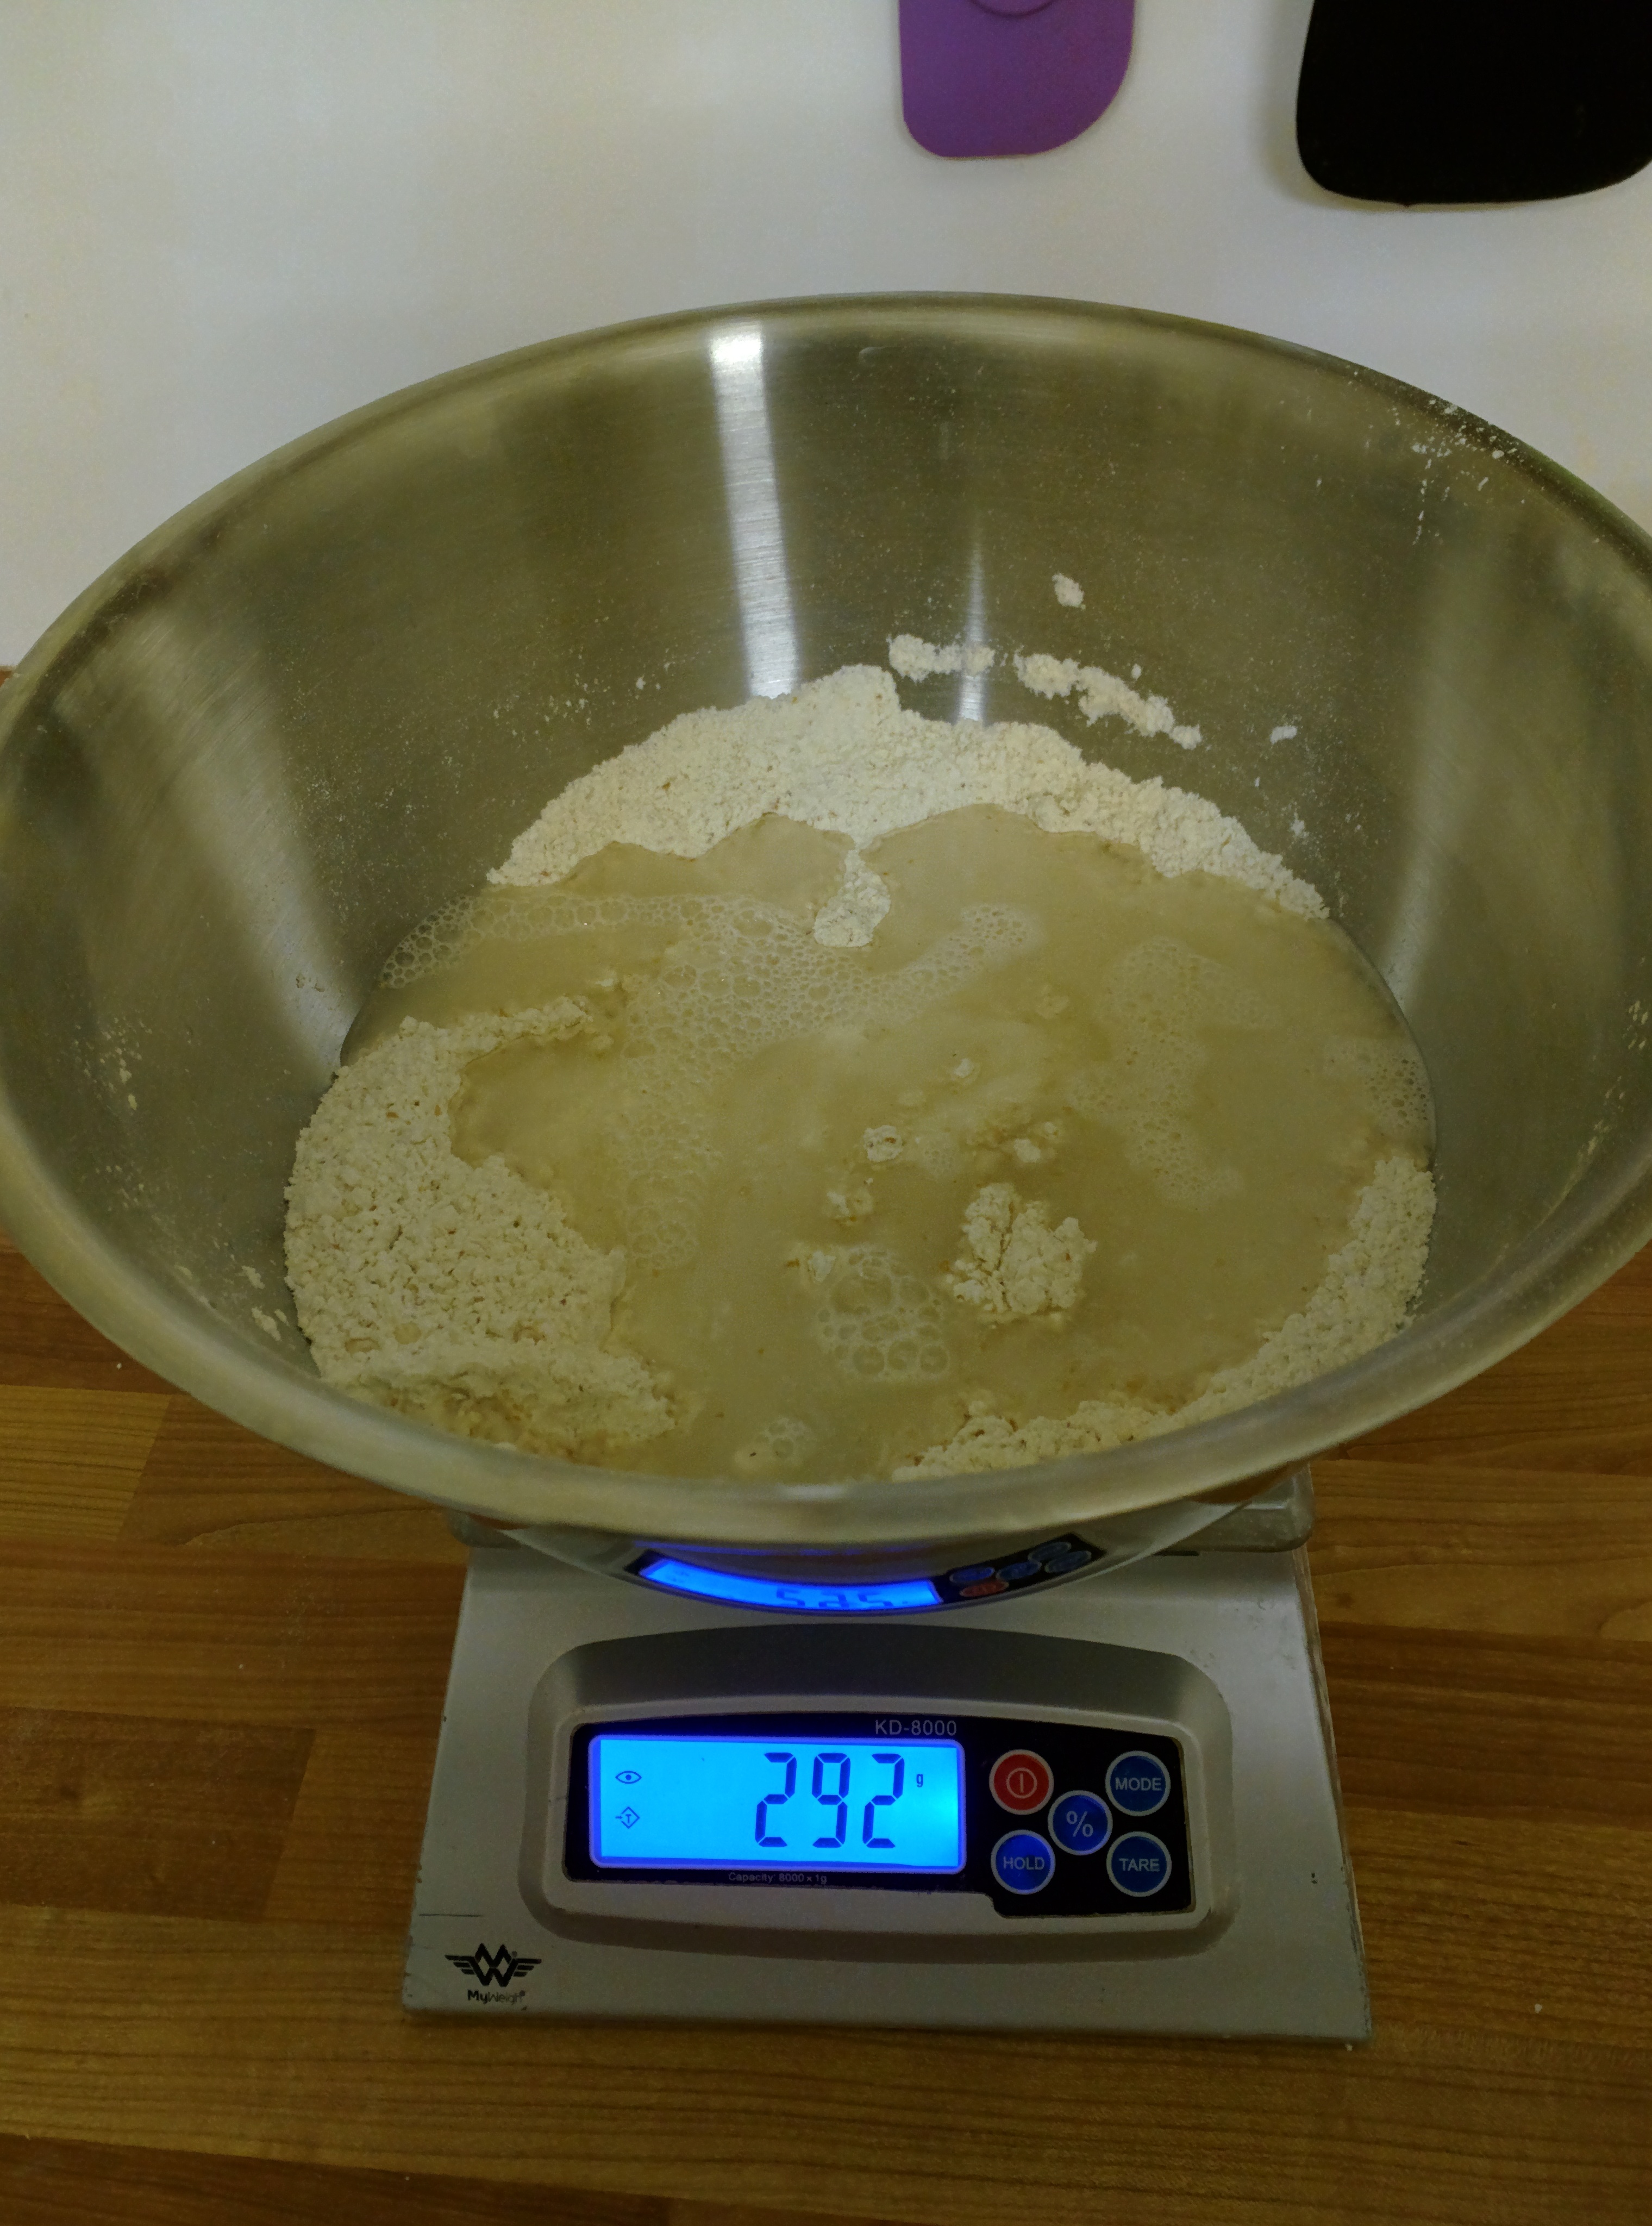
Maybe not exactly 285g but close enough. The water was directly out of the tap - my water here is chlorinated but that's fine. It was a little chilled so I added some hot to it (from the tap) I didn't check the temperature, but it felt slightly warm. (Oh look, the starter isn't floating, oh well)
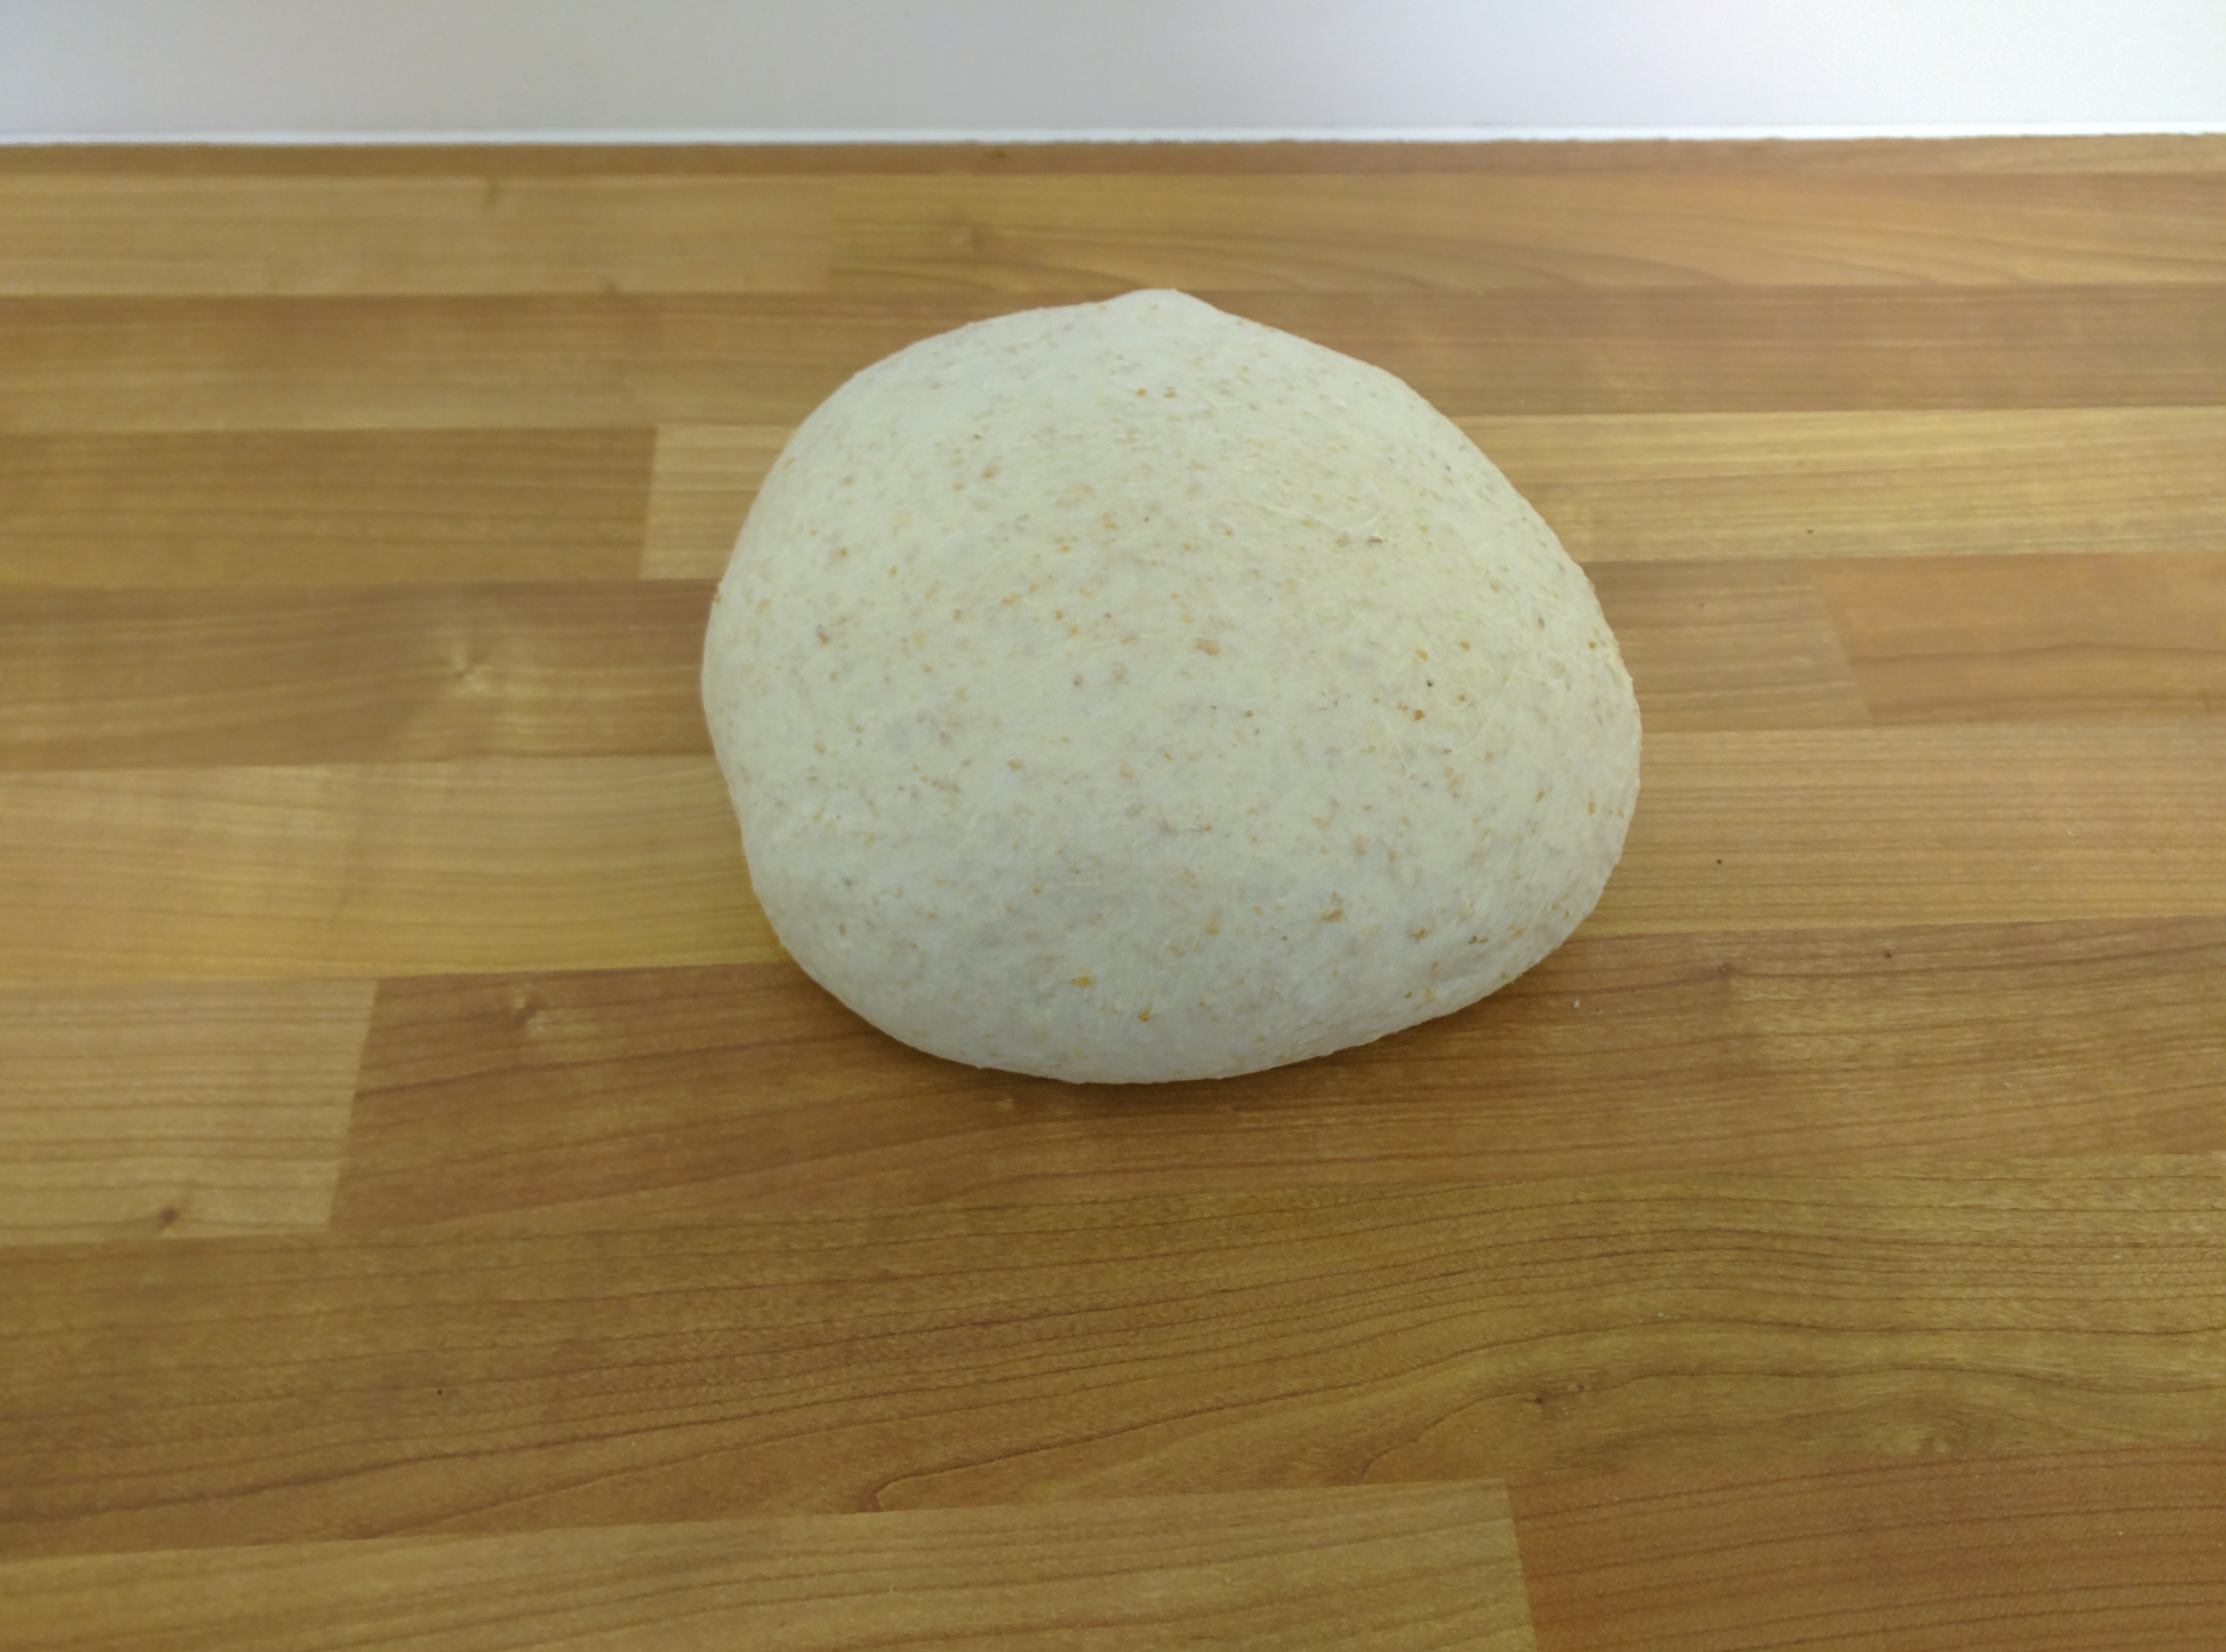
Mix that up and tip it onto the bench and push it about a little more to make sure it's properly mixed and use a scraper to pull it into one shaggy blob:
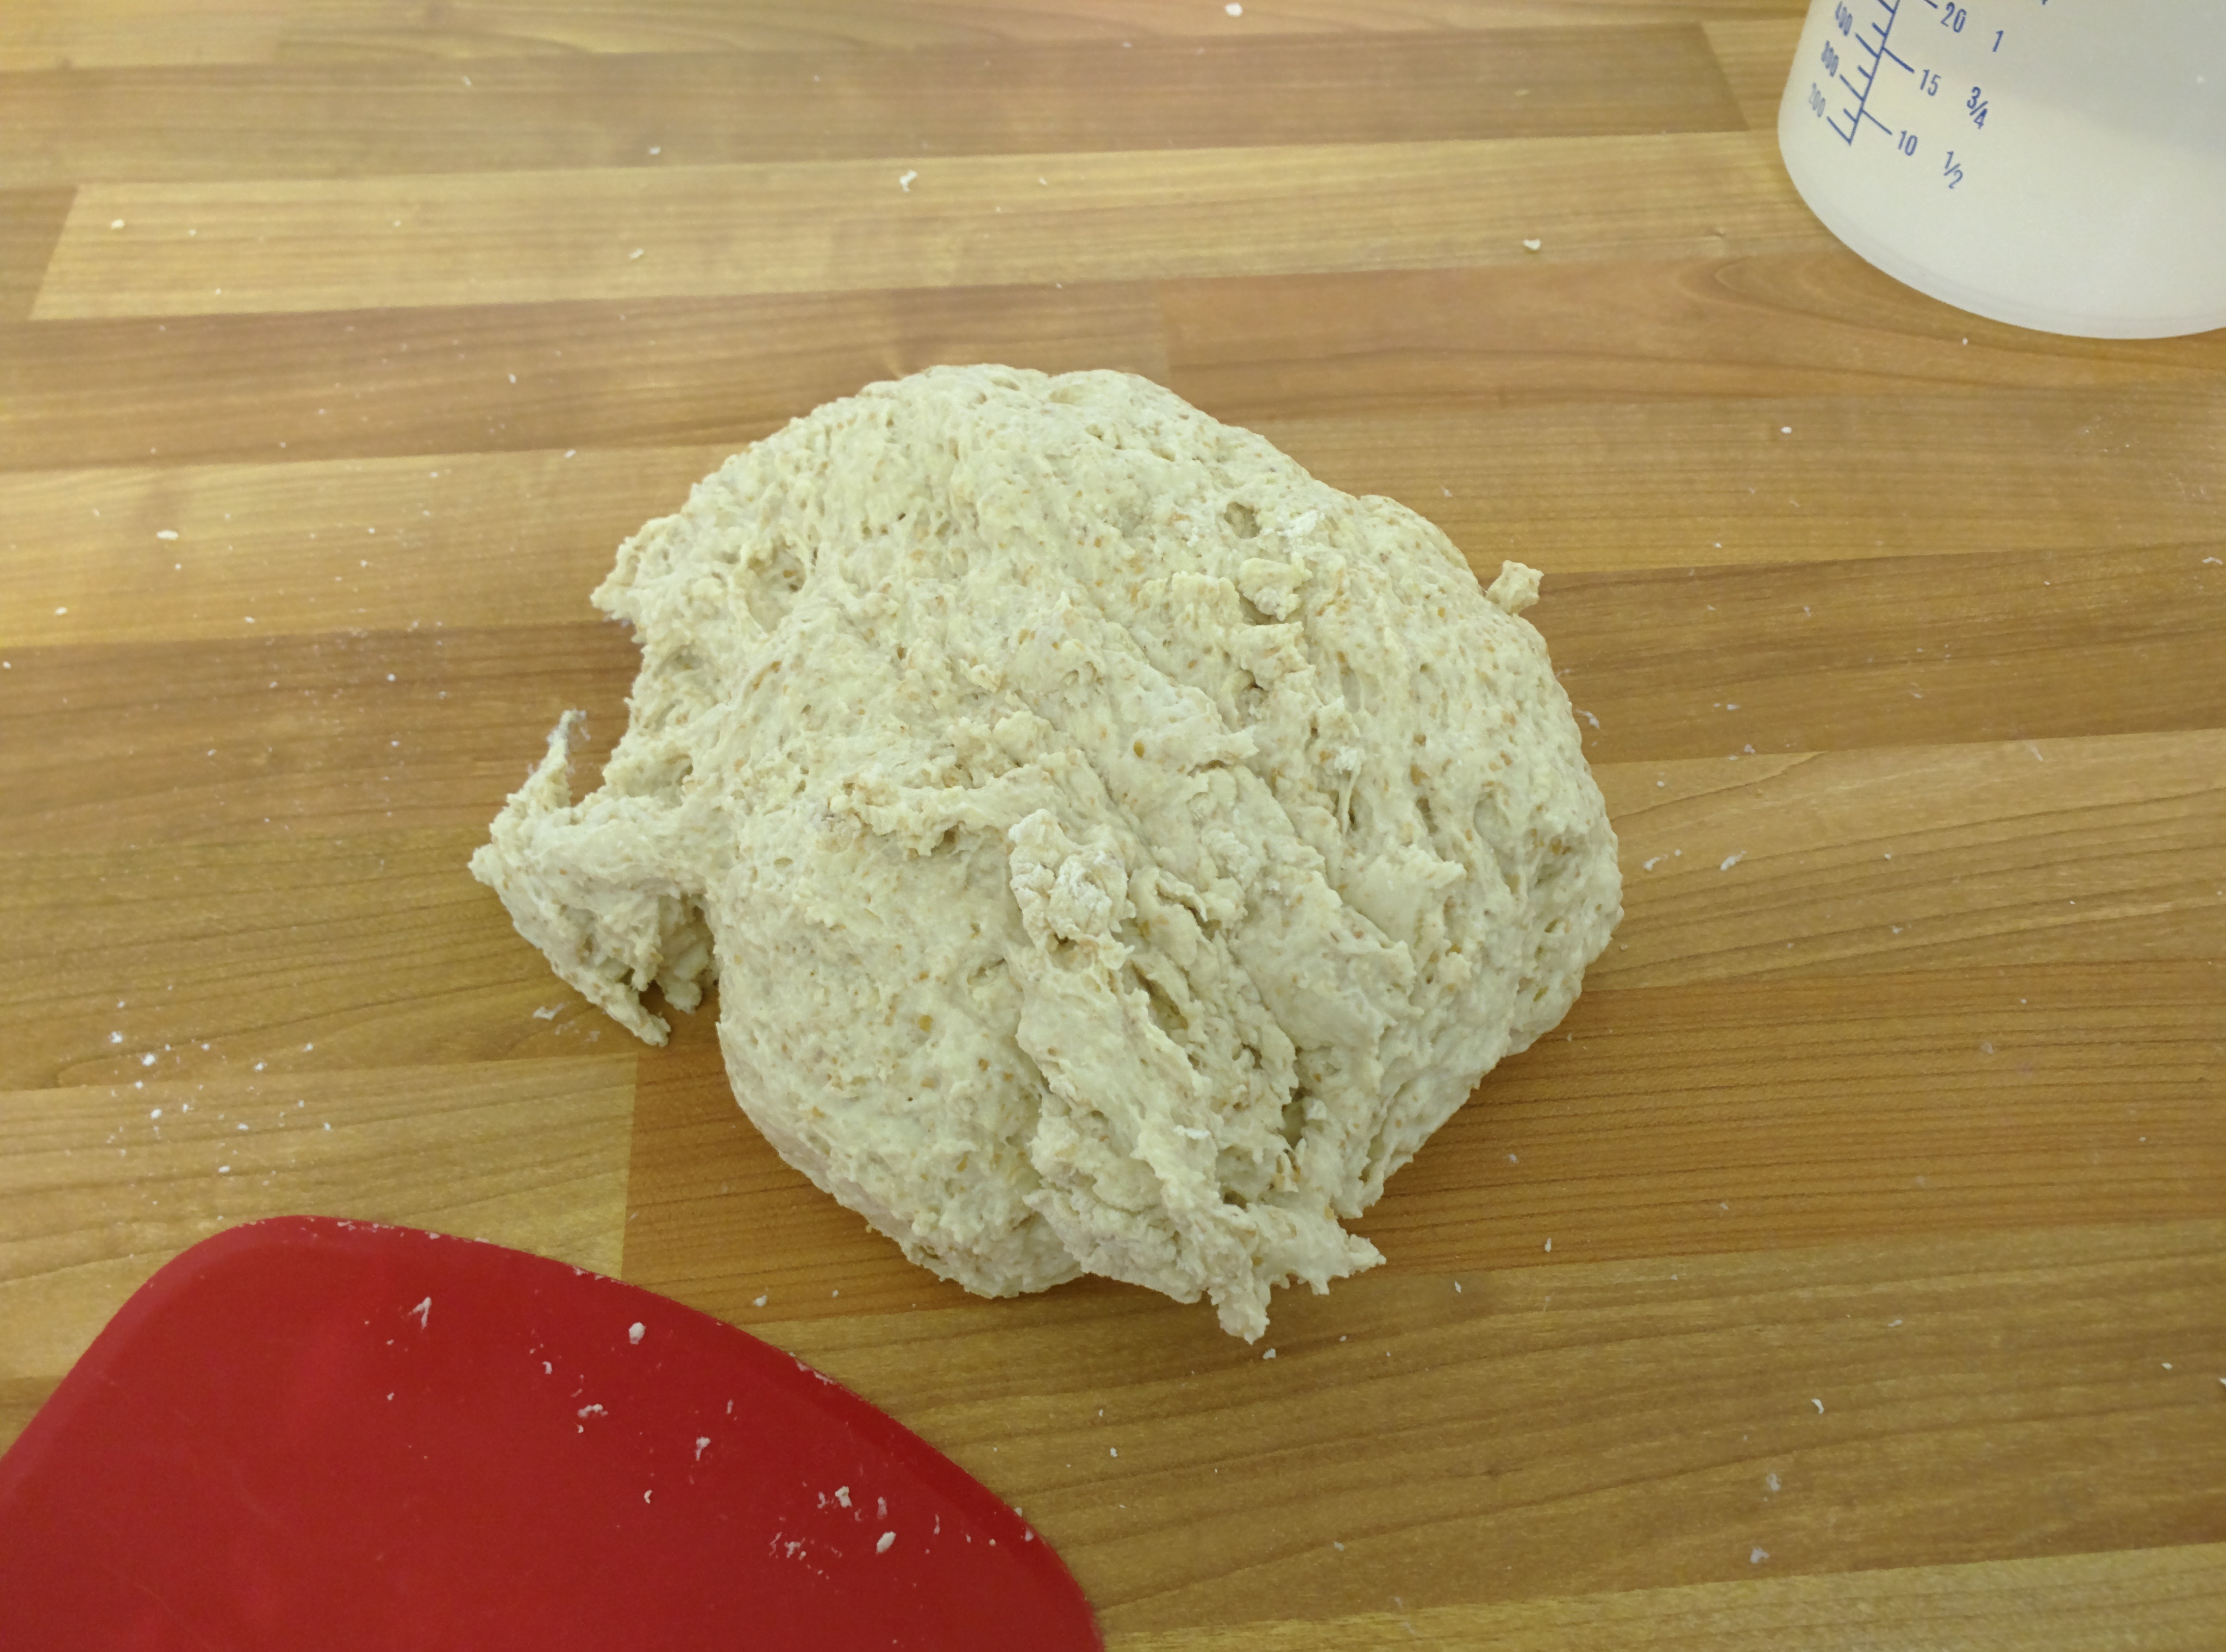
This is then left, covered with the bowl for 30 minutes. Note: No kneading has happened yet.
Lets not forget the starter, so stick the jar on the scales, zero the scales and add 75g flour:
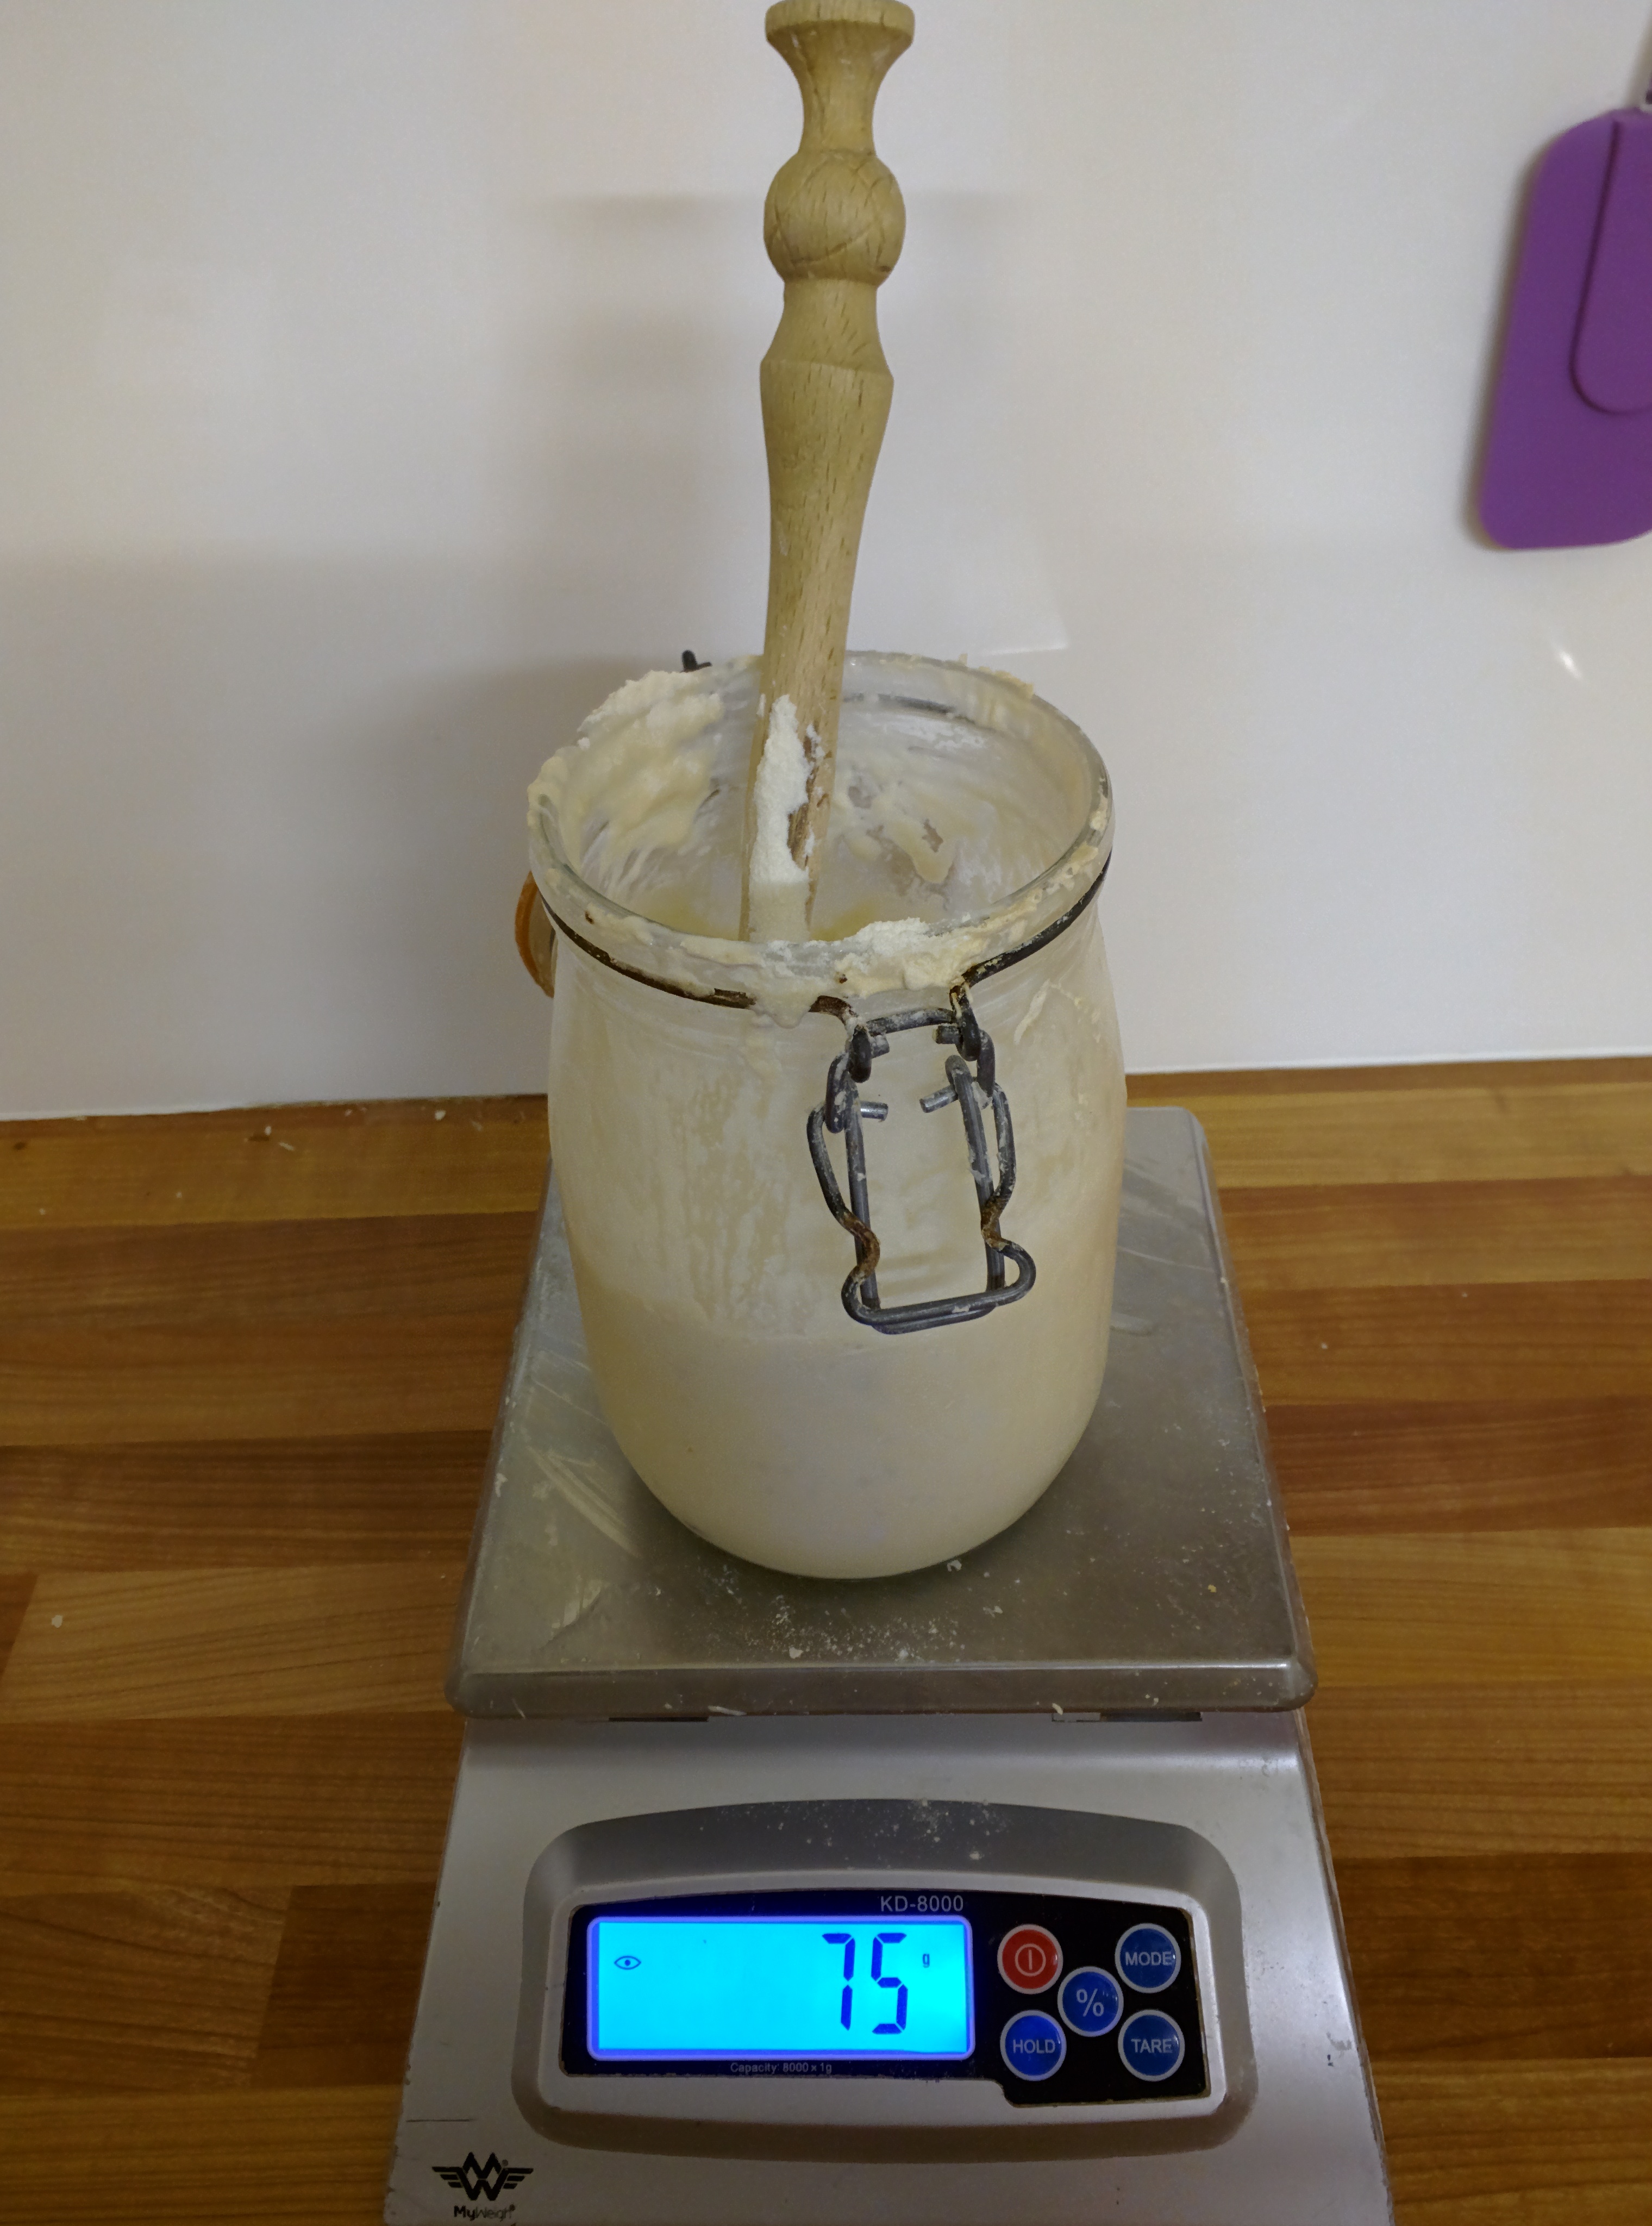
and water:
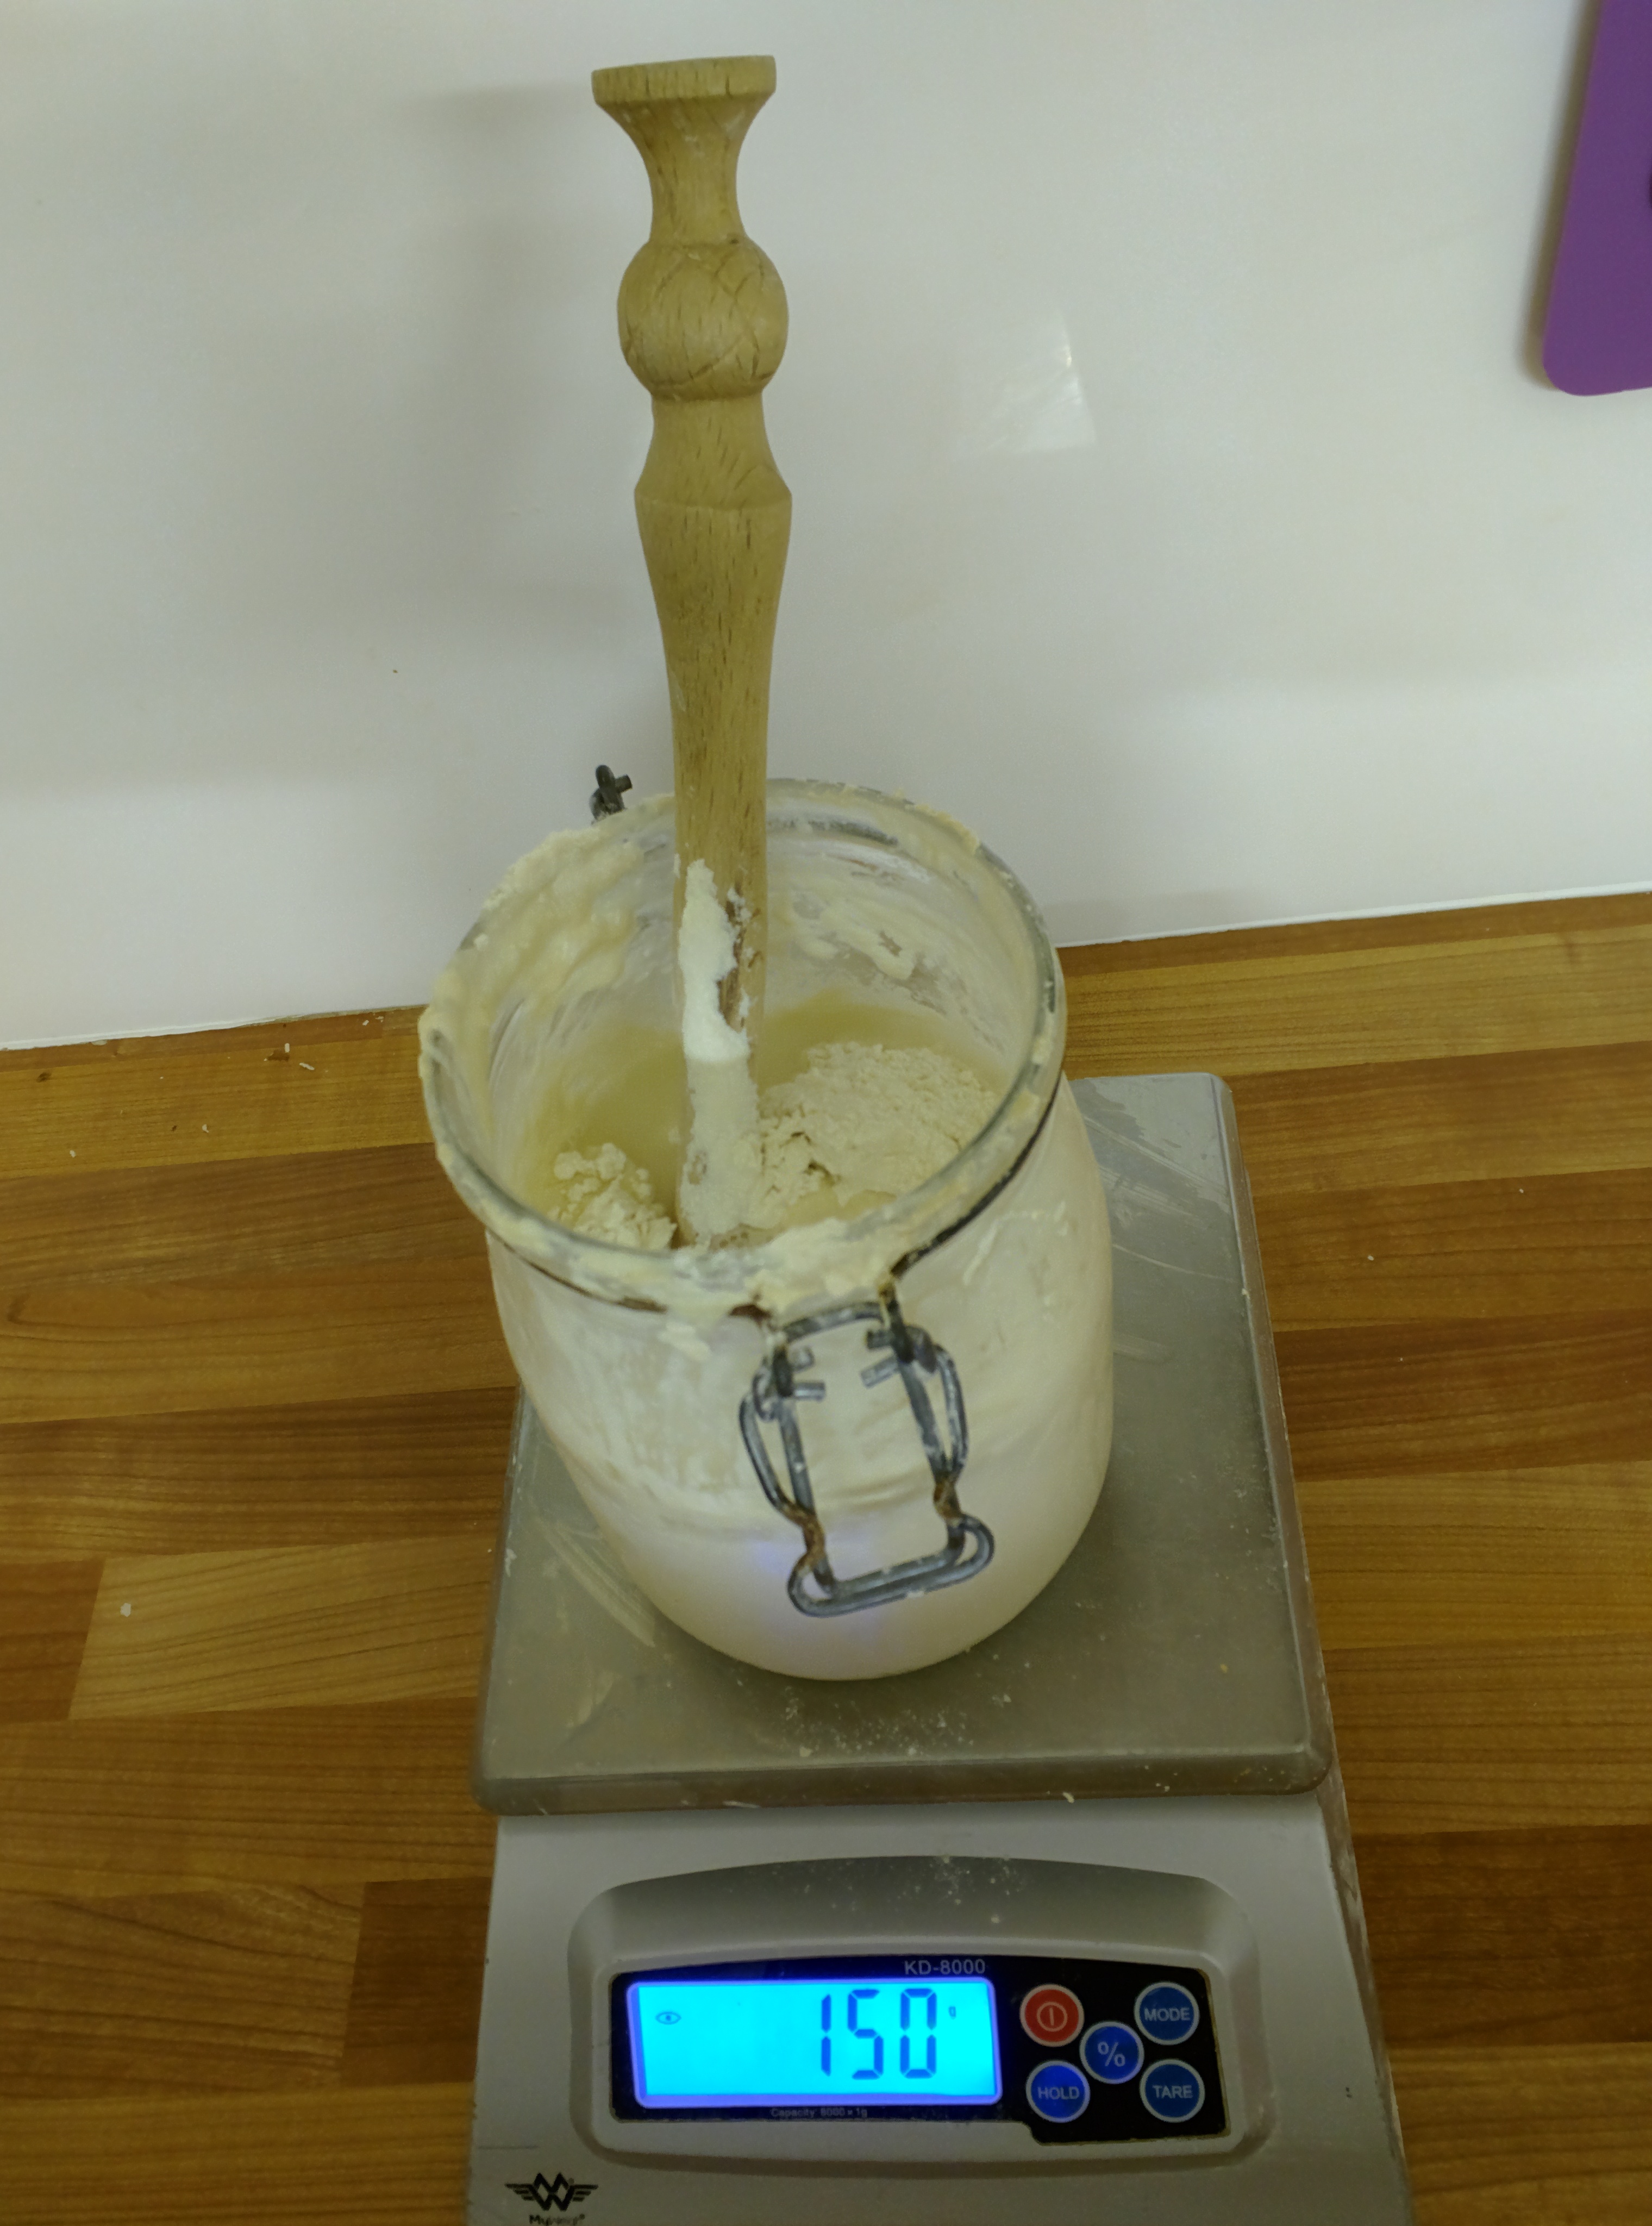
This was then stirred up and I left it in the relative warmth of the bakehouse for the next hour just to let it warm up a little to let the yeasty beasties get to know their new food source and start to get to work before I put it back in the fridge. (Incidentally, I'm making this on Sunday evening and the last time the starter was used was on Friday afternoon when I used some to create the 3Kg I needed for the Friday night knead)
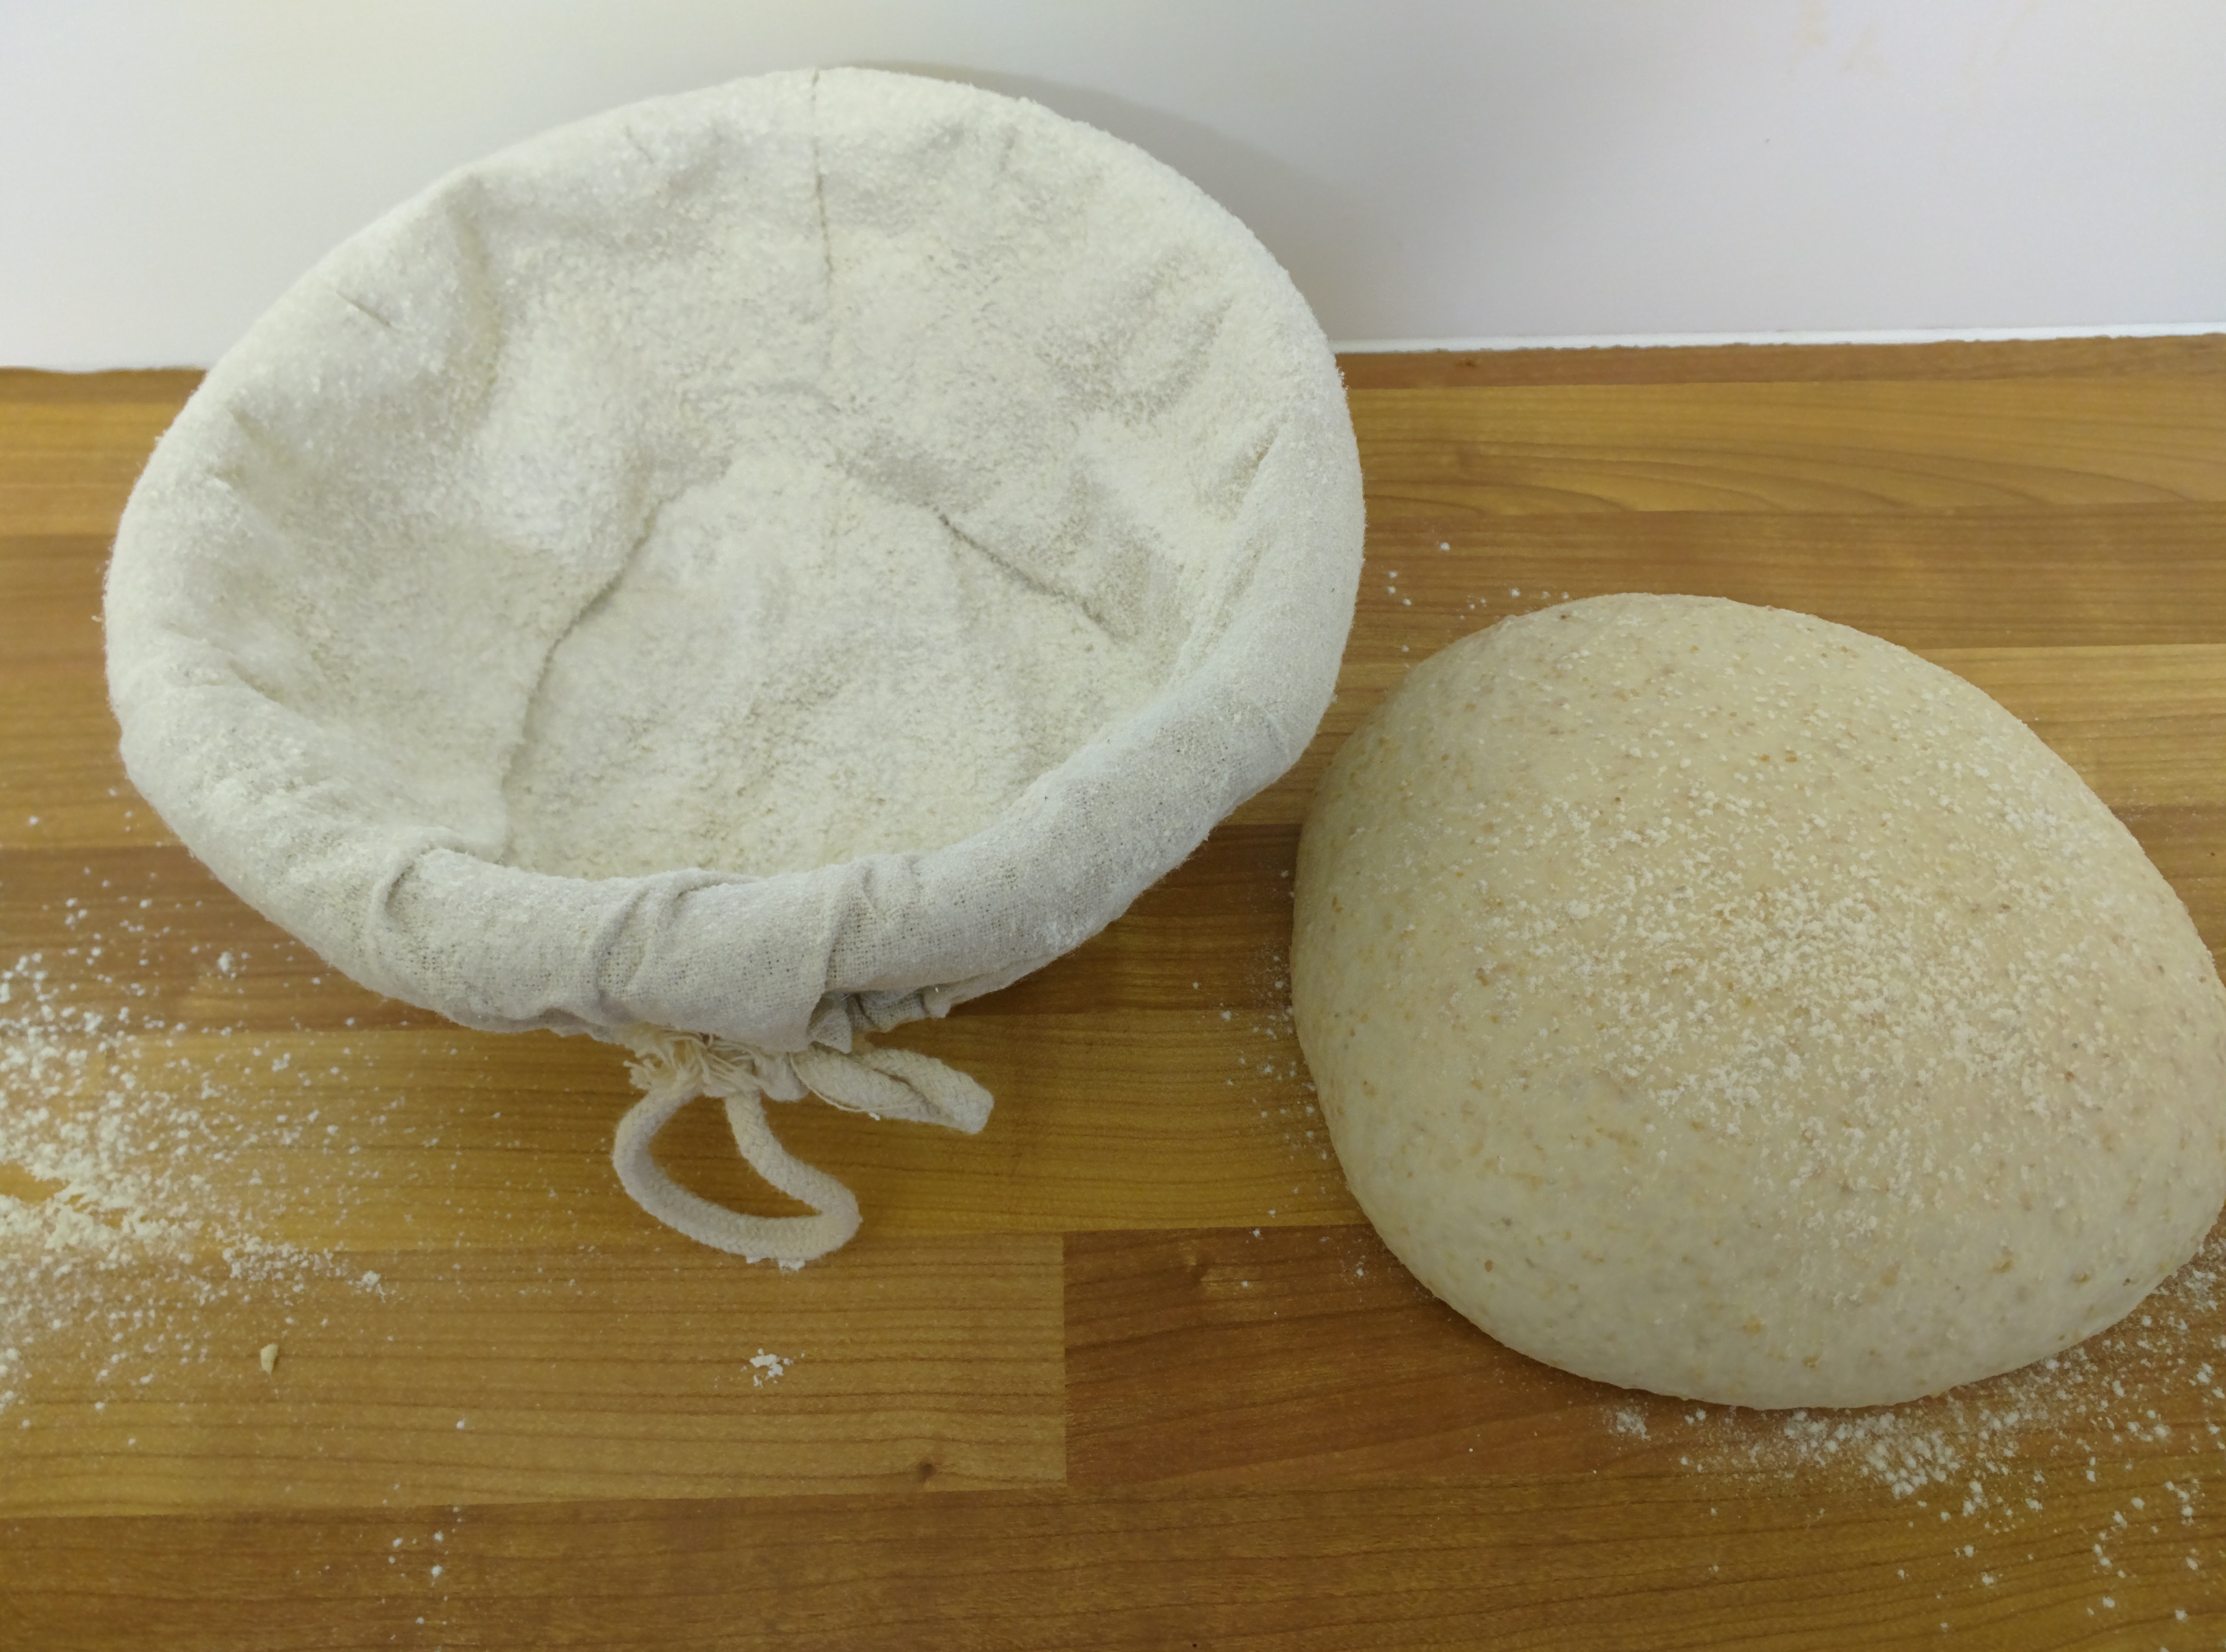
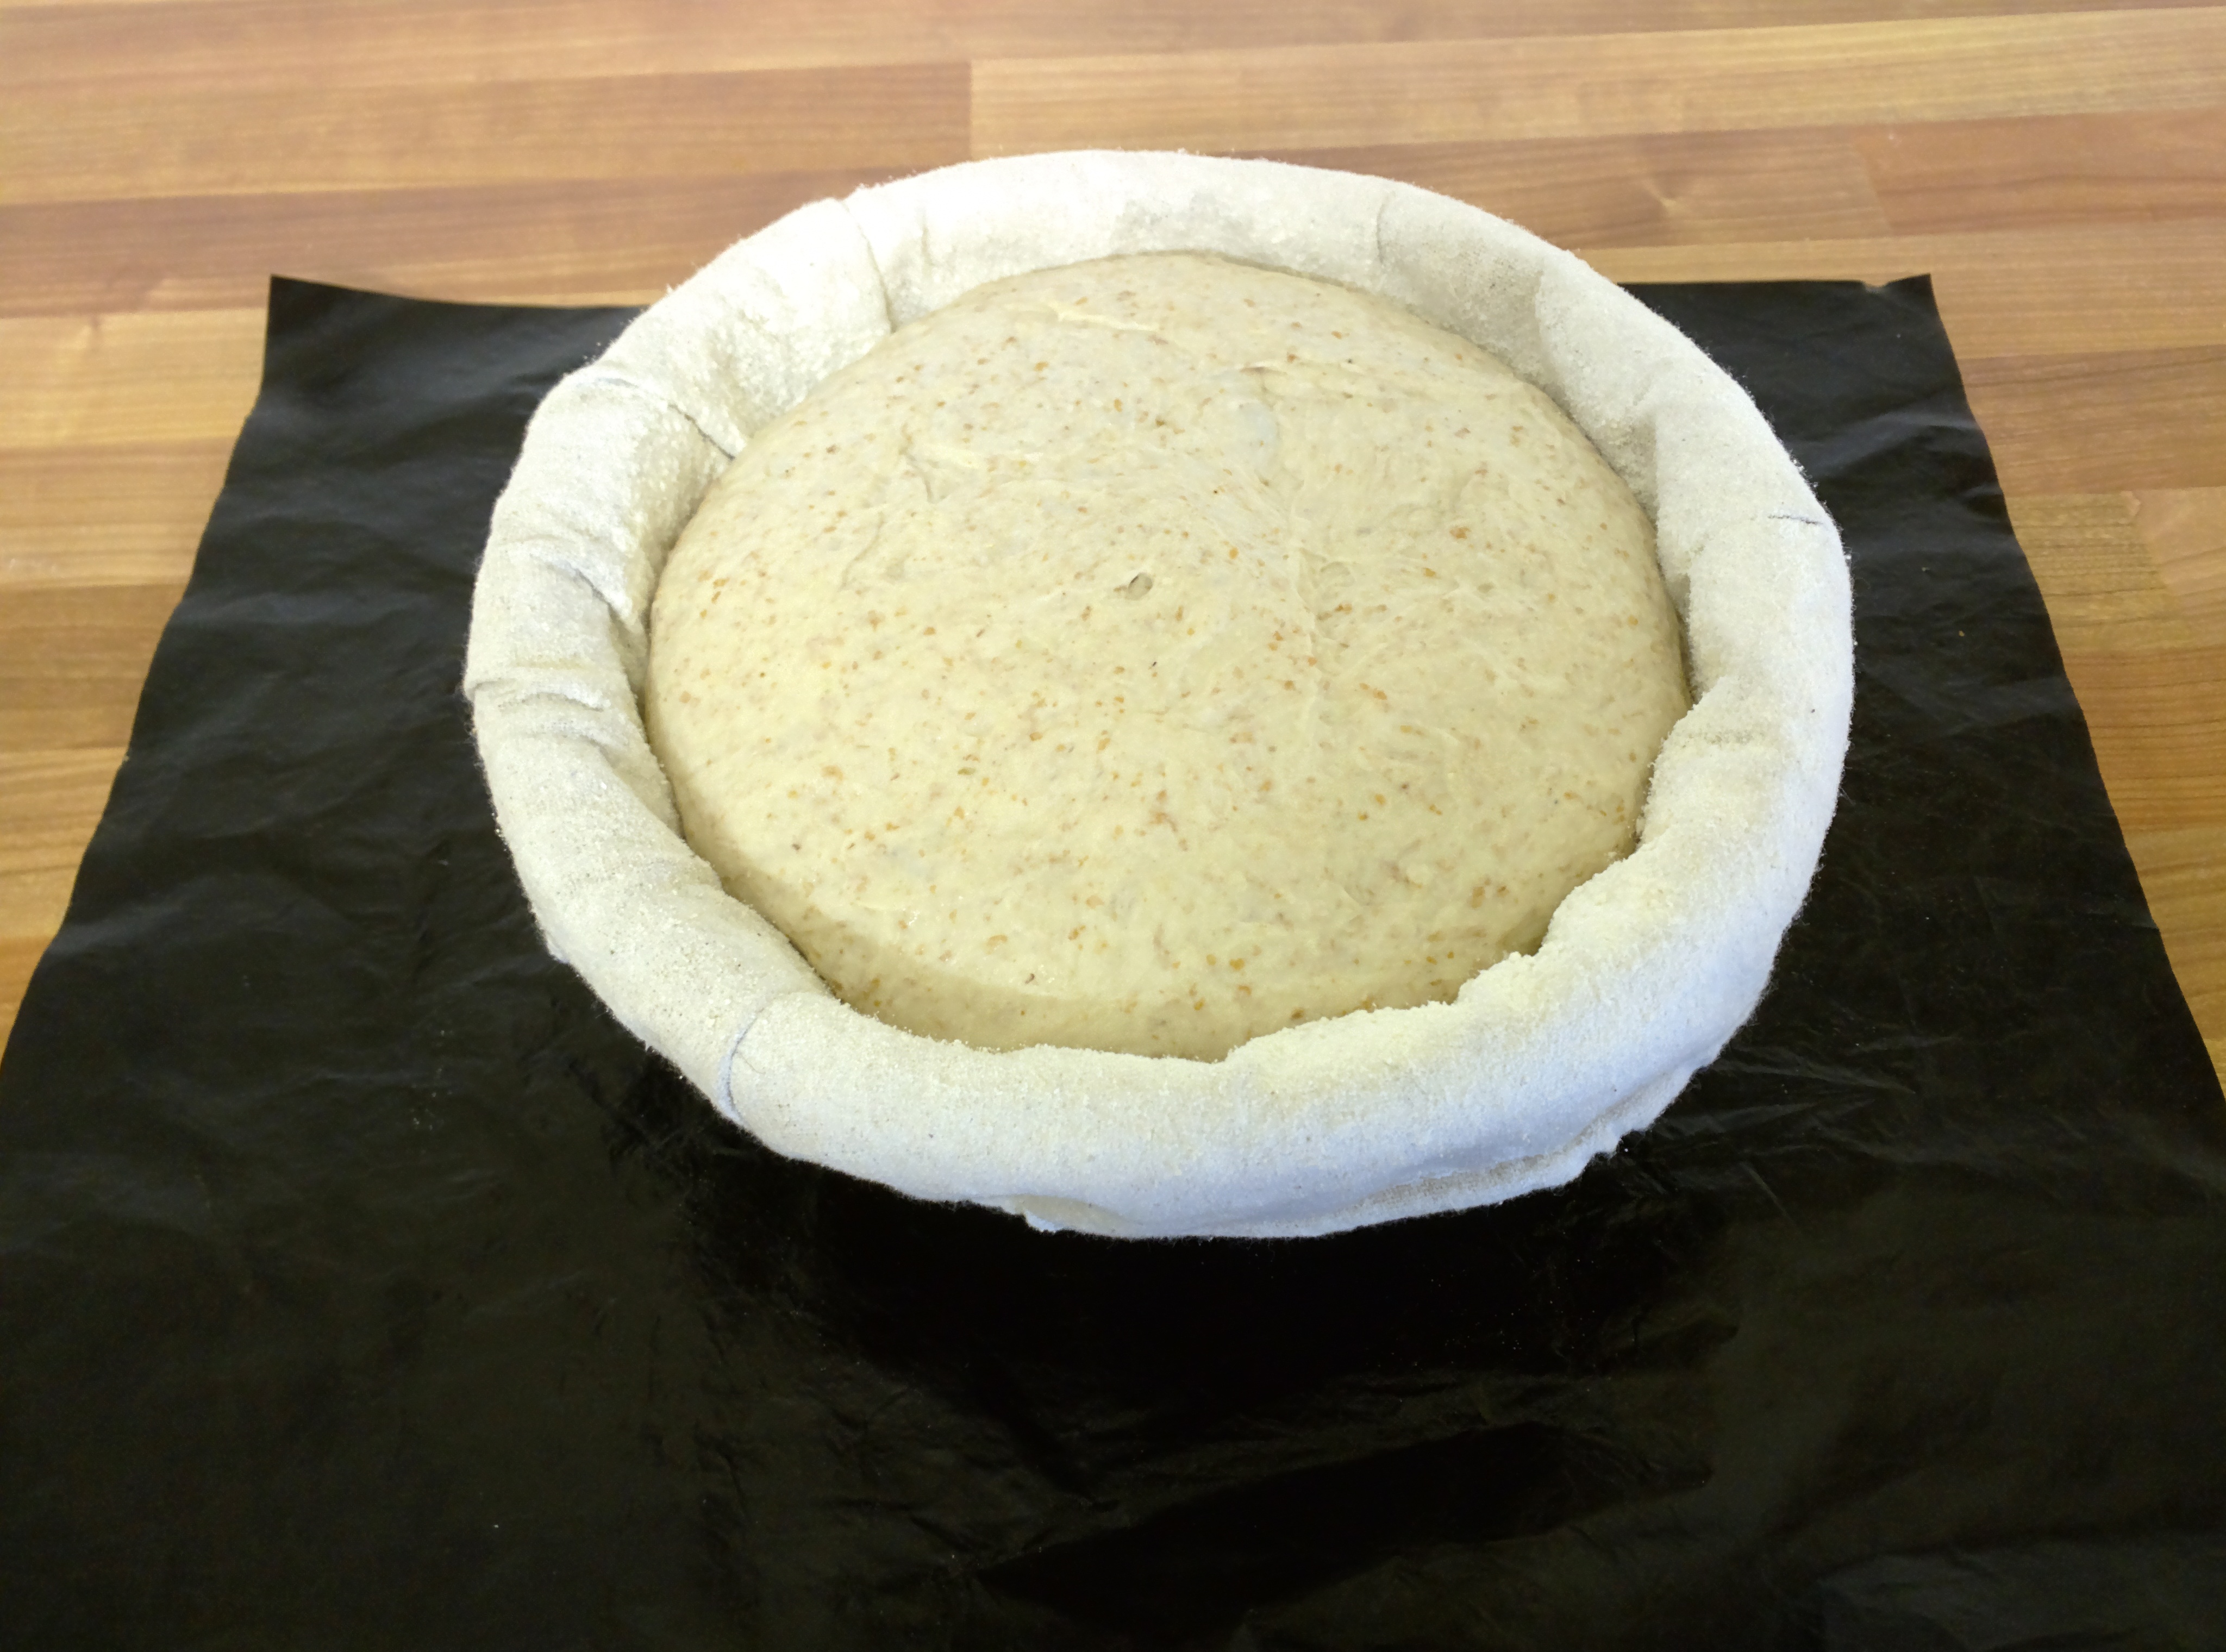
Half an hour later, I take the bowl off the shaggy lump, use the scraper to tease it out to a longer "log" then knead it for about 30 seconds. Yes, 30 seconds - it's a push away with my thumbs, then roll back with fingers operation. It takes 3 or 4 of these to turn the vertical sausage into a horizontal one. I pick this up, turn it 90° and do it again. I do it 3 times in total then chaff it into a boulle shape then plonk it back into the bowl. This really did only take 30 seconds.
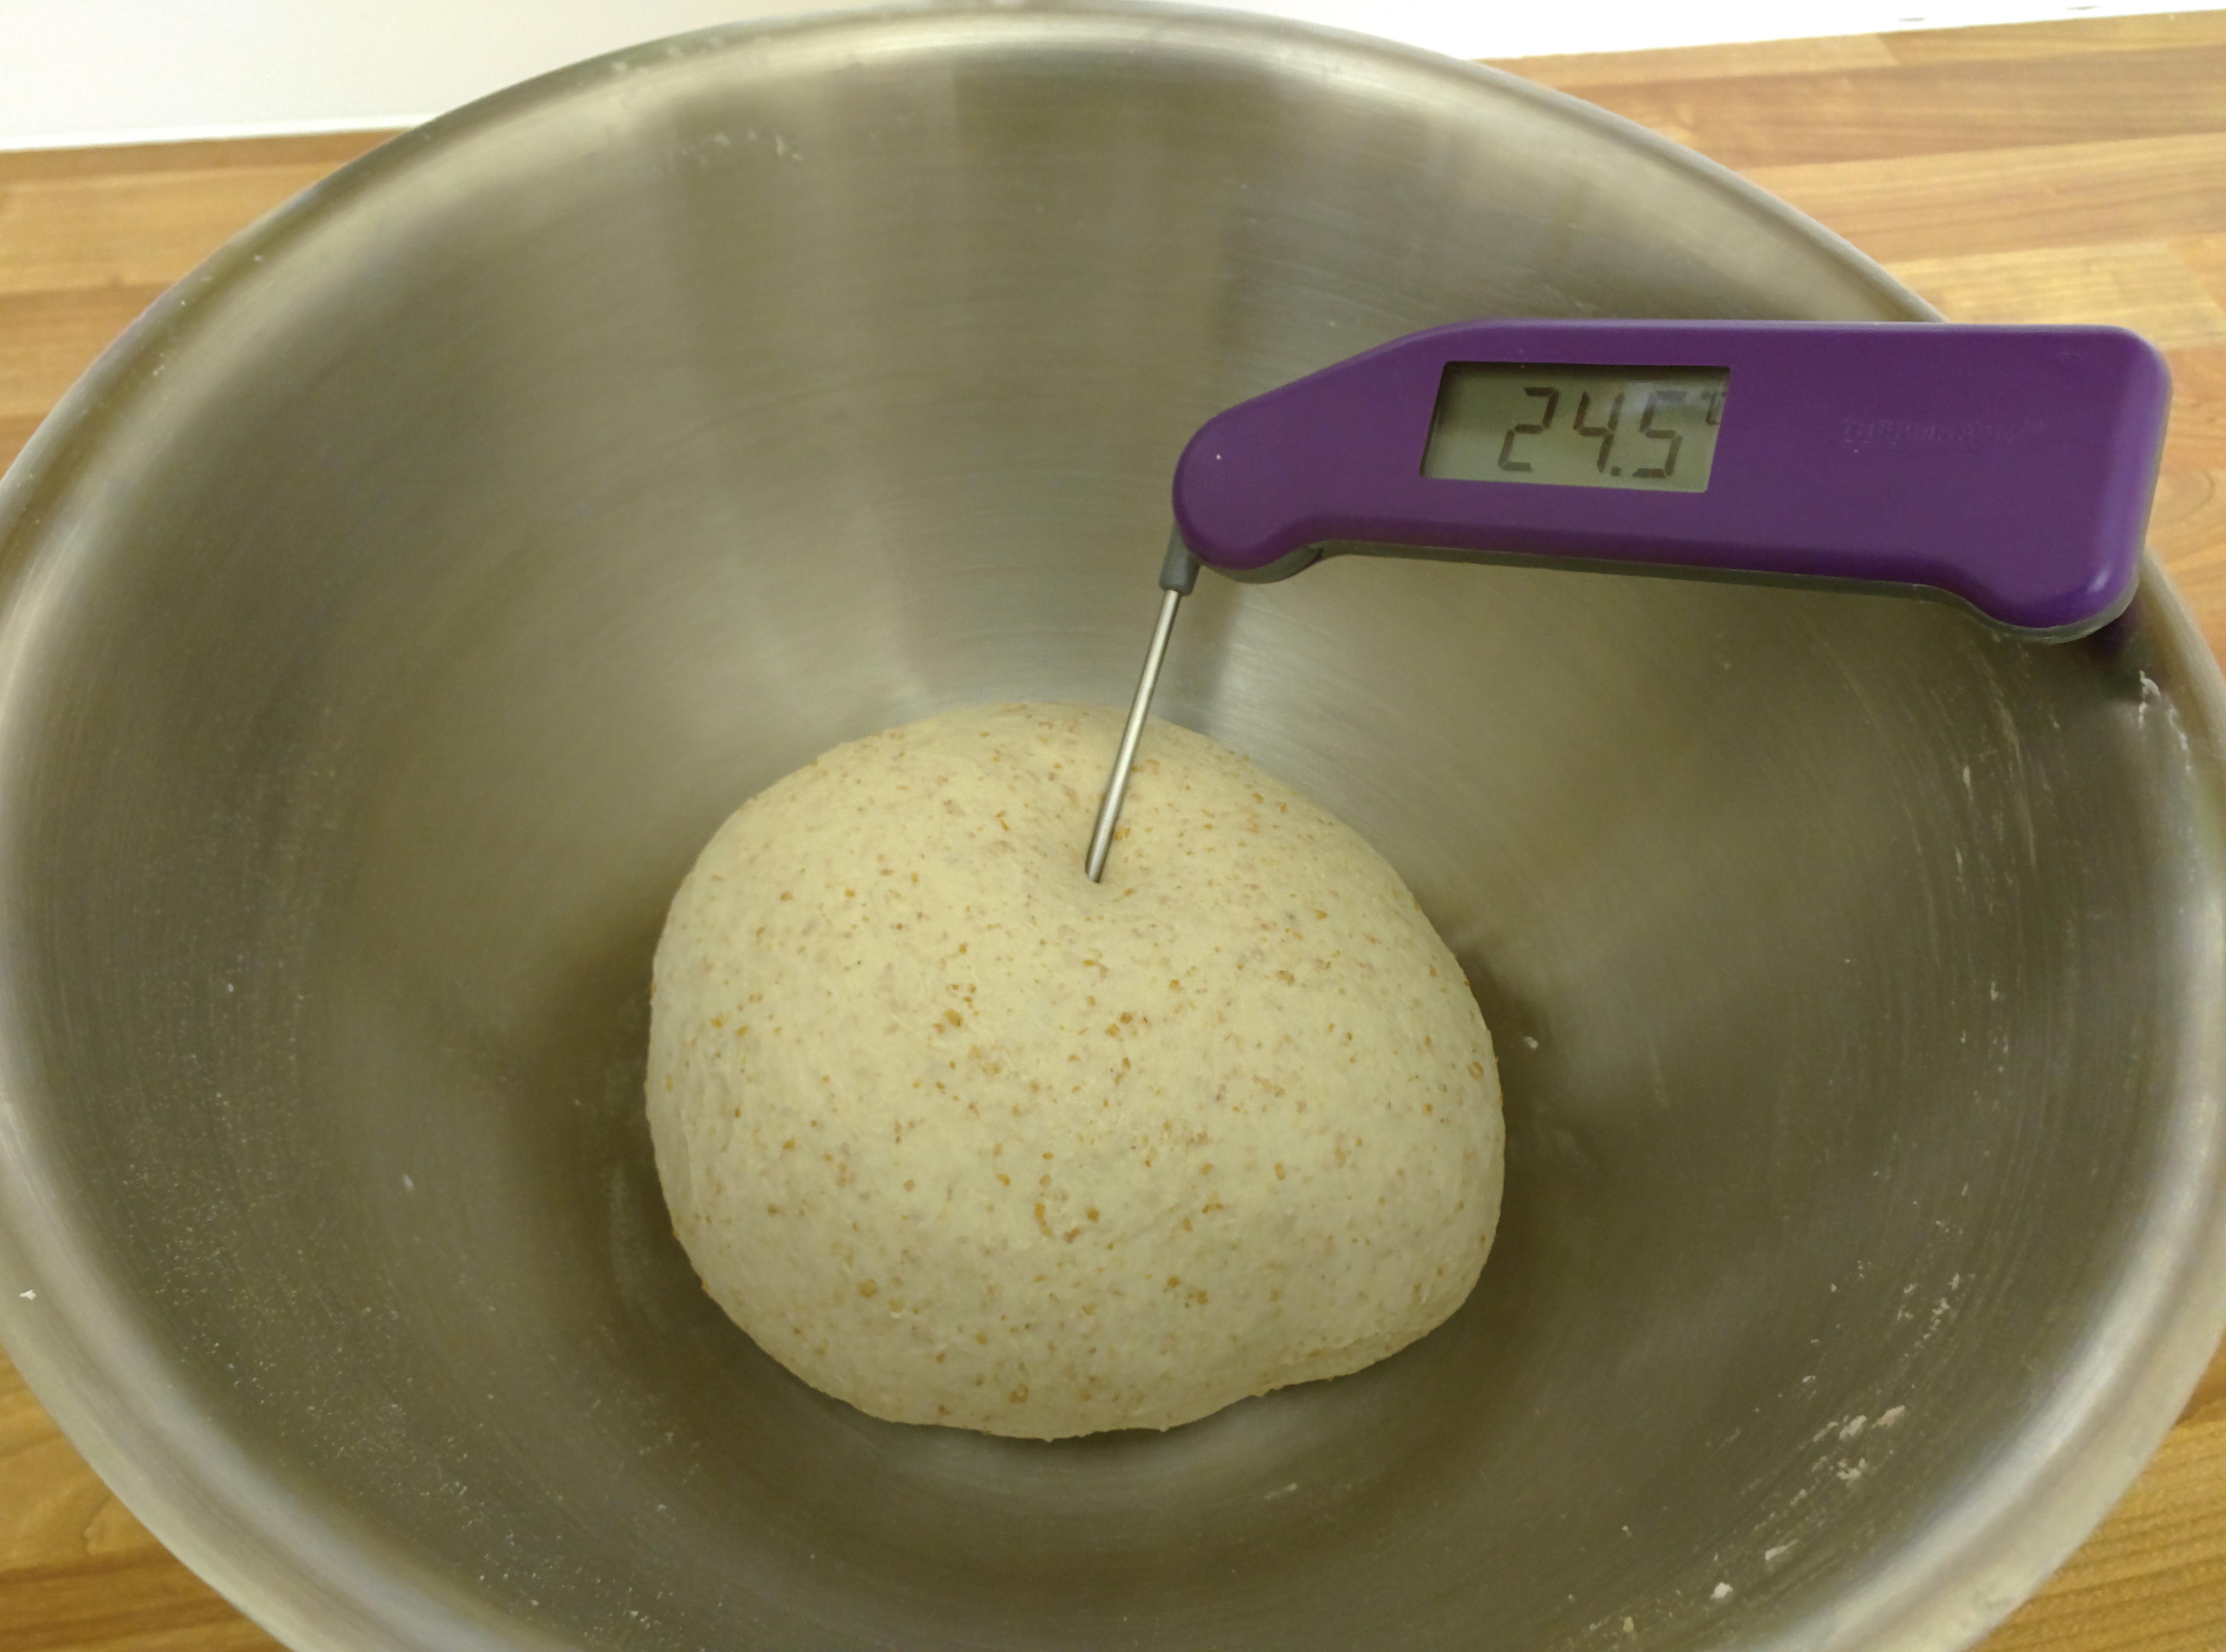
I stuck the thermometer into it so you could see.
That's taken less than 45 minutes with a big half hour gap in the middle. Low impact, very easy to do. I then covered it with a shower cap and left it in a (relatively) cool place in the downstairs kitchen - which was at about 18°C.
I split this into two blog entries just to keep the size and loading time down - on to part 2!
-Gordon