The Fresh Loaf

A Community of Amateur Bakers and Artisan Bread Enthusiasts.

rgreenberg2000's blog

rgreenberg2000's picture
rgreenberg2000

Well, after three test batches, my English Muffins were proclaimed ready for prime time by the taste testers here at my place! I'm really happy with these.  The right softness and chew in the crumb.  A bit of bite in the crust.  Nooks and crannies are just made for butter and jam!  ....and the flavor is really good.  Just a bit of sour tanginess to bring everything together.  I will note that much of the process, and a base for the starting recipe came from The Buttered Side up blog/site (EM Recipe)

Here's where I settled up for the formula (% include the flour/water in the levain):

Bread flour (CM ABC+) 70%

AP flour (Ardent) 15%

CM Red Spring (fresh milled) 7.5%

CM White Winter (fresh milled) 7.5%

Honey (local/fresh) 1%

Butter 2.5%

Water 75%

Salt 1.8%

Pre-fermented flour 10%

I hand mixed this batch starting with everything except the butter and salt.  After hydrating all the flour, and resting 20 minutes, I used the pinch method to incorporate the salt.  I smeared some of the butter on the dough, and incorporated with stretch/folds, repeating until all the butter was well mixed.  Another 70-80 minutes of RT proof included a couple more stretch/fold sessions followed by a 40 hour cold bulk phase (my recipe actually calls for just 20-24 hours, but I was busy in the bakery yesterday, so I made the dough wait!

This morning, I scaled the dough out into 100g balls, bench rested, tightened the balls up again, then onto parchment squares dusted with corn meal.  After a 2.5 hour rise, I cooked them on a fairly hot griddle (400-425°) for about 3 minutes, flipped for another three minutes, then finished in the oven for 10 minutes @ 350°.  Cooled, fork split, then toasted and enjoyed with butter on half, and jam on the other.

These are just perfectly suited to my tastes!  I've got a couple of friends beta testing them for me, too, so pending feedback, I'm calling these ready to go!

rgreenberg2000's picture
rgreenberg2000

Still working on these.  Getting close, but not quite there yet.  My formula is essentially unchanged from last time, though I did remember the butter this time!  Used my Ankarsrum mixer to get these mixed up, and that was a breeze.  Overnight cold bulk followed by about a 2 hour RT proof after shaping.  I experimented with cooking these in the oven, on a stone, covered @ 350°......that worked fine, except that they got NO color (even with no cover for half the time.)  I ended up firing up the griddle on the stove pretty hot to just quickly get them some color.

Fork split one, and it's pretty good, but I think maybe a touch longer on the RT proof and the crumb will be where I want it.  All in all, I'm happier with this batch than the last, and I think I'm close!  Taste testing will commence shortly.... :)

[/url]

rgreenberg2000's picture
rgreenberg2000

I made up a large batch of my Cheddar/Thyme bread Sunday for customers.  I just love this bread!  I find it fun to mix in the inclusions, as it breaks up the monotony of just folding. :)  I had to add an extra baking day this week, as this formula has become quite popular!  My daughter made sure that I baked an extra for us to have, too. :)

Formula (percentages inclusive of flour/water in levain):

Bread Flour (CM ABC+) 60%

AP Flour (Ardent) 30%

CM Red Spring (fresh milled) 5%

CM White Winter (fresh milled) 5%

Sharp Cheddar, shredded 20%

Thyme, dried .5%

Water 77%

Salt 2%

Levain 20%

I mix together everything except the salt until all is moistened, then let rest for 30 minutes.  After 30 minutes I add the salt (pinch in with fingers), then stretch/slap fold about 10 times.  Rest 25 minutes, perform coil folds (usually twice around), then rest again for 25 minutes.  If the dough is feeling strong, I'll add inclusions now, otherwise just coil fold again and rest for 25.  Inclusions go in now if not before.  I add the inclusions by covering half the dough, folding over, flatten a bit, cover half the dough, fold over, repeat until all inclusions are in.  This counts as my fold for this time period.  Perform another coil fold or two on 25 minute intervals as needed.

Total bulk on these loaves was just under four hours with a dough temp of ~80-81° (it was hot.)  Divided @ 1kg and pre-shaped.  Rested while I prepped my bannetons, then shaped, rolled in WW flour/rice flour @ 50/50 mix, rested at RT for 30 minutes, then into fridge.  Baked @ 475° after a 16 hour retarded proof, 15 minutes steam, 25 minutes without.

Man this bread always makes the house smell amazing!  The aroma of the baking cheese and thyme is intoxicating!

[/url]

rgreenberg2000's picture
rgreenberg2000

Looking to expand my repertoire with something less loafy, so thought I'd give English Muffins a go again after THIS ATTEMPT about 12 years ago! :)  I'm much happier with the results on these, which I will humbly chalk up to my gaining a bit of dough handling and reading experience in the intervening years! :)

I was drooling over kjnits EM recipe, but really wanted to keep this dairy free (a bit of lactose intolerance in the house.)  I borrowed/stole from a few recipes I found and came up with this:

Bread Flour 70%

AP Flour 17%

Whole Wheat Flour (freshly milled) 13%

Honey 1%

Butter 2% (I know, dairy?? Funny thing is I forgot to even put this in!!!)

Water 73%

Salt 1.7%

Levain 23%

I mixed everything together by hand with a brief knead after mixing, then let it rest for about 20 minutes.  Next I did a sort of stretch/slap fold procedure that I probably can't do justice describing, but has become my go-to method until I got some good strength.  Performed 2 sets of coil folds over the next hour, then a cold bulk for the better part of 24 hours.

Today, I divided the dough into 145g balls (thought I was making pizza for a second....small pizza), then let those rise on cornmeal dusted parchment until puffy (which was about 2.5-3 hours today as it was warm!)  I cooked the muffins off in a CI skillet that was ~340° per my IR thermo for 6-7 minutes per side, finishing them in a 350° oven until they hit 208-210° internal temp.

I let them cool, fork split them, and was VERY pleased with the interior crumb!  My prior attempt had a much more closed and doughy interior.  Taste testing says that they need more like 1.9-2.0% salt, and that the honey doesn't add much, so I'll either up that a bit, or just use white sugar.

Anyway, I'm super happy with the direction on these, and plan to make another batch on Wednesday!

Happy baking to you all!

Rich

rgreenberg2000's picture
rgreenberg2000

I have been remiss in not posting sooner about my little (VERY little), home-based pico-bakery, Nickel Cat Bread Company.  I made my first loaf of sourdough bread about 11 1/2 years ago, which was a success in very great part to all of the information I gleaned from this site as I was diving into the hobby.  On June 3rd of this year, I sold my first loaves of bread as a licensed cottage bakery.  I have purposely kept my production very small, providing loaves to friends and neighbors for porch pickup here in Redwood City, CA.  My typical weekly production is 8-10 loaves, with a high of 16 loaves when I had extra orders for folks over the July 4th holiday.  I will likely expand to 2 or 3 days a week since I'm seeing enough demand to support that level of production, and I'm still enjoying the heck out of the process.

I typically offer two types of bread per week from a list of five formulas that I have developed and tested:

Country Blend - 30% freshly milled whole wheat
Emerald Hills Blend - 70% freshly milled whole wheat
Stulsaft Cheddar & Herb - 10% whole wheat, sharp cheddar, thyme/rosemary
Oak Ridge Oats - 10% whole wheat, oat porridge
Summerhill Sesame - 20% whole wheat, 10% toasted sesame seeds

I could not possibly have gotten to this point without all of the information, interaction, and assistance I have received from countless posters on this site, so this blog entry is really a giant THANK YOU to @Floydm, and the entire TFL community.  I am humbled by all of your incredible generosity!  If anyone has any interest in any of the formulas for the list of loaves above, just let me know!

Here are a few photos of recent bakes in the "bakery"! :)

[/url]

Thank you, TFL!

Rich

rgreenberg2000's picture
rgreenberg2000

Ok, so I'm not an artist in any way, shape, or form!  Lovely images that I can see in my mind's eye always turn out as stick figures, and not very good ones at that! :)  So, it's a bit surprising, then, that I decided to try some decorative scoring on my weekly loaves this week.  Back story.......we hosted our annual Halloween party on Monday, and one of our guests brought a loaf of bread that had a "Jack Skellington" skeleton face scored on the top of it.  I thought to myself, "Hey, this would be a cool thing for me to make next year to go with my BBQ Skeleton.....

The "planner" in me decided that I should work up to something like that slowly (since I've seen my pumpkin carving, this really is a good idea!!!) So, I looked at a bunch of YouTube videos on scoring (most of which were WAY to intricate for me), and eventually decided to do a simple wheat stalk on my weekly loaf of bread to see what I could do with that simple pattern.  Well, it's not at all bad! 🤣 Much room to grow, but a halfway decent start.....

The bread is the same that I posted in my blog last week, and the fridge retard really makes the decorative scoring pretty easy (without needing to make a stiffer, lower hydration loaf.)

I'll post updates here, as I make progress. :)

Rich

rgreenberg2000's picture
rgreenberg2000

I have posted similar loaves in the past, but there's probably been enough change to the formula, I thought I'd add a new entry.  This bread is what I make every week about 90% of the time (my recent olive and cranberry loaves notwithstanding.) Over the past year or two, I've swapped the amounts for whole wheat vs durum, in favor of a higher % of durum in the mix.  All of the non-white flour is freshly milled in my Komo Fidibus mill.

Oh, and I've confused people in the past with the RWC abbreviation......it's the city I live in (Redwood City.) :)

FORMULA

  • 401g All Purpose (Central Milling Beehive)
  • 401g Bread (CM High Mountain)
  • 232g Durum (CM)
  • 58g Whole Wheat (CM Hard White Winter)
  • 58g Rye (CM)
  • 240g Levain (100%, WW)
  • 833g Water
  • 26g Salt

Total Flour = 1270g

Total Water = 953g

Hydration = 75%

I usually keep my weekly bakes at 72%, but on a whim, decided I'd push that up to 75% for this bake.  I also decided to use my Ankarsrum to develop the dough rather than hand mixing/folding (again, on a whim.)

Process

Gave my starter a good feed before I went to bed, then built my levain in the morning.  I like to keep my starter jar and levain "bucket" sitting on my TiVo.....seems to keep things at a temperature that the yeast like! :)

Autolysed the whole grain flours with an equal weight of water for about 90 minutes.

Fired up the Ank, and mixed in my levain and remaining water, then added the AP/bread flours.  Once everything was mixed well, I covered the Ank bowl with a towel, and let it rest for about 20 minutes.  After the rest, I added the salt, and mixed everything to a good windowpane, which took about 10 minutes or so.

My total bulk (from addition of levain) was 4 hours (and hour longer than usual, just "for fun"), and I threw in three sets of stretch/folds, as the dough was a bit more slack than I wanted.  After I judged the bulk to be complete, I divided, pre-shaped, shaped, and set the bannetons back in the proofer for about 30 minutes.  At that point, both loaves headed to the fridge for a 12 hour nap.

This morning, I preheated my oven with stone to 475° for about 45 minutes, then slid loaf #1 into the oven covered with my enameled roaster.  Baked covered for 25 minutes, and uncovered for 15 minutes (another process modification....extending the covered time to see how much thinner the crust ends up.

I'm very happy with how both of these loaves turned out.  Got a super nice ear on one of them, with a decent ear on the other.....interestingly, the only difference of note on these two loaves is that one banneton is slightly larger than the other. I don't care enough to experiment on that front.

One of these loaves will be "donated" to a neighbor, the other should be gobbled up within four days or so.

Rich

rgreenberg2000's picture
rgreenberg2000

We have friends coming into town this week, so I needed more bread on hand.  Seemed like a good time to take a run at Holiday Cranberry v2 (now BASED on Trevor Wilson’s formula, but tweaked more to my starter/process.)  Everything went very well with this bake EXCEPT for a hydration issue……. After I got all the water, levain and flours into my Ank, it was dry as dry could be!! I was completely confused, as I have mixed this volume of flour at this hydration so many times, and never had this problem.  I added water bit by bit until the dough finally came together and felt roughly the same as it normally does.  It was at this point that I noticed that I had about 1.5 cups of my water I had measured out still sitting to the side!!! Grrrr!!!!  I had mixed SOME of the formula water into my container for the levain, and completely forgot to add the rest!  Oh, well, disaster averted, and onward…….

Formula:

Bread Flour 435g (CM High Mtn)

AP Flour 434g (CM Beehive)

Whole Wheat 219g (fresh milled, CM hard white winter)

Water 749g

Levain 250g (100%, WW fed)

Dried Cranberries 300g

Salt 25g

 Process:

 Combine water and levain, mix in Ankarsrum on low until well combined.

Add WW, AP and bread flours, continue mixing on low until well mixed, rest for 20 minutes.

Mix on medium speed until dough is well developed (about 12 minutes in Ank).

Add cranberries by the handful over about 2 minutes, mix until well distributed.

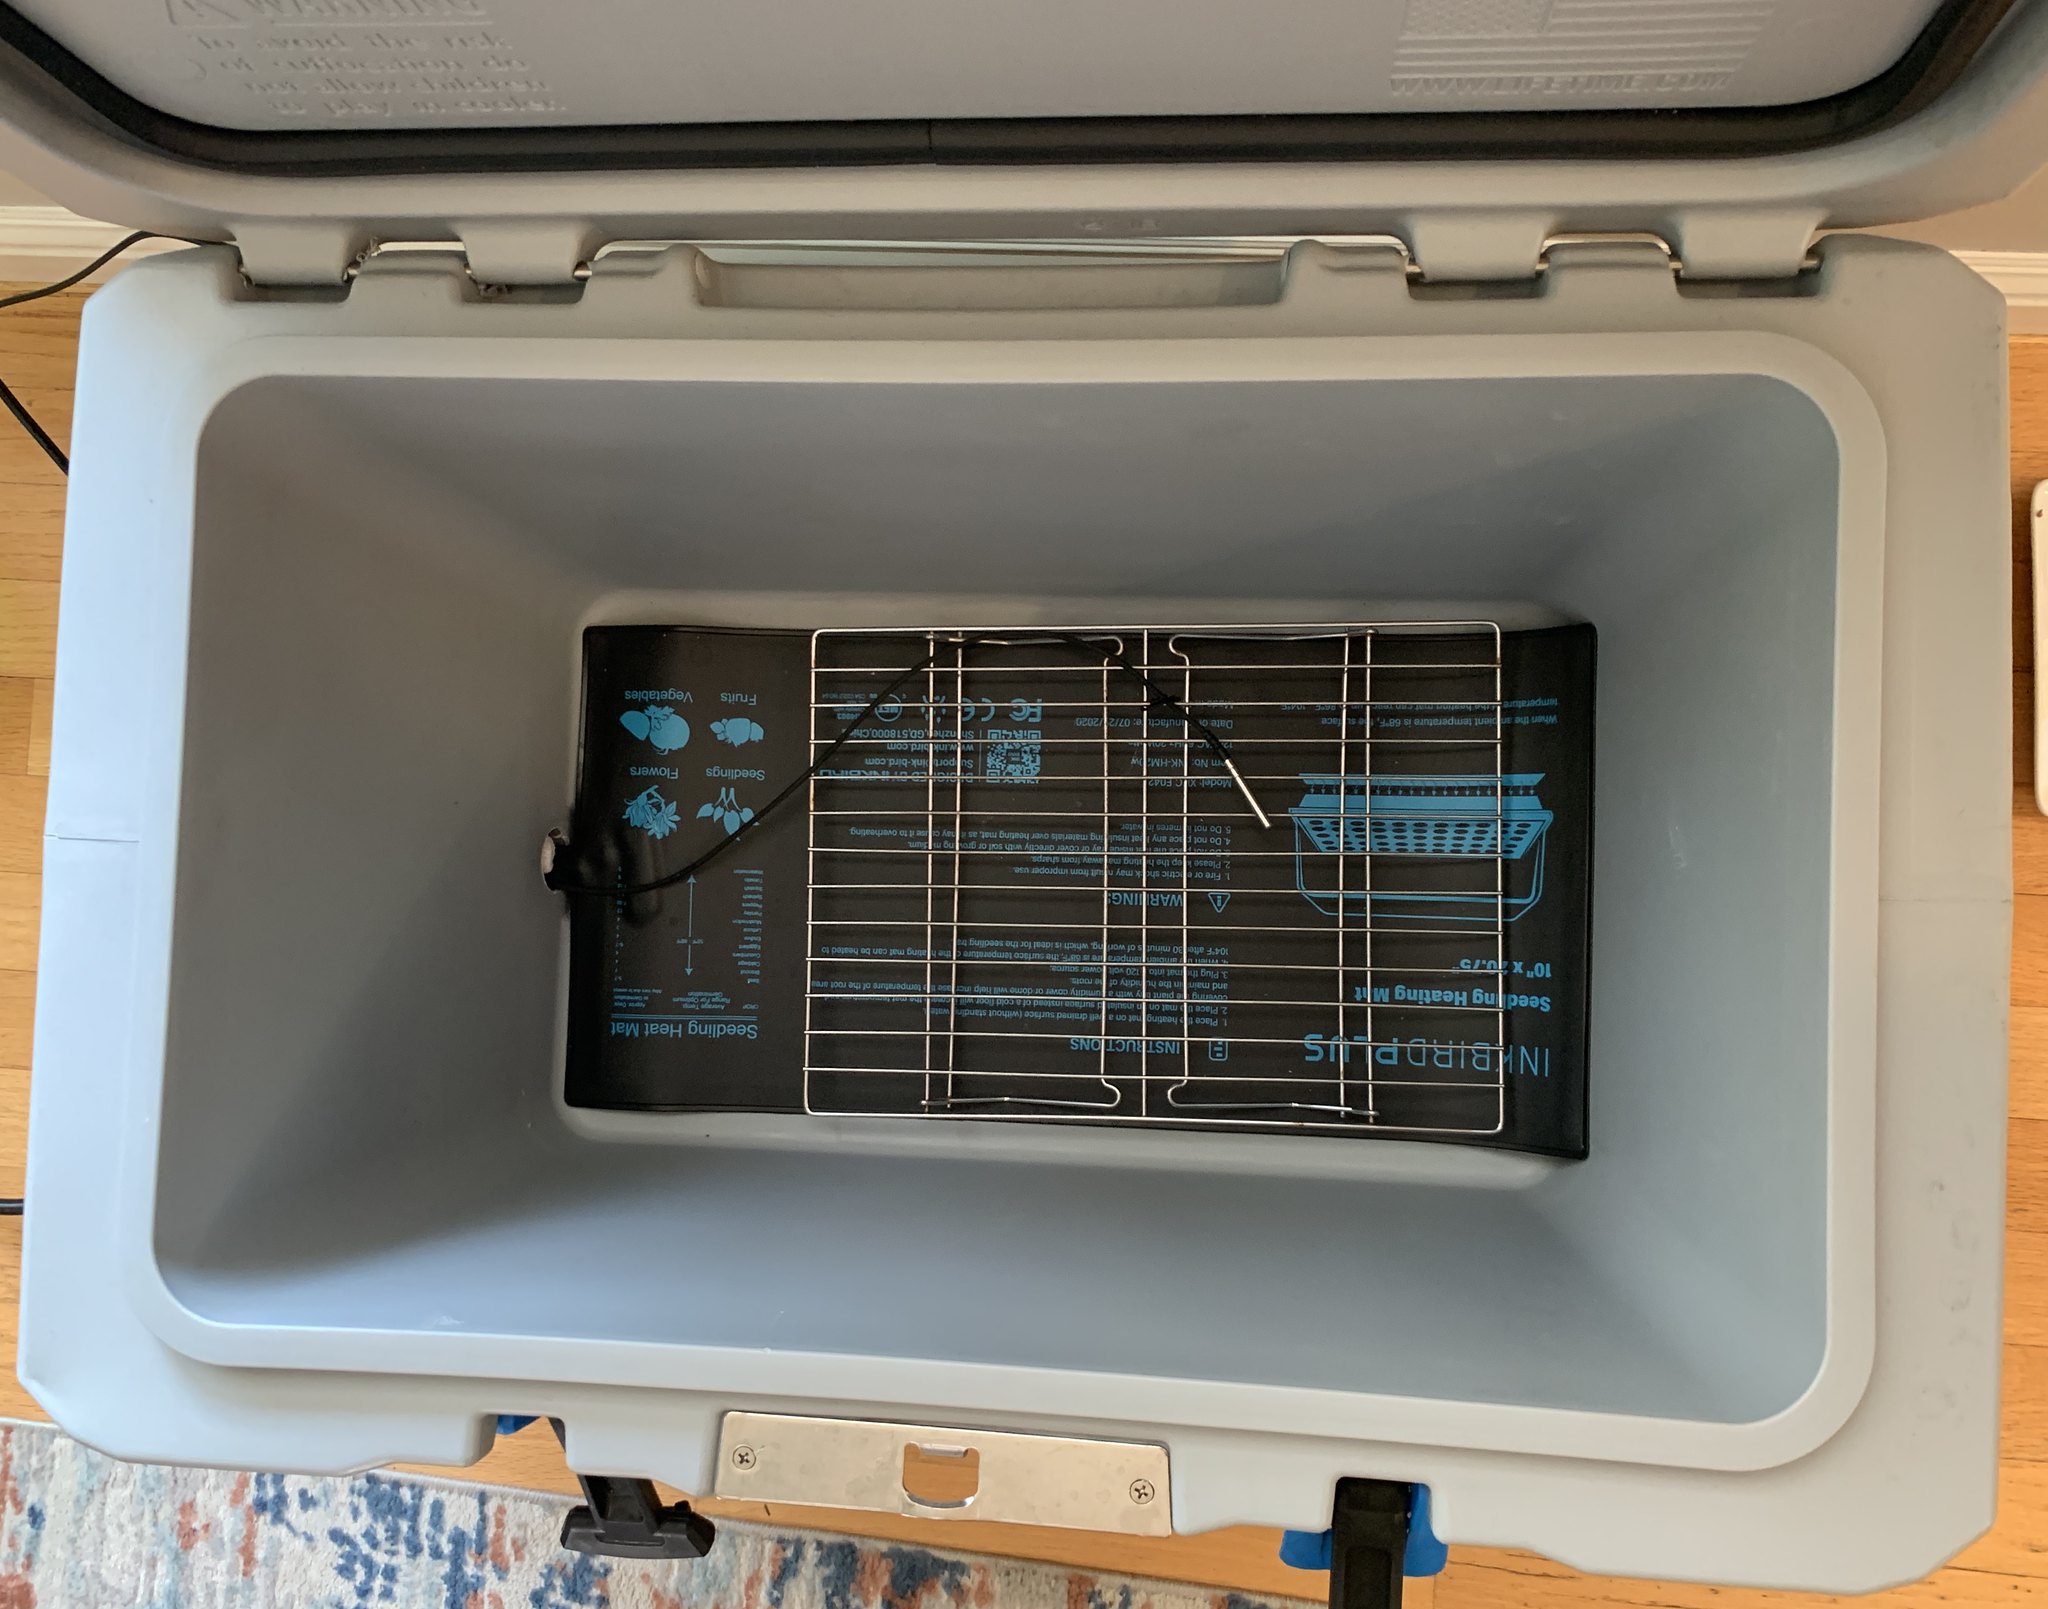
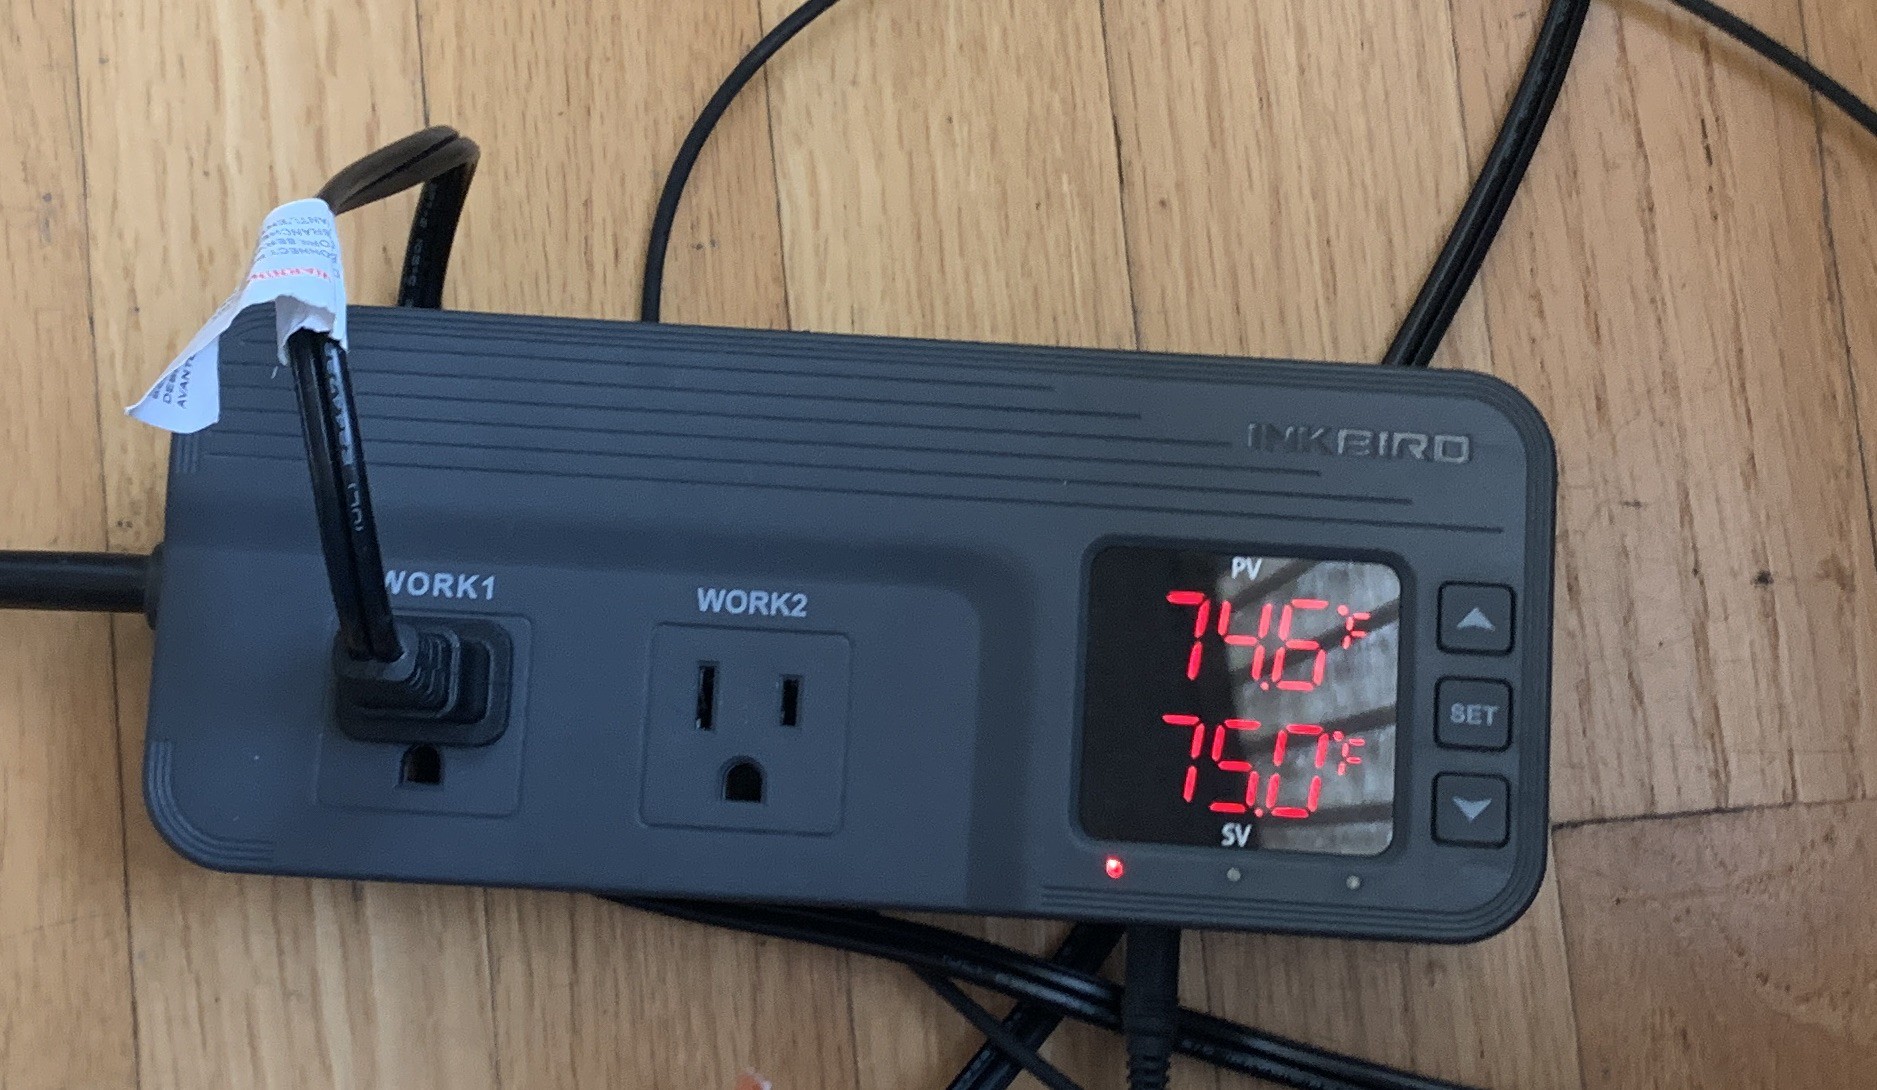
Move Ank bowl to proofer @ 72°F. Stretch/fold twice at 30 minute intervals.

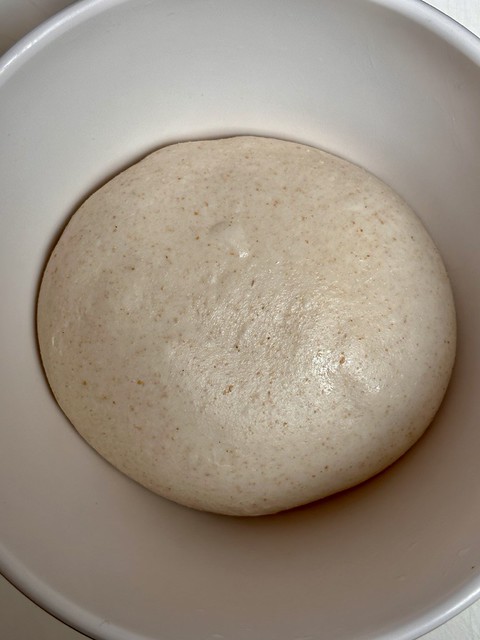
Dough after 2nd stretch/fold:

Bulk proof ~2:45 @ 72°F, or until dough seems a bit puffy (doesn’t seem to get jiggly with all the cranberries)

Dough after bulk complete:

Divide and pre-shape into rounds.

Dough divided/preshaped:

[

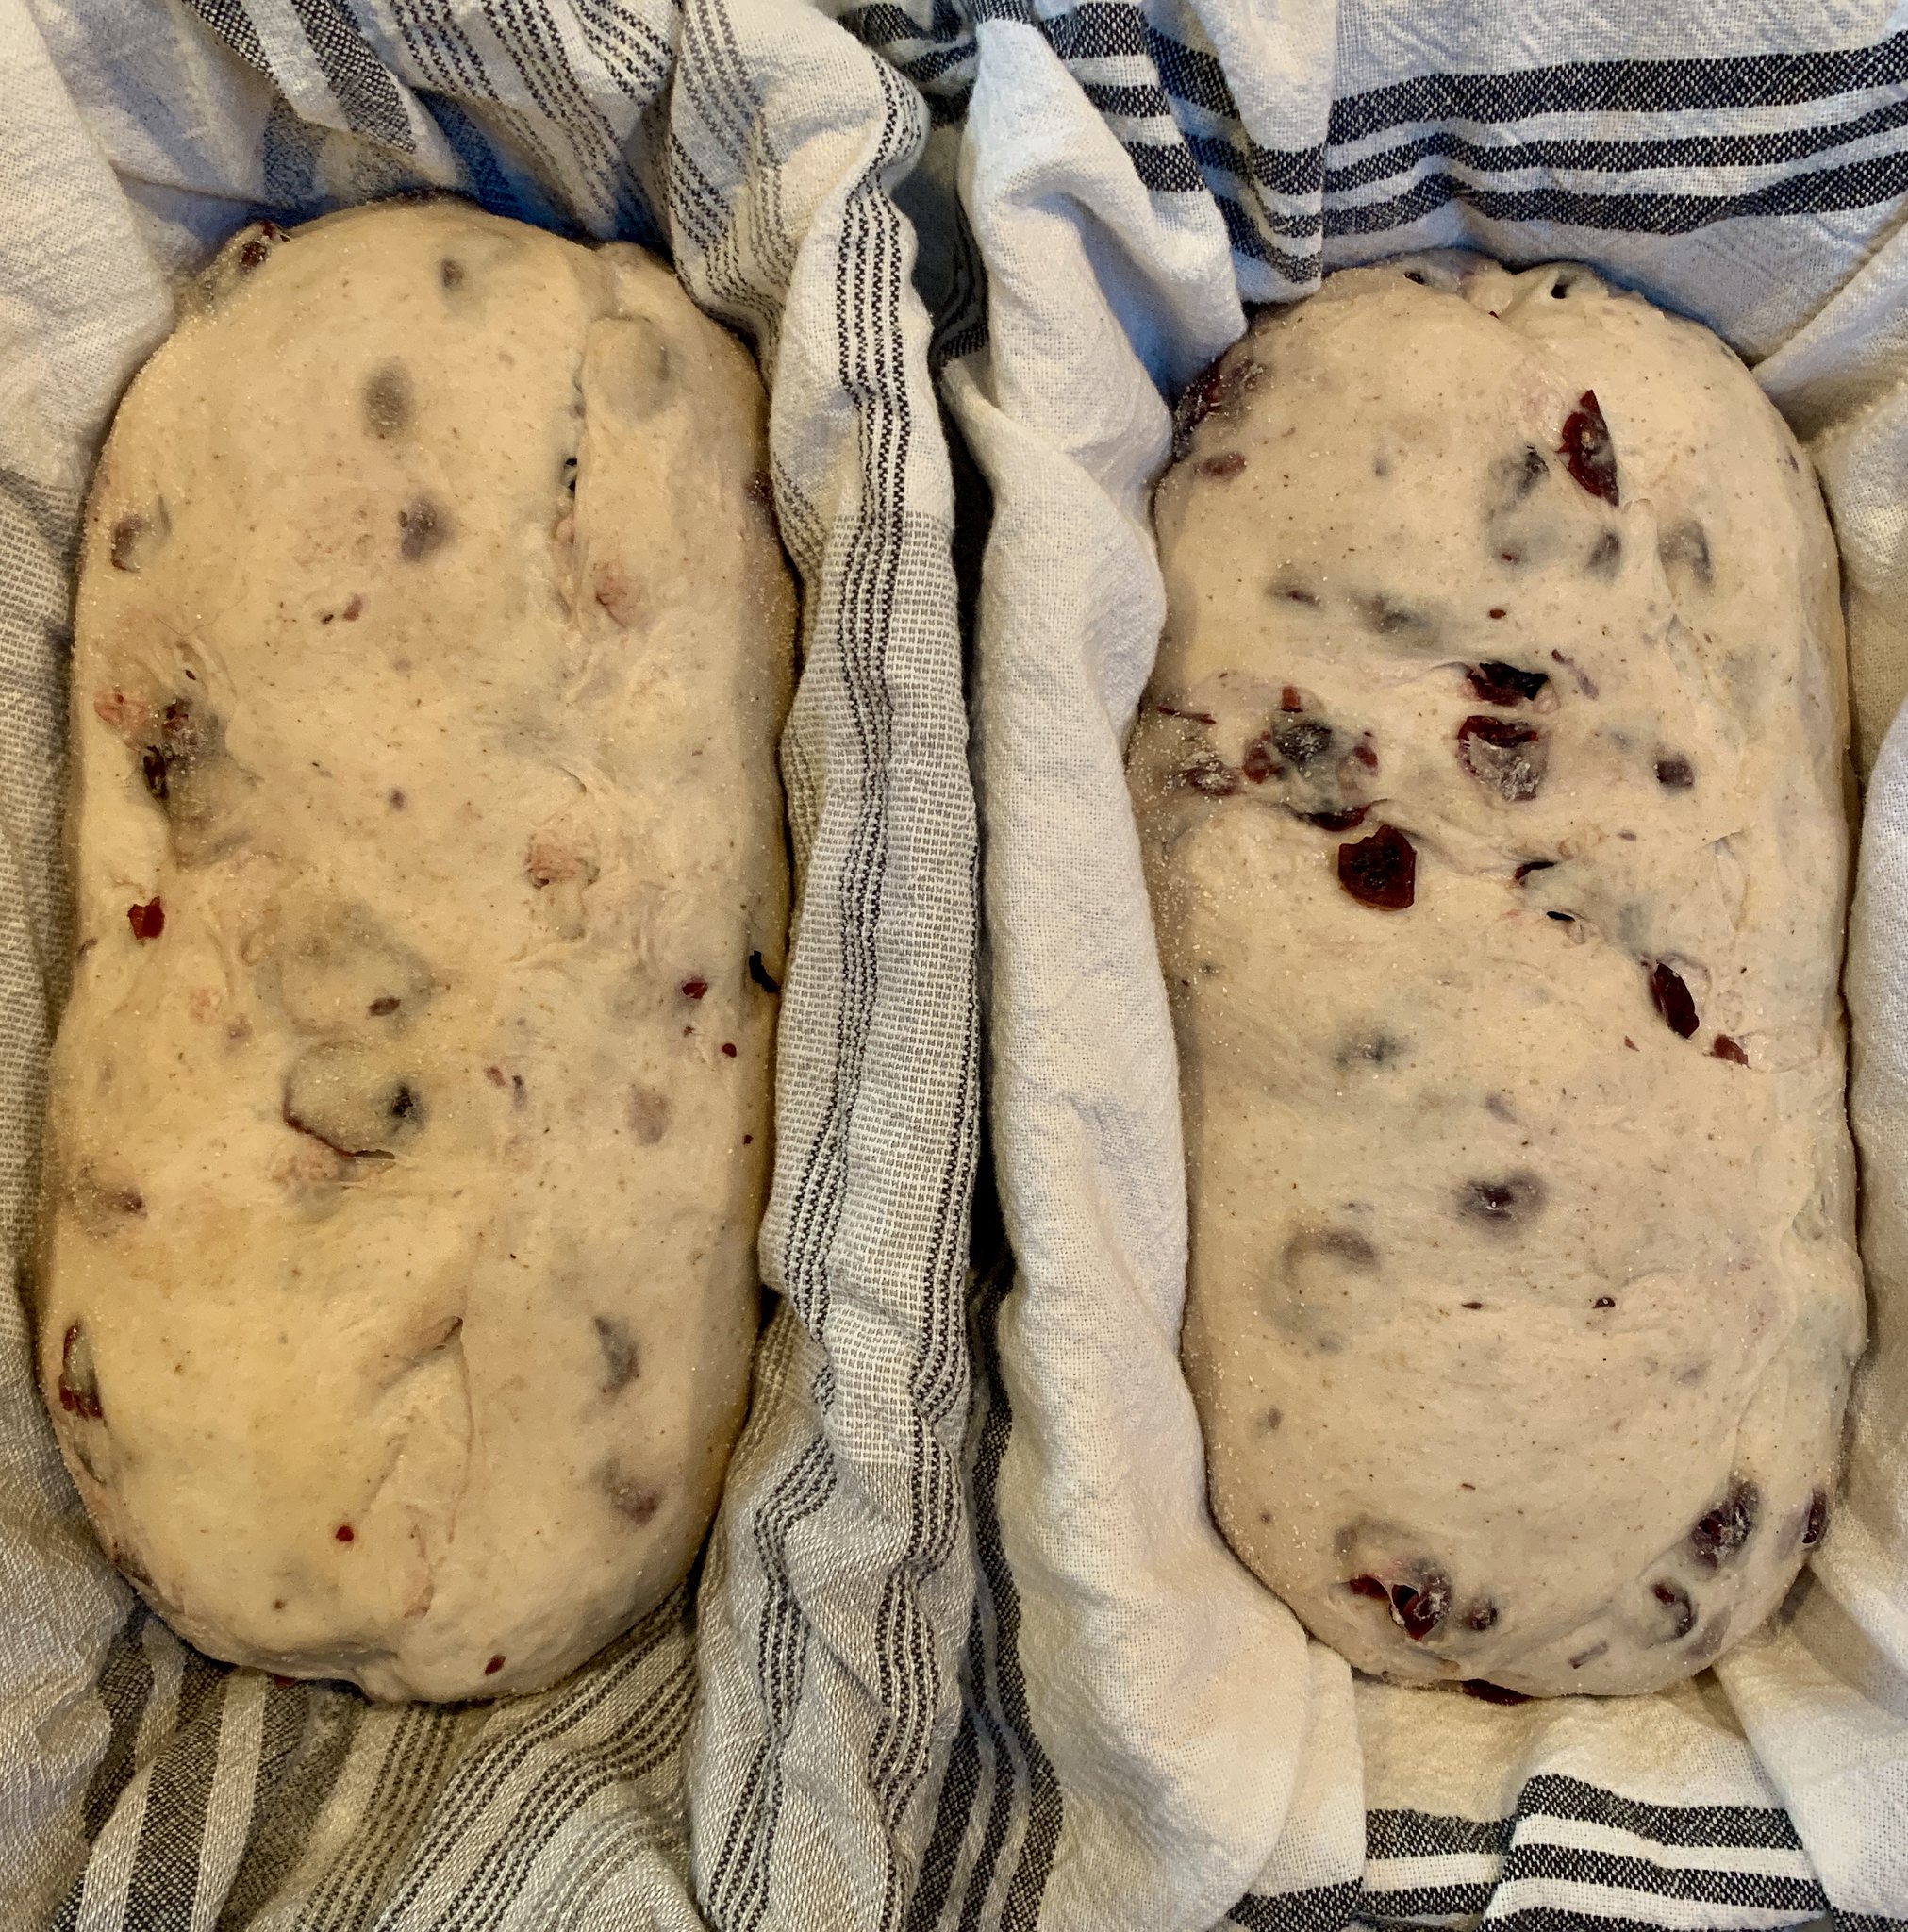
Shape into final forms (round, batard, etc.), then place into bannetons @ 72°F for 60 minutes.

Move to fridge and continue proof overnight (these went about 15 hours.

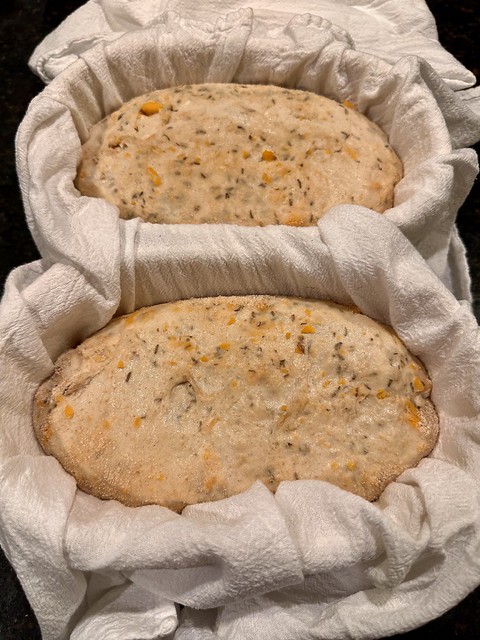
Dough just before heading to fridge:
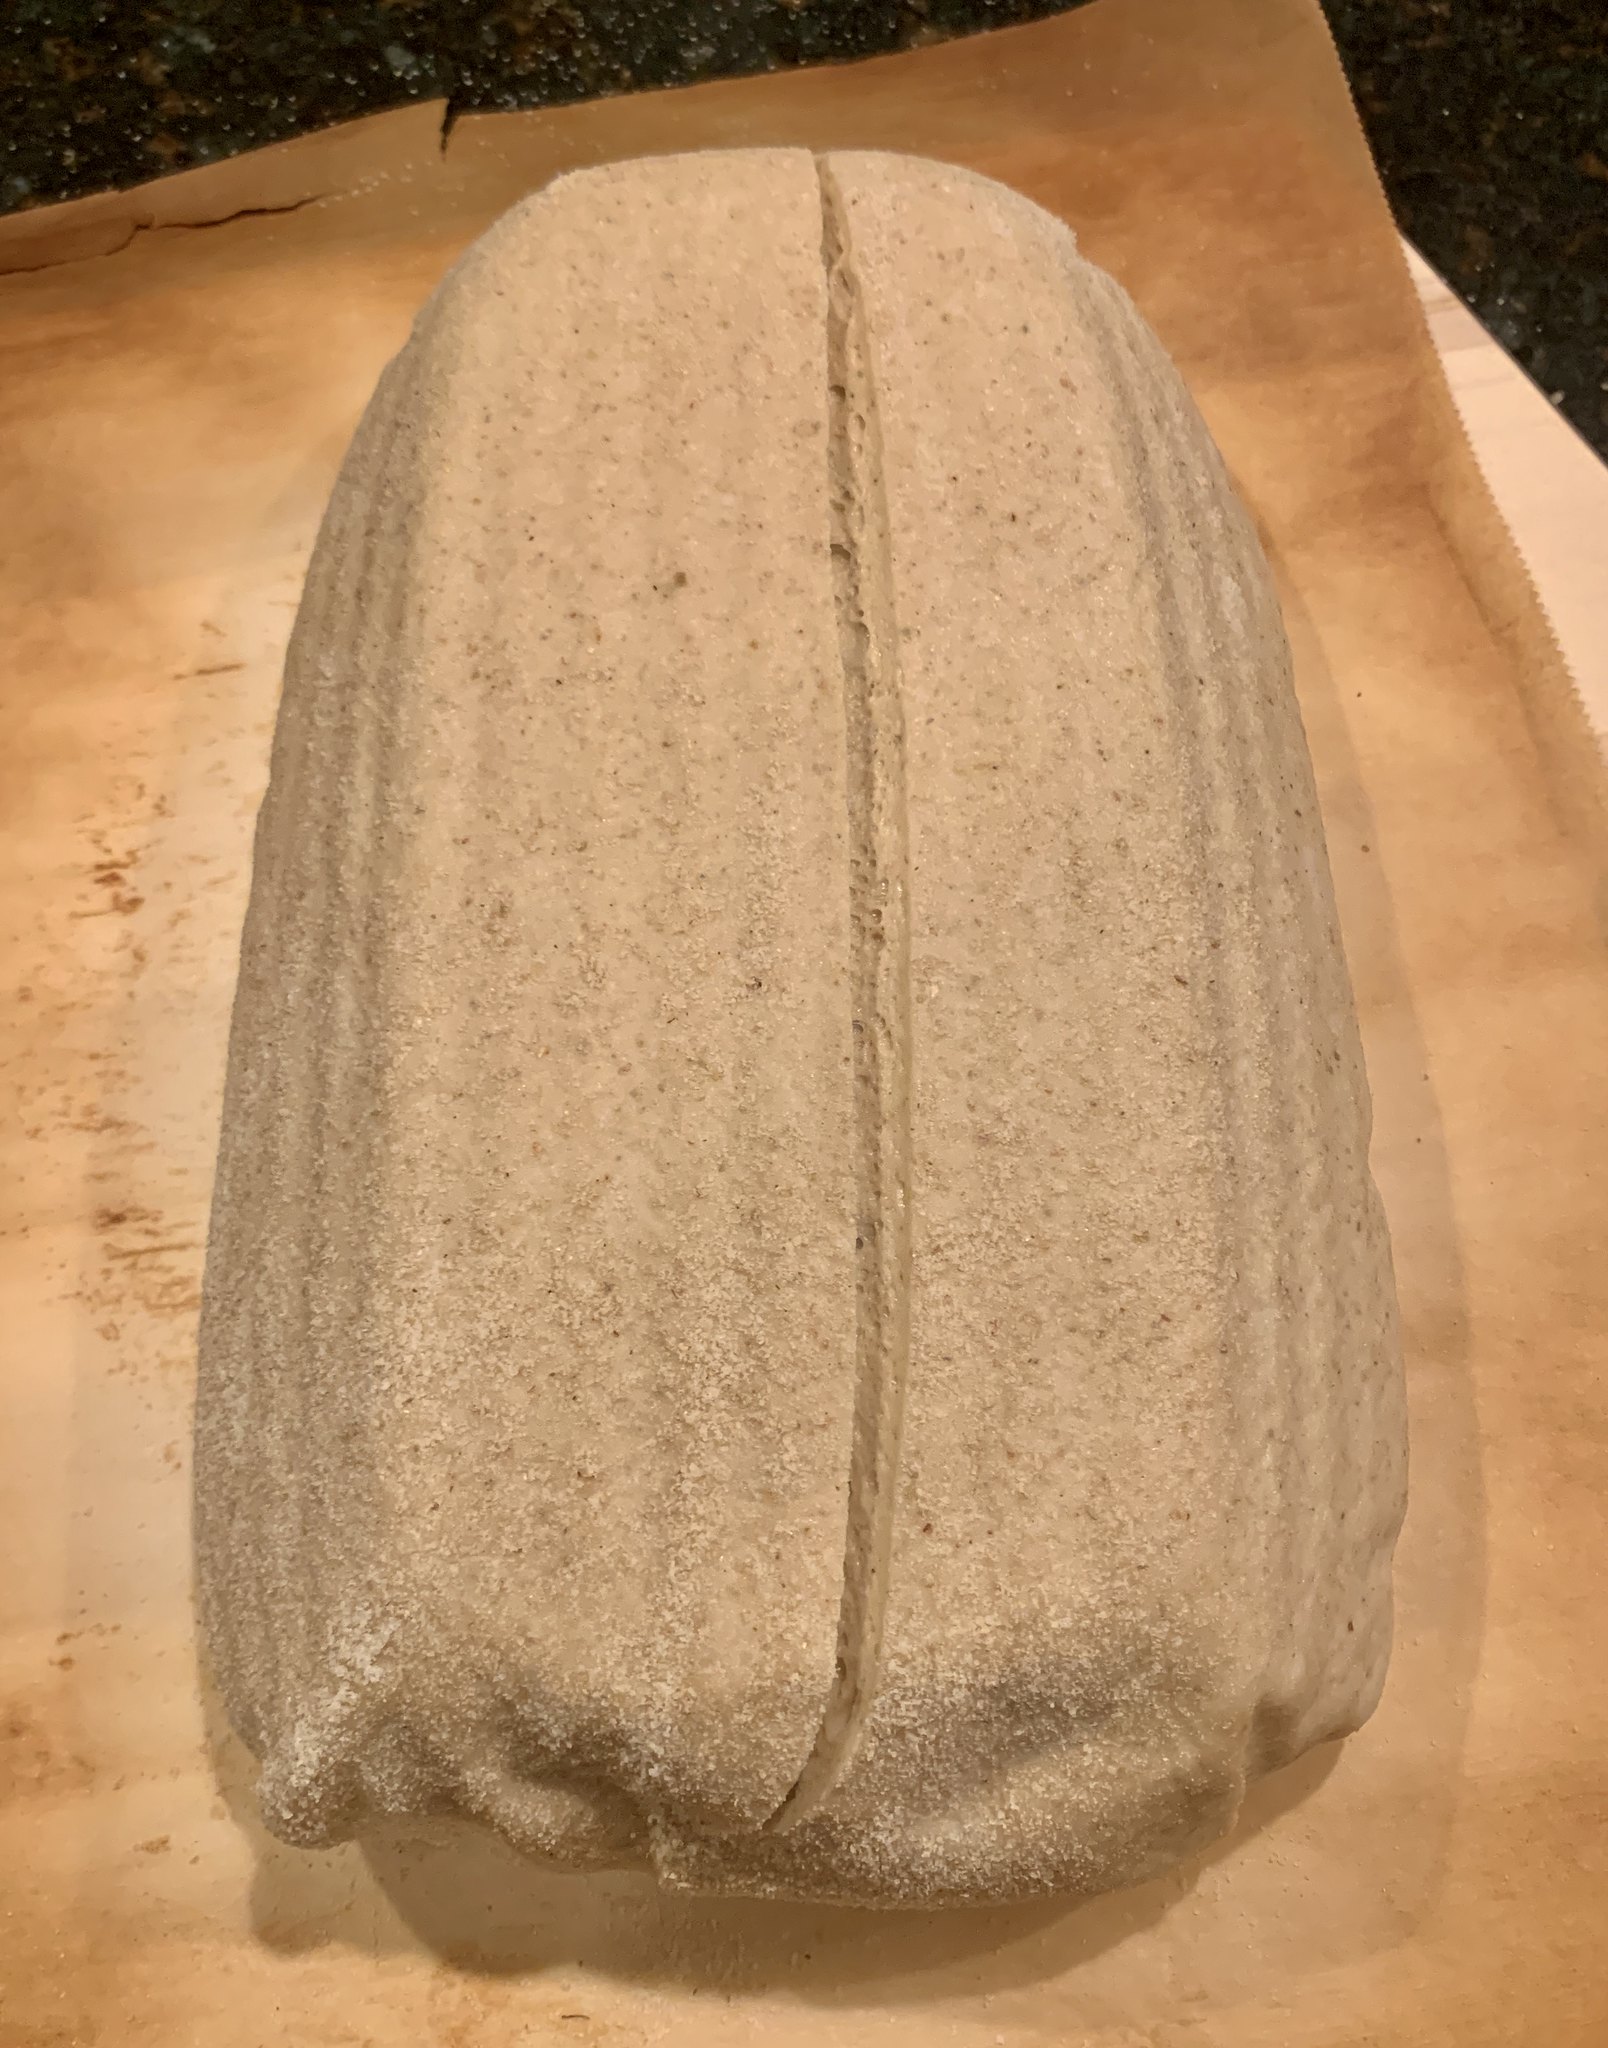
Just out of fridge:

Slashed and ready to bake:

Bake, covered, in a preheated oven @ 475°F for 15 minutes.  Remove cover and bake for 25 more minutes.

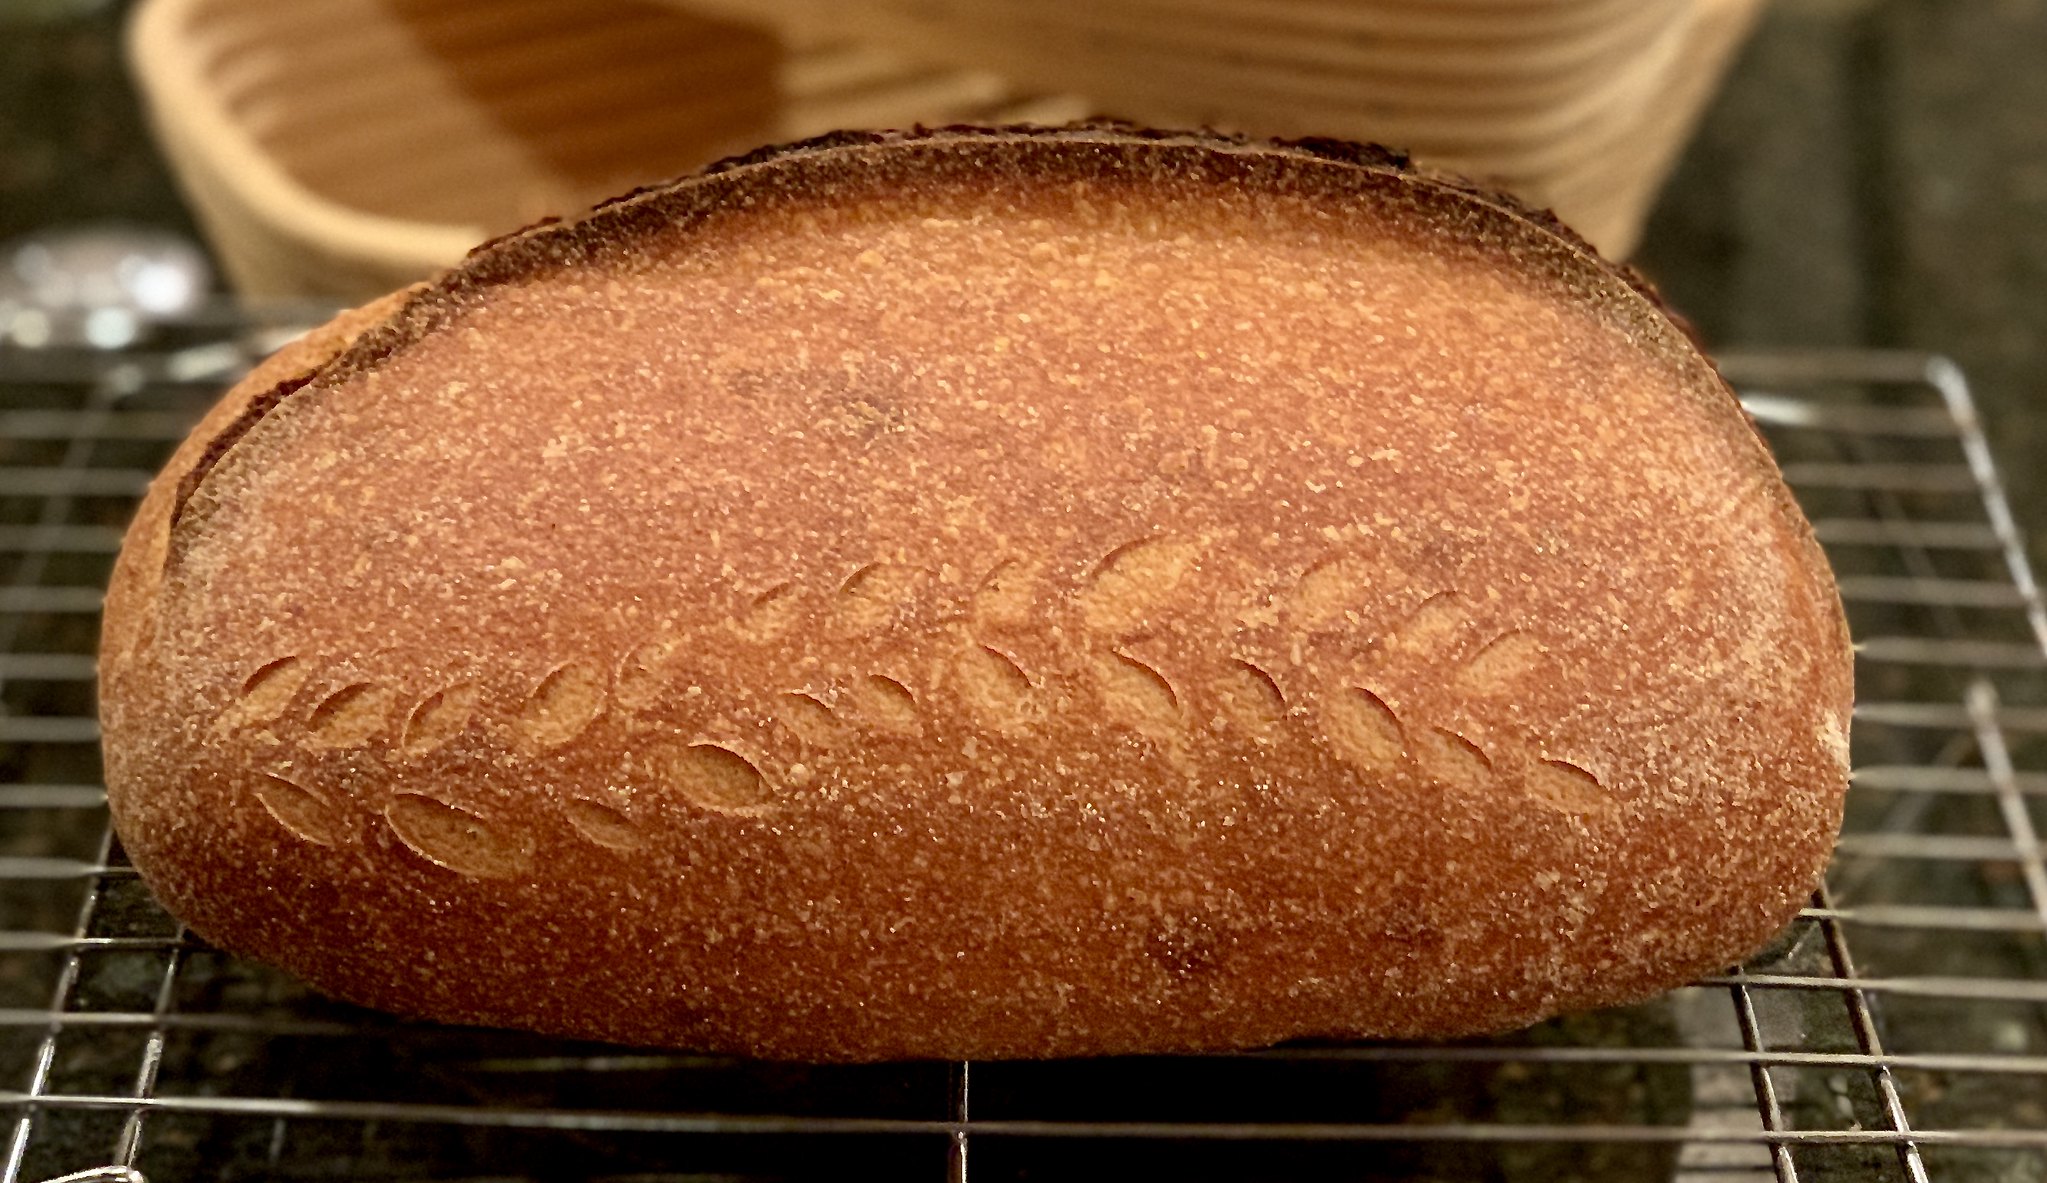
Loaf #1 after removing inverted roaster:
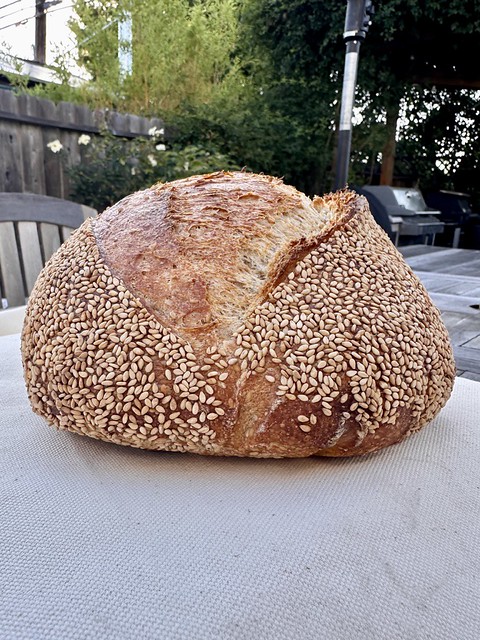
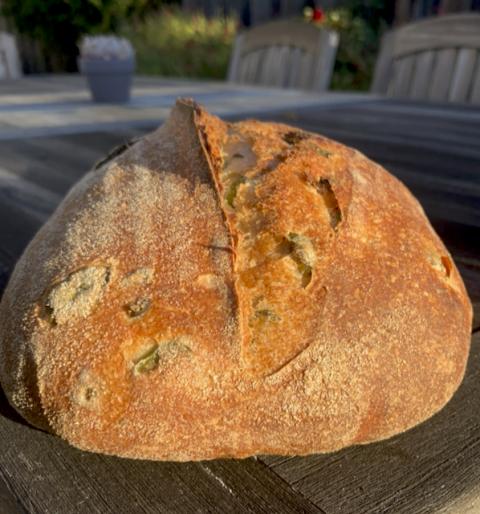
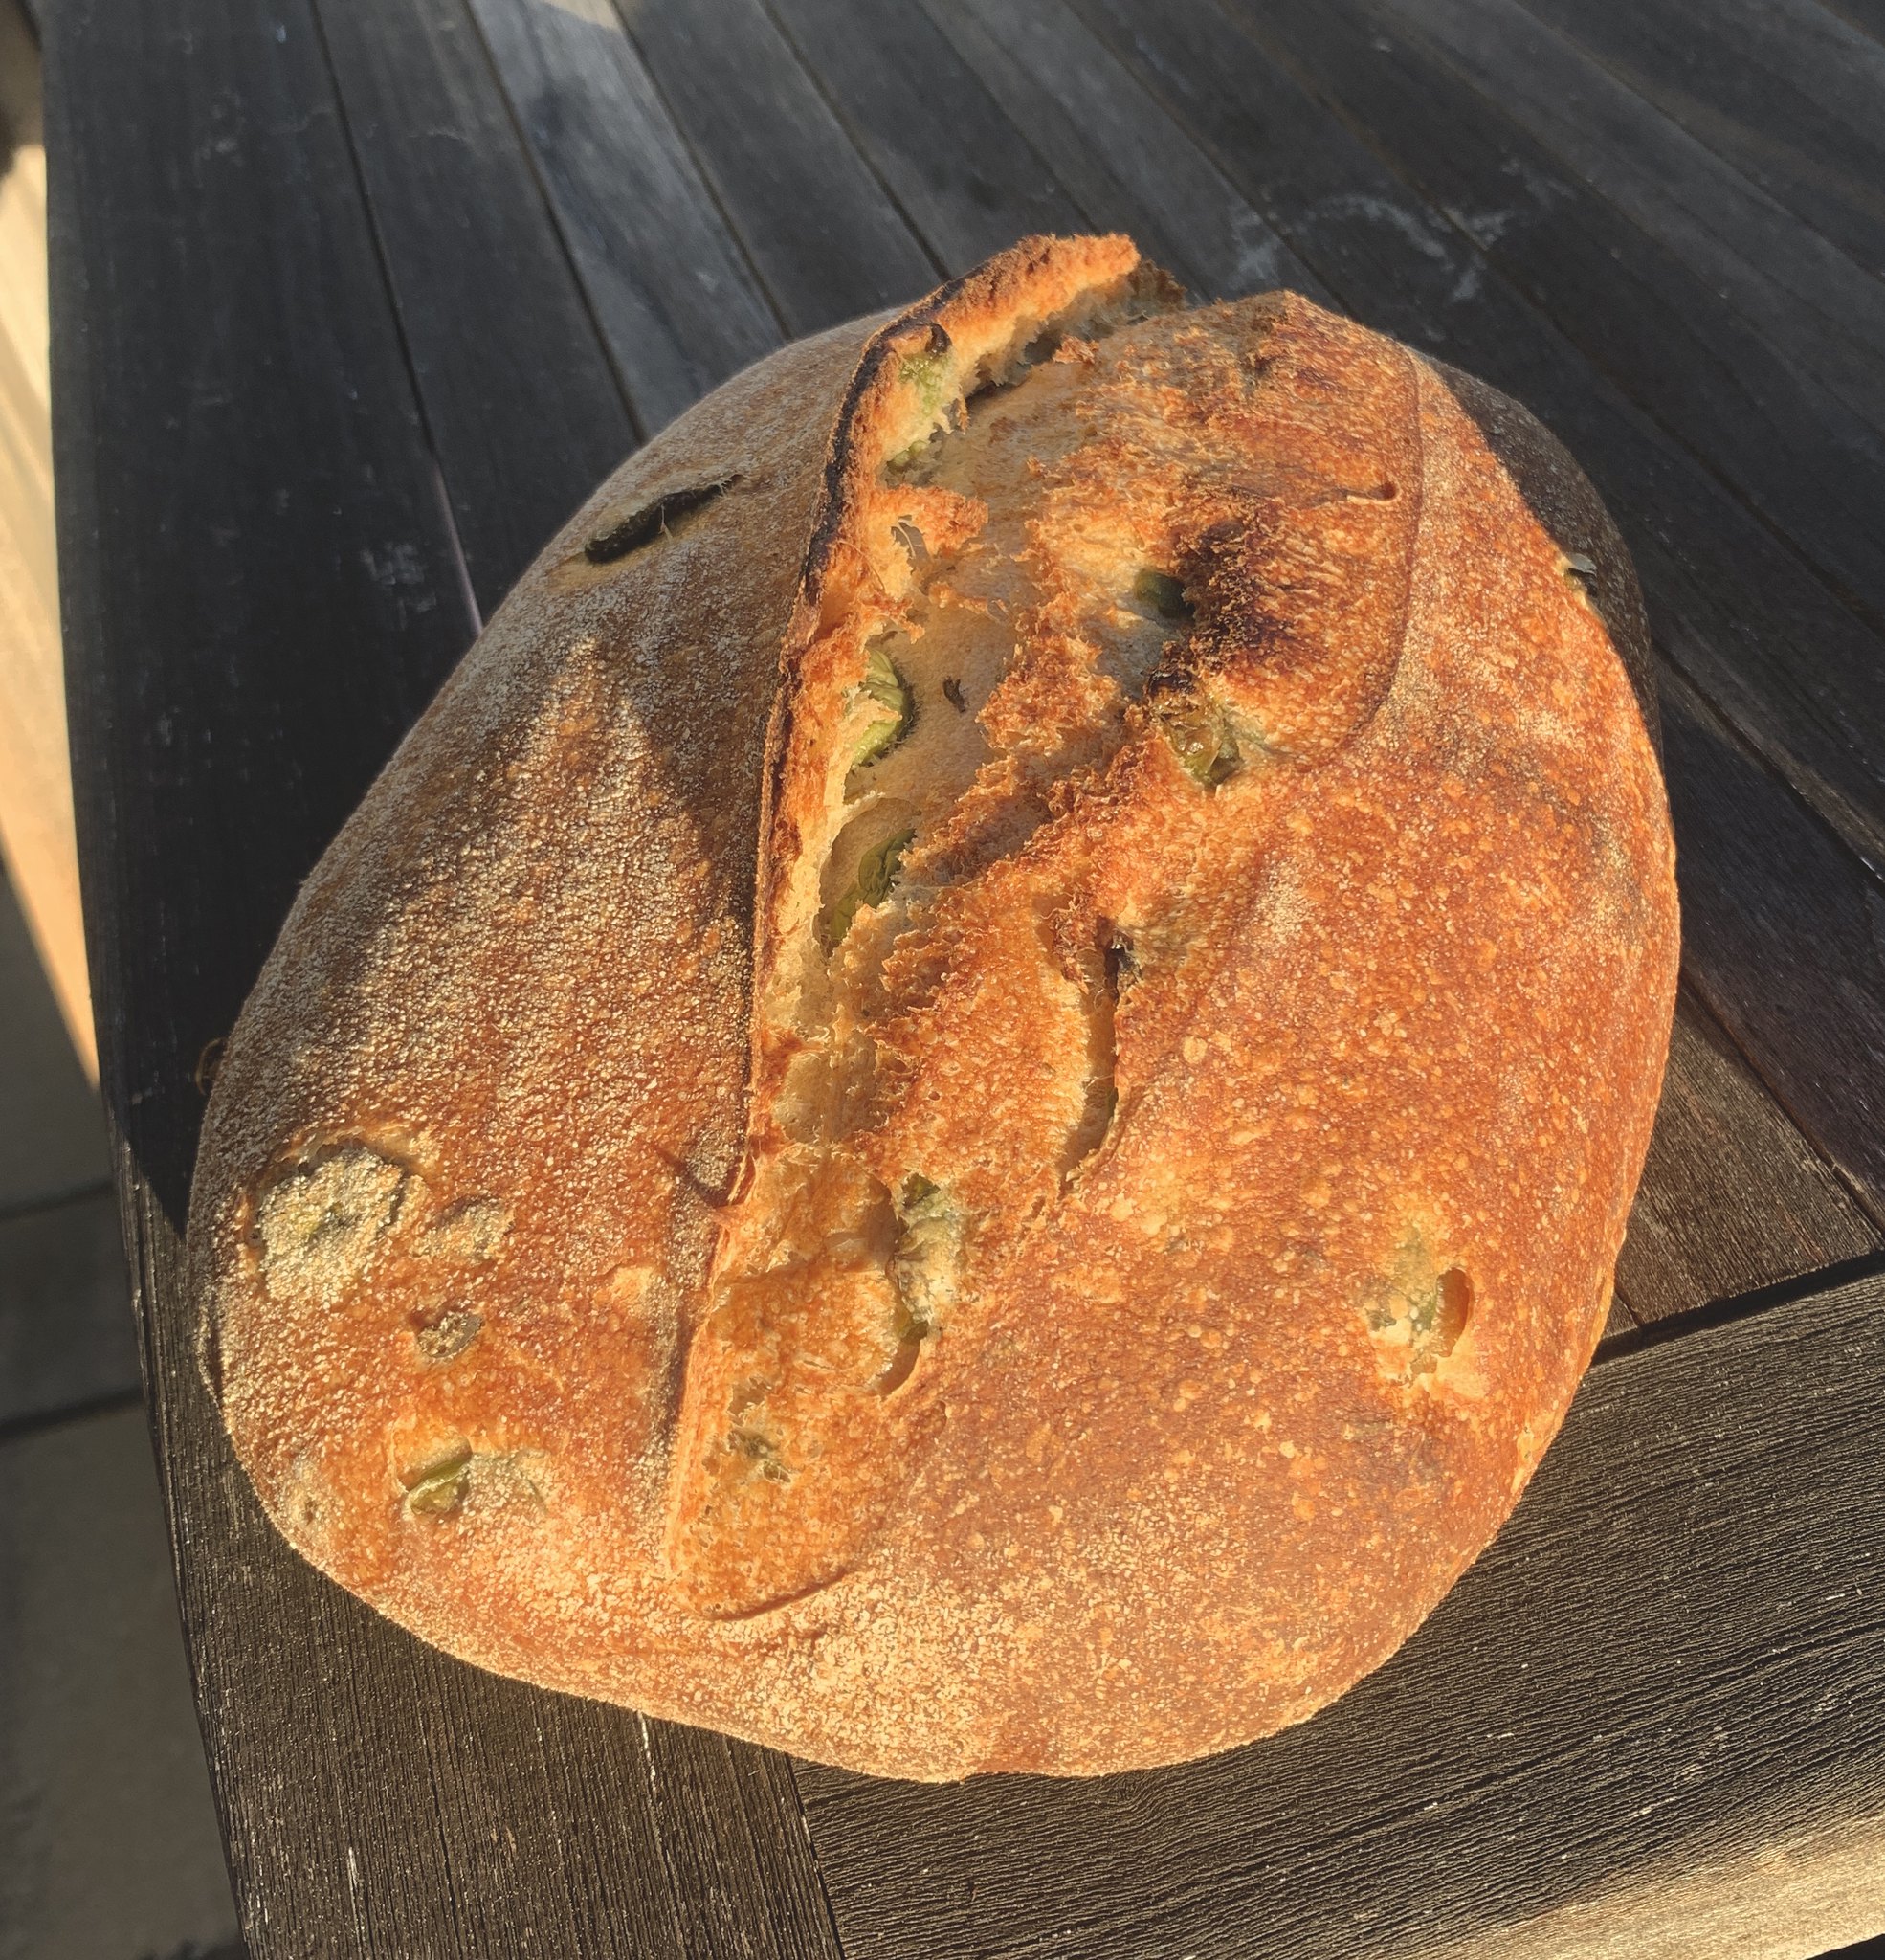
Finished loaves:

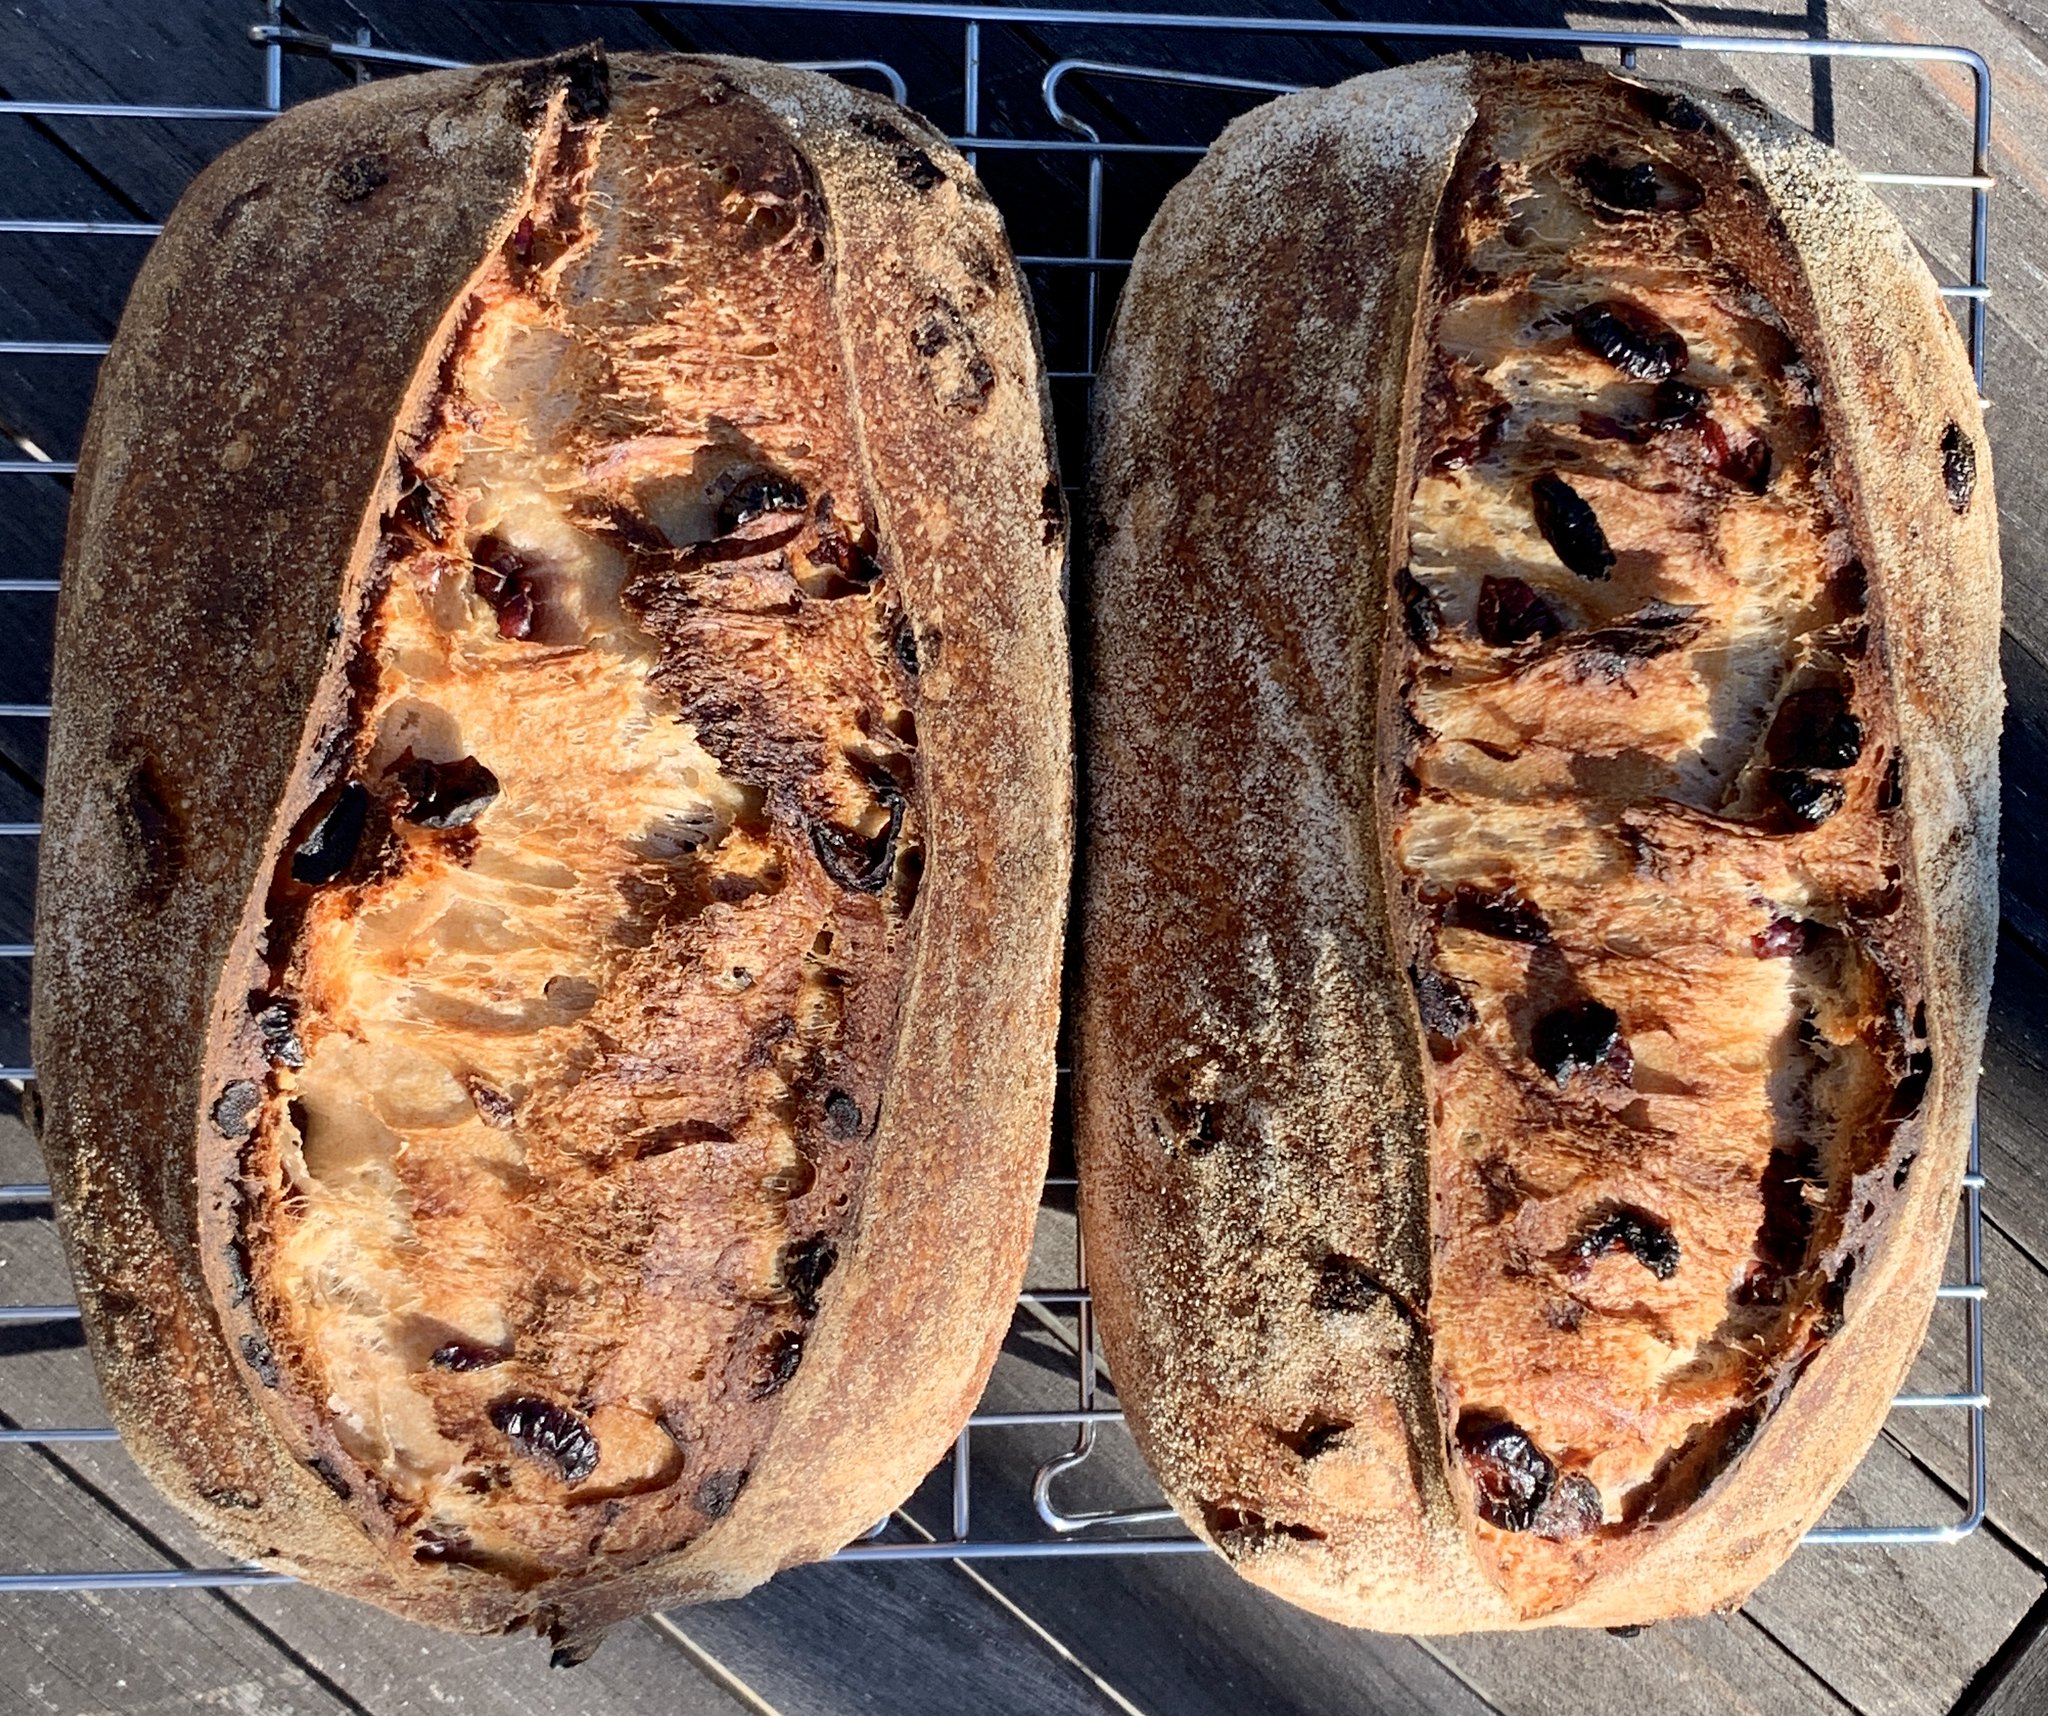
Cool thoroughly, slice and eat!

rgreenberg2000's picture
rgreenberg2000

As part of my search for some new formulas to work with (with an eye toward the holidays), I spent some time perusing PiPs blog posts.  If you haven't had the time to look through his content, I have to say, I could spend a month or two just baking some of the absolutely delicious looking breads that he presented here!  Lovely stuff!

Anyway, the Olive & Herb sourdough that he shared in his blog looked like a great option to play with.  I followed the formula very closely, making a minor adjustment to 72% hydration, which I tend to prefer.  My Whole Wheat flour was freshly milled hard white winter wheat from Central Milling, and I used a 50/50 mix of CM Organic AP, and CM High Mountain ("bread") flours.  I wasn't able to get to Whole Foods, where they have my preferred olives in their olive bar, so the olives I used for this bake were brined Castrellano olives from the local grocery.  As it turned out, they weren't quite as briny as usual, so my salt was a little low in the finished product.

Everything got mixed/developed in my Ankarsrum.  After about 12 minutes of development, things looked pretty good, so I added in the olives bit by bit to get them incorporated.  Interestingly, the olives didn't mix in quite as well as I had expected, and they seemed to want to crowd the roller in my Ank.  After a total of 15 minutes in the mixer, I did a bit of hand kneading/manipulation to get the olives as well dispersed as I could.

Did about 3 hours of bulk @ 79°F in my XL proofing setup (large cooler, seedling mat, and an Inkbird controller), then shaped and dropped in the fridge overnight (after another hour in the proofer.)  When I baked loaf #1 in the morning, it was a bit explosive in its oven spring, which led me to believe that it may have been a bit under proofed.  I left loaf #2 to sit in the proofer again at 75°F for about 3 hours and then baked it.  Not bad, but I feel like I missed my window in there somewhere! :) The taste is fantastic (as mentioned, a bit low on salt), the crumb is what I like as it holds onto things like butter better, and I look forward to baking this one again.

Oh, and here's the "XL Proofer" :)

rgreenberg2000's picture
rgreenberg2000

I haven't posted anything in ages since I tend to make the same loaves on a regular basis that I have shared before.  I am still baking weekly, and I visit here often to see what creations everyone is baking up!  This week, I decided to shake things up a bit and find some loaves that would be fitting for holiday gatherings and gifts.  As it happens, Trevor Wilson got his content back on line about the same time as I was perusing TFL for ideas, and his Holiday Cranberry Sourdough struck a chord with me.  So, off I went..... :)

I stayed true to Trevor's formula (after all, first time I'm making it, so......) The only changes I made were to scale the recipe for my usual loaf size, and to reduce the hydration to 72% (my comfort zone.) I also paid close attention to the dough, and my fermentation times were a bit different than his, but this is to be expected given starter differences, temp differences, etc.  My fridge proof was a bit shorter @ 10 hours, but, hey, who is in charge here, me or the bread?!?! ;) Ok, now that I typed all that, I guess I stayed true to the SPIRIT of Trevor's formula. :)

Anyway, everything went VERY smoothly for this bake.  I mixed the dough in my Ankarsrum, and it came together beautifully.  I mixed/developed the dough for about 12 minutes before slowly adding the cranberries.  The Ank got them mixed in well in about 2-3 minutes.  I baked off the first loaf this morning, and was a bit concerned that I had shortchanged the fermentation when there was just a small amount of oven spring when I removed my inverted roaster after the steaming period.  After another 25 minutes uncovered, my concerns turned out to be unjustified.  I did get a little splitting on one side of the loaf, so, I'd guess that I under proofed things a bit.

Happy with how this turned out for a first attempt, and will only make minor tweaks when I do it again.  Thanks for a great formula, and well written instructions, Trevor!

Pages

Subscribe to RSS - rgreenberg2000's blog