Poppy seed cake

This cake is my own creation, made with layers of lightly moist sponge (this is effectively the same sponge as in Black Prince, with minor alterations), a sweet poppy seed filling, and a basic Tiramisu cream filling. I recommend using cream cheese rather than mascarpone because cream cheese has that bit of sour flavour to it, creating a fresh contrast against the sweetness of the sponge and poppy.
Ingredients (makes a 1.1 kg cake or thereabouts)
For the sponge
- 2 medium eggs
- 140 g sugar
- 120 g sour cream
- 80 g plain flour
- 1 heaped teaspoon bicarbonate of soda
- 50 g poppy seed, rinsed
For the poppy seed filling
- 150 g poppy seed, rinsed (or 200 g if you aim for a thicker layer)
- Approx. 120-150 ml milk
- 3-4 tablespoons double cream
- 2 teaspoons sugar
- 2-3 tablespoons honey
For the cream filling
- 200 g cream cheese (I used Philadelphia light)
- 250 ml double cream
- 1 heaped tablespoon caster or icing sugar
- (Optional) 2-3 teaspoons brandy, cream liqueur or strong sweet wine
- (Optional) seeds of 1/3 vanilla bean, or equivalent amount of vanilla paste, or extract (I used 1/3 teaspoon vanilla paste)
Method
Sponge
Beat eggs and sugar together to a pale and smooth mass. Switch your mixer to a low speed and add the sour cream in 3-4 increments (or more). Stir the bicarbonate of soda into the flour, fold into the egg and sour cream mix. Lastly, fold in the poppy seeds. (NB I put poppy seeds in the sponge for structure rather than flavour, it’s a bit like adding more flour but without making the sponge too dense.)
Transfer the batter into a greased cake tin. Ideally, use a small diameter springform tin (because you’ll be layering the cake in the same tin afterwards). It’s important that the diameter is no more than 15 cm because we want a tall cake. Don’t worry, the batter is too runny to bake to a volcano shape. Mine usually comes out with a perfectly flat top.
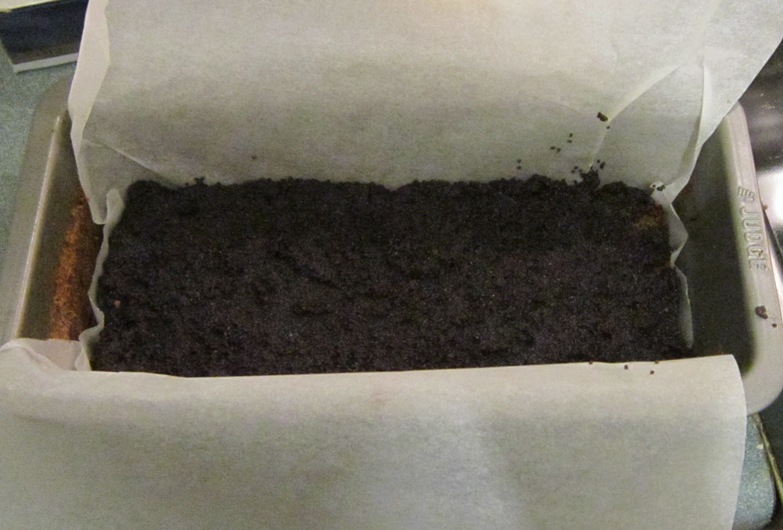
I’ve only got one springform tin and it was in use, so this time I baked my cake in a 1 lb bread tin.
Bake at 180 C/350 F for approx. 30-40 min, or until a wooden stick inserted into the middle comes out clean.

Poppy seed filling
Poppy seeds sometimes come with bonus sand in it. So it’s best to give them a rinse, in case. Put the rinsed seeds in a dish and pour over some boiling water. Cover and allow to infuse for 30 min.
Drain in a sieve and transfer to a small pan. Level with the back of a spoon. Pour over enough milk to cover the poppy seeds, plus another couple of tablespoons (should make about 10-12 tablespoons altogether). Add the sugar and 2 tablespoons cream. Cover and heat to a simmering point, then lower the heat and continue to simmer until soft. This takes approx. 30 min. Stir every few minutes and add milk by the tablespoon as required. When it’s ready, stir in another tablespoon or two of cream. Allow to cool and stir in some honey, to taste. You can of course stir in the honey while the poppy filling is still hot, but honey will lose any health properties if heated.
Cream Filling
Beat the cream until soft peaks form.

It’s important not to over-beat at this stage as you want to leave some room for mixing the other ingredients into it. Add everything else, beat together until well combined (only a few seconds!).
Layering
Slice the sponge horizontally to make 3-4 equal size layers.

If not using a springform tin, lay a sheet of parchment paper into the tin so you can later lift the cake out by pulling at the ends. Use one sheet for a rectangular tin, or two sheets, placed crosswise, for a square or round tin.
Lay the first piece of sponge into the tin. Spread some poppy seed filing over it. Press down slightly.
Next, spoon some of the filling over the poppy seeds, covering the whole thing. Use a teaspoon and take care not to leave large gaps, because spreading the filling over seeds is quite tricky. Level out the filling. Some seeds will inevitably end up in the cream filling at this stage, that’s fine.

Repeat layers, finishing with cream filling on the top. Reserve a couple tablespoons for later.
Refrigerate overnight.
Take out, carefully lift out of the tin onto a serving plate. Spread the remaining cream filling over the sides.
Decorate as you wish, I used some butter icing (creamed butter, icing sugar, red colouring for the red icing, cocoa powder for the brown).
If you like the idea, one other version you could try is a berry cake. Just replace the poppy seed filling with some seasonal fresh berries; or if using frozen berries, defrost thoroughly and drain excess juice – you can then use it to soak the sponge if you wish. Sprinkle some icing sugar over the berries, or make the cream filling a little sweeter. You could also replace the poppy seed in the sponge with 50g ground nuts, or leave out altogether.


